GooberDH
Well-Known Member
- Thread starter
- #1
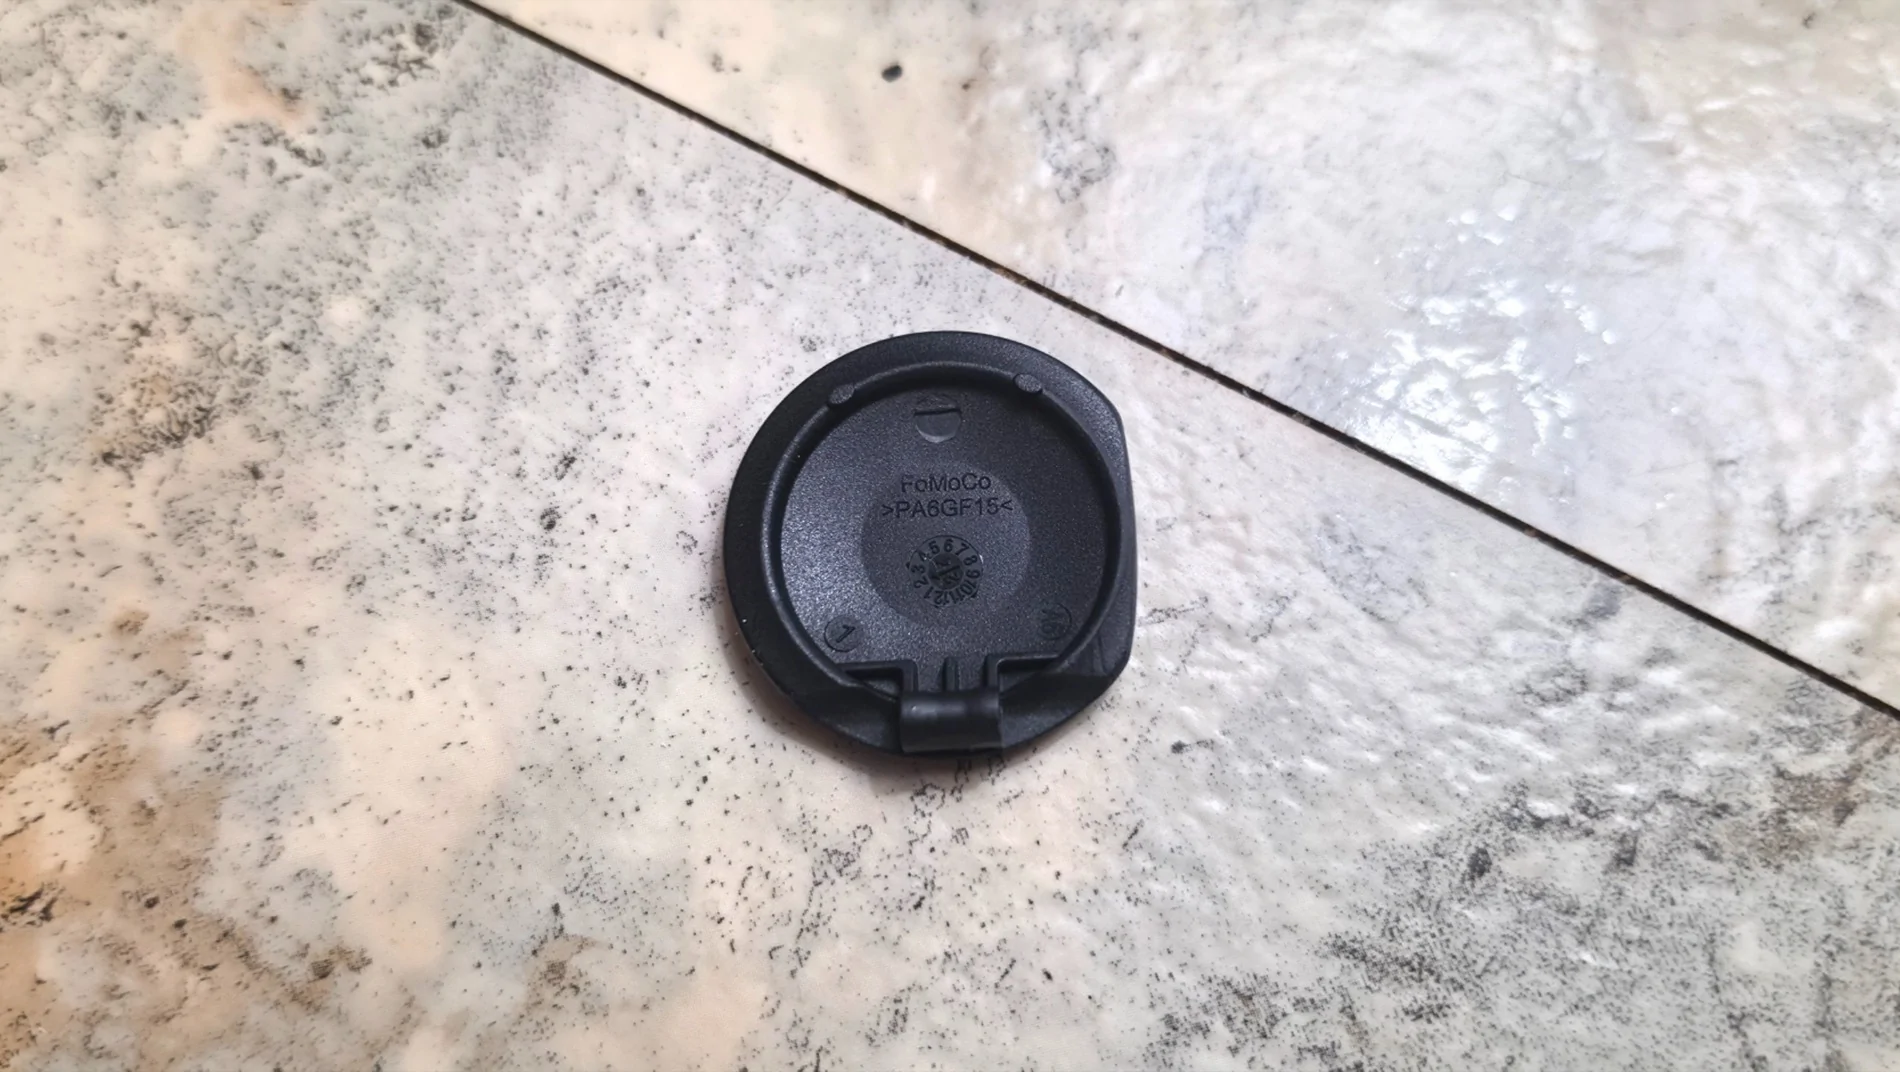
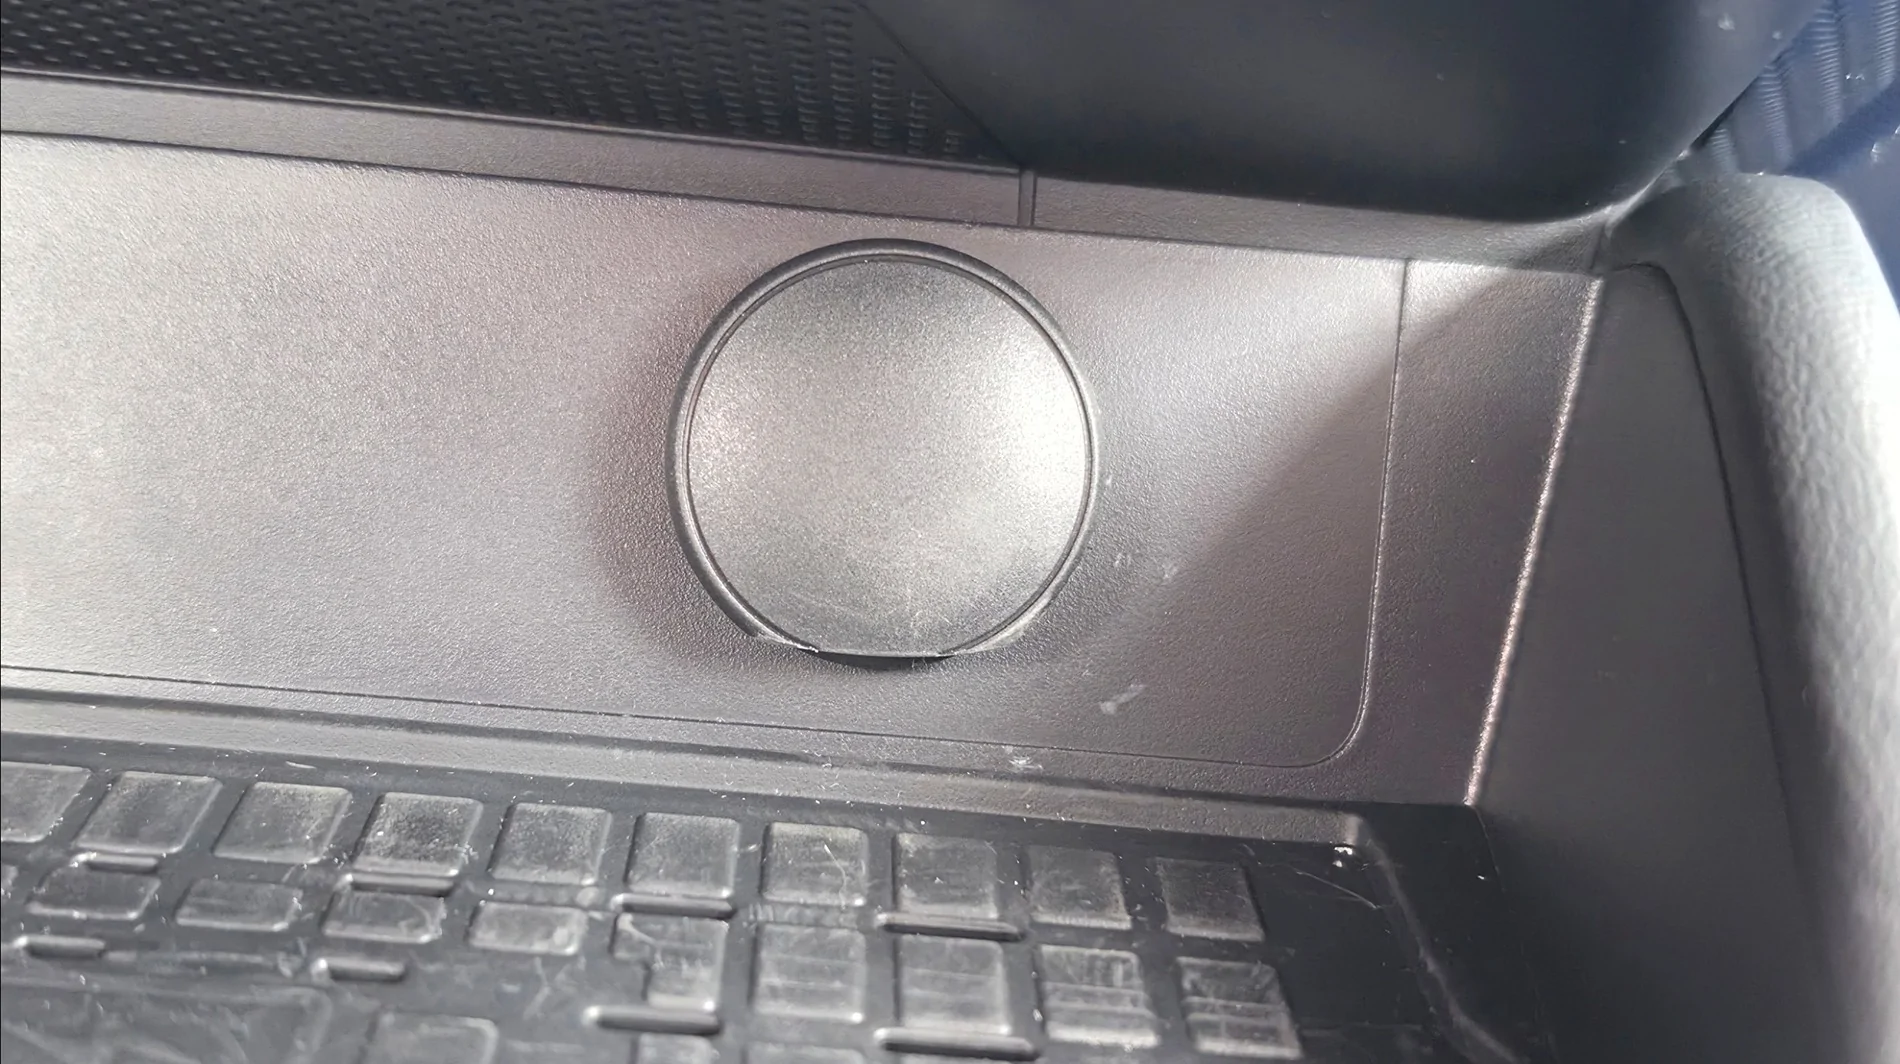
I removed the cover and filed the bottom down, now my phone with an Otterbox Commuter fits nicely with even a bit of wiggle room on the wireless charger.
Finished piece:

It's just a pin that holds the cover in the hinge. I found the easiest way was removing the wireless charger for more workspace and sliding the pin out by pushing up from the bottom of the hinge.
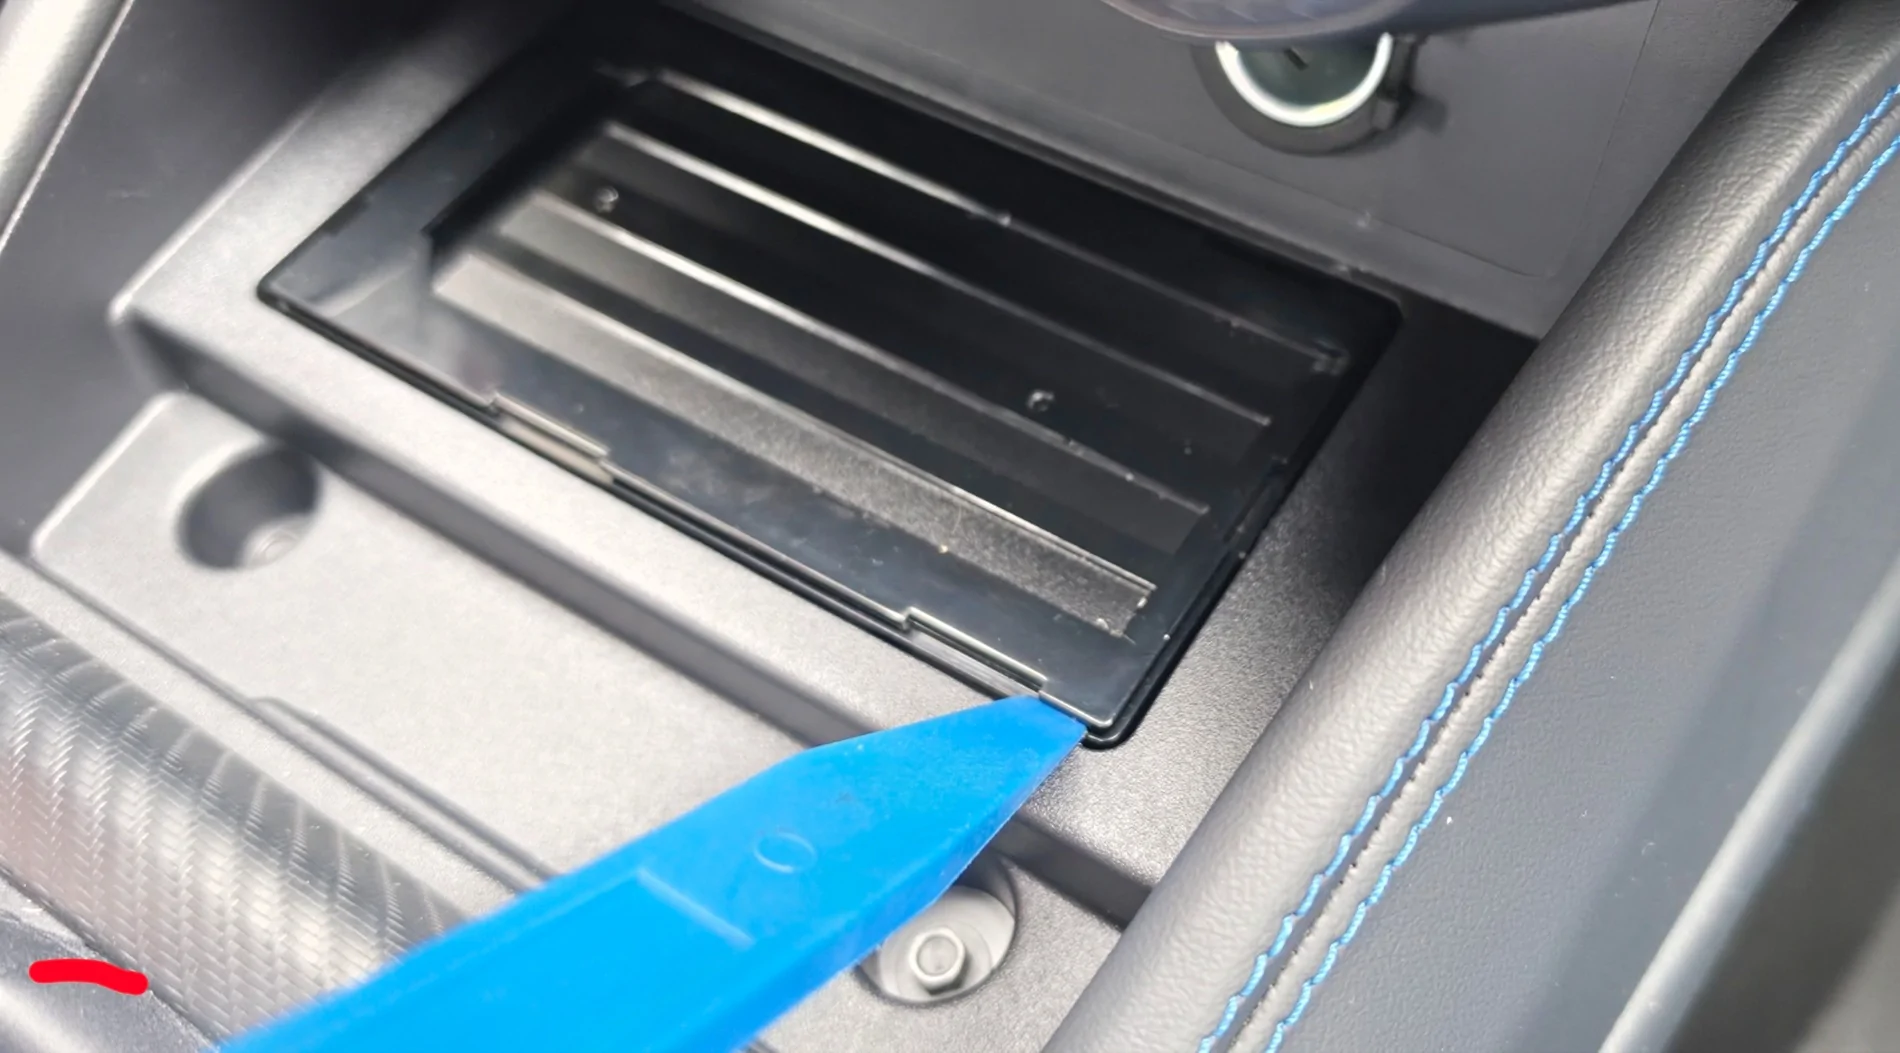
Remove rubber mat, I used a plastic pry tool, this shows where about I popped the charger out, it has plastic clips on both sides so be gentle but you only need to get one side free to pull the whole assemby. In hindsight it's probably more correct to pry on the clips but I got it out without breaking anything. Very cool. The power harness for the charger is your standard locking clip, just push the lever with your finger and pull the harness off, nothing special to remove it.

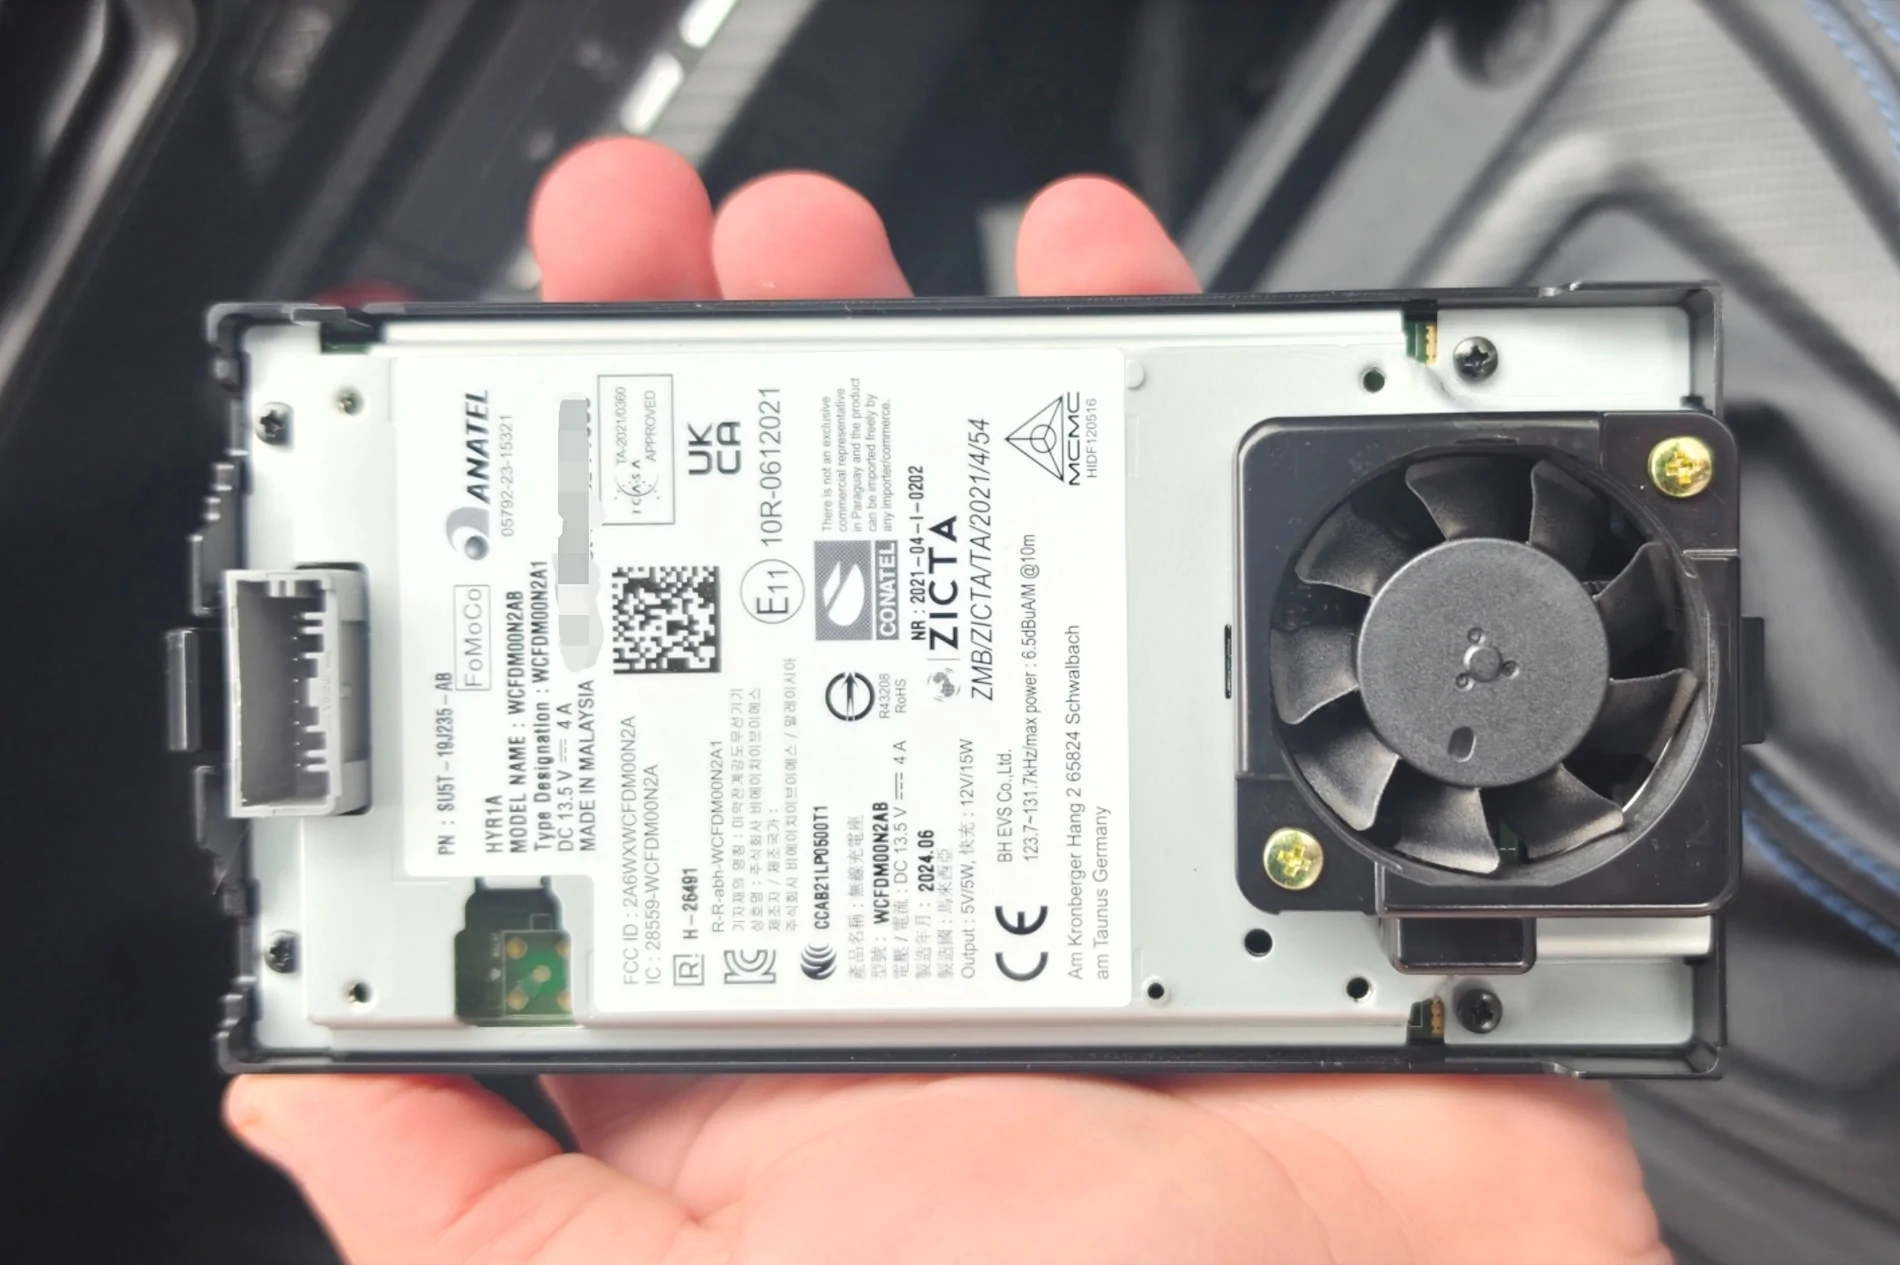
Apparently it has active cooling to pull heat away from the charger, kinda neat but could use a bigger fan IMO. You can see the clips next to the power connector and fan.

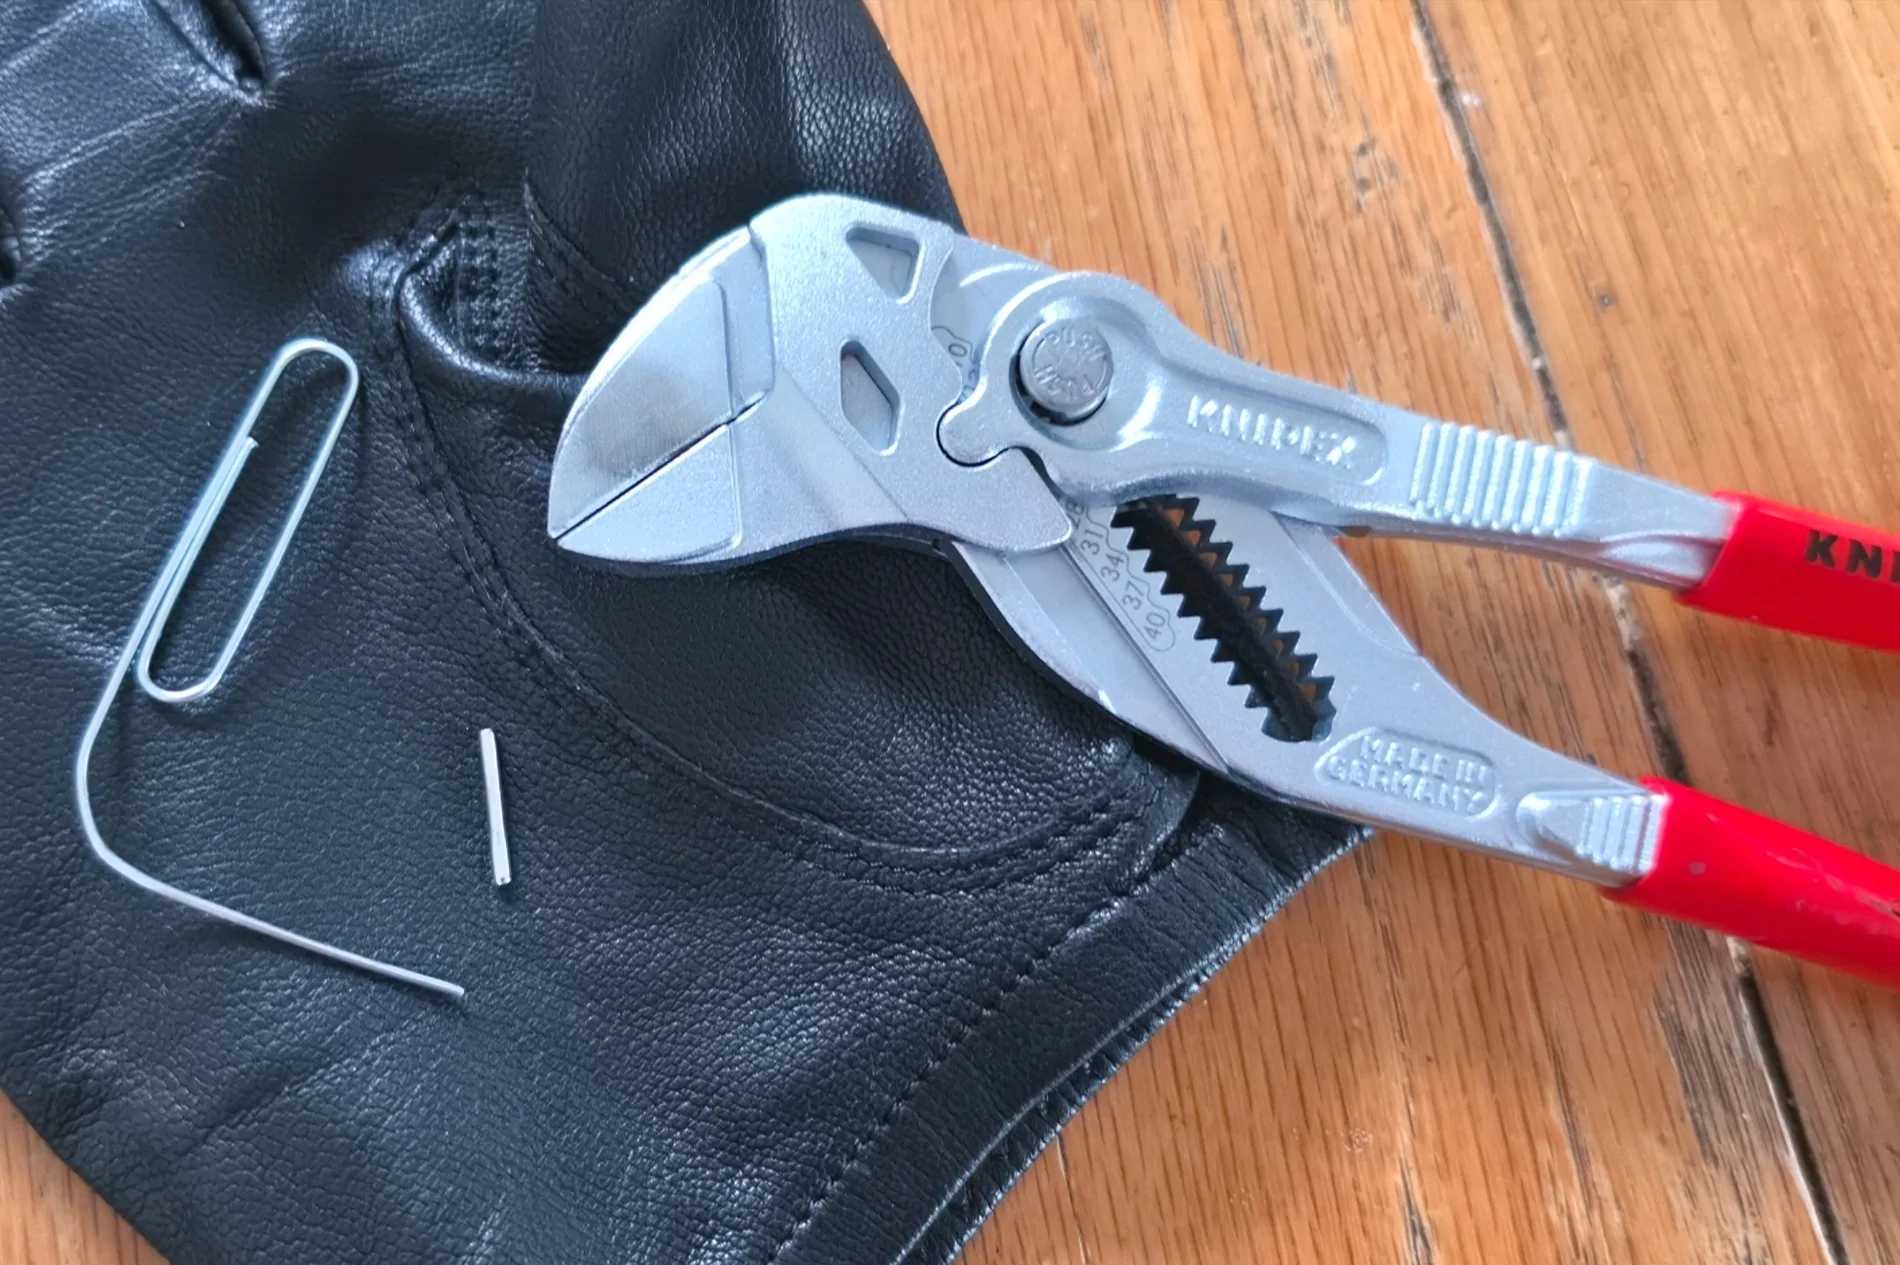
The pin is hollow with a cut down the side probably for spring tension. I found a paperclip that had the correct diameter and used the pliers to grip the paperclip and give me leverage, the pin is really snug in there. Here's what I used and the pin in question:
Reinserting the pin is probably the hardest part. Easy to deform, wouldn't be a bad idea to see if your hardware store has some spares. I kinda crimped, probably bent too, mine at some point but was able to cram it back into its home. I positioned it into the hinge with the cover off to get it started, popped cover into hinge, pliers placed below the outlet to be a fulcrum for my pry tool to lever the pin back into its original position. I didn't look too close but it might taper vs being equally cylindrical. Either way it was easier to reinstall it from the bottom up like how I removed it. The cover functions as it did before, still smooth, same resistance opening and closing, good enough. All done. A few scrapes from the pry tools but those should buff out.

Finished piece:
It's just a pin that holds the cover in the hinge. I found the easiest way was removing the wireless charger for more workspace and sliding the pin out by pushing up from the bottom of the hinge.
Remove rubber mat, I used a plastic pry tool, this shows where about I popped the charger out, it has plastic clips on both sides so be gentle but you only need to get one side free to pull the whole assemby. In hindsight it's probably more correct to pry on the clips but I got it out without breaking anything. Very cool. The power harness for the charger is your standard locking clip, just push the lever with your finger and pull the harness off, nothing special to remove it.
Apparently it has active cooling to pull heat away from the charger, kinda neat but could use a bigger fan IMO. You can see the clips next to the power connector and fan.
The pin is hollow with a cut down the side probably for spring tension. I found a paperclip that had the correct diameter and used the pliers to grip the paperclip and give me leverage, the pin is really snug in there. Here's what I used and the pin in question:
Reinserting the pin is probably the hardest part. Easy to deform, wouldn't be a bad idea to see if your hardware store has some spares. I kinda crimped, probably bent too, mine at some point but was able to cram it back into its home. I positioned it into the hinge with the cover off to get it started, popped cover into hinge, pliers placed below the outlet to be a fulcrum for my pry tool to lever the pin back into its original position. I didn't look too close but it might taper vs being equally cylindrical. Either way it was easier to reinstall it from the bottom up like how I removed it. The cover functions as it did before, still smooth, same resistance opening and closing, good enough. All done. A few scrapes from the pry tools but those should buff out.
Sponsored
Last edited:
