OP
OP
DFB5.0
Well-Known Member
- Thread starter
- #241
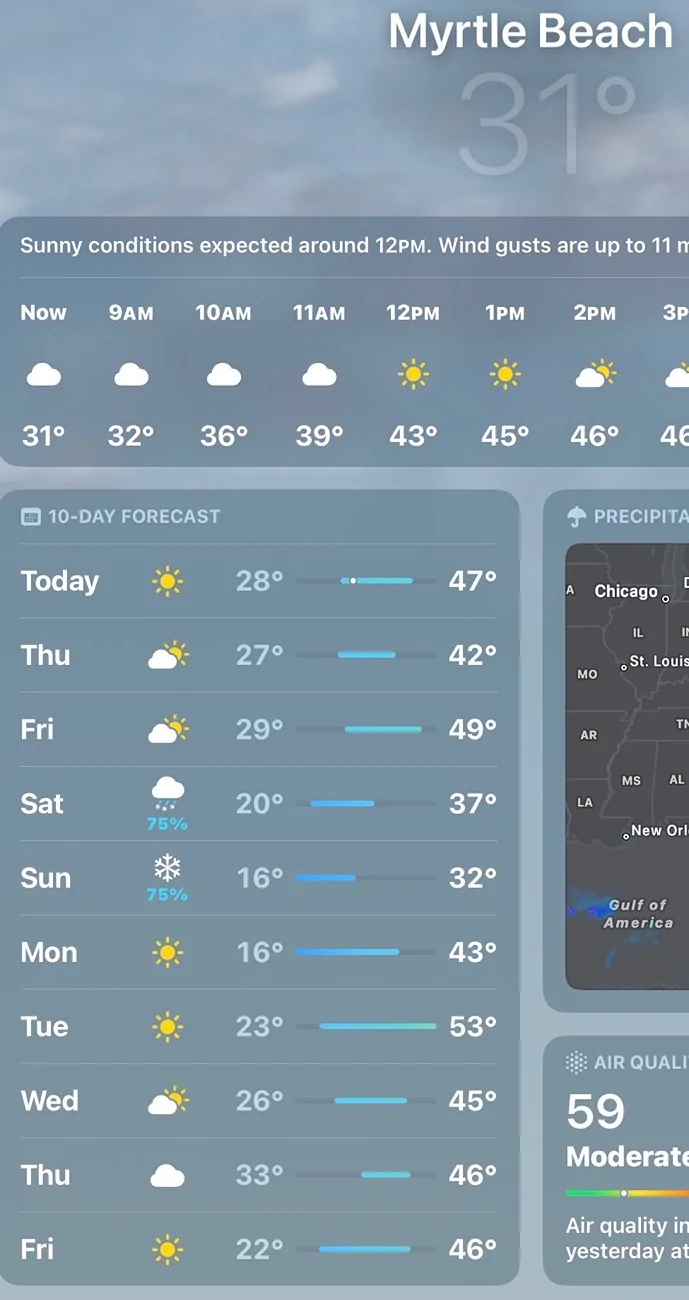
Is it winter yet? Hell, I'd settle for a little autumnal bliss. This is day 4 of a 7-day heatwave with temps above 40-deg C (104-deg f), apparently this is the hottest place on earth at the moment. 
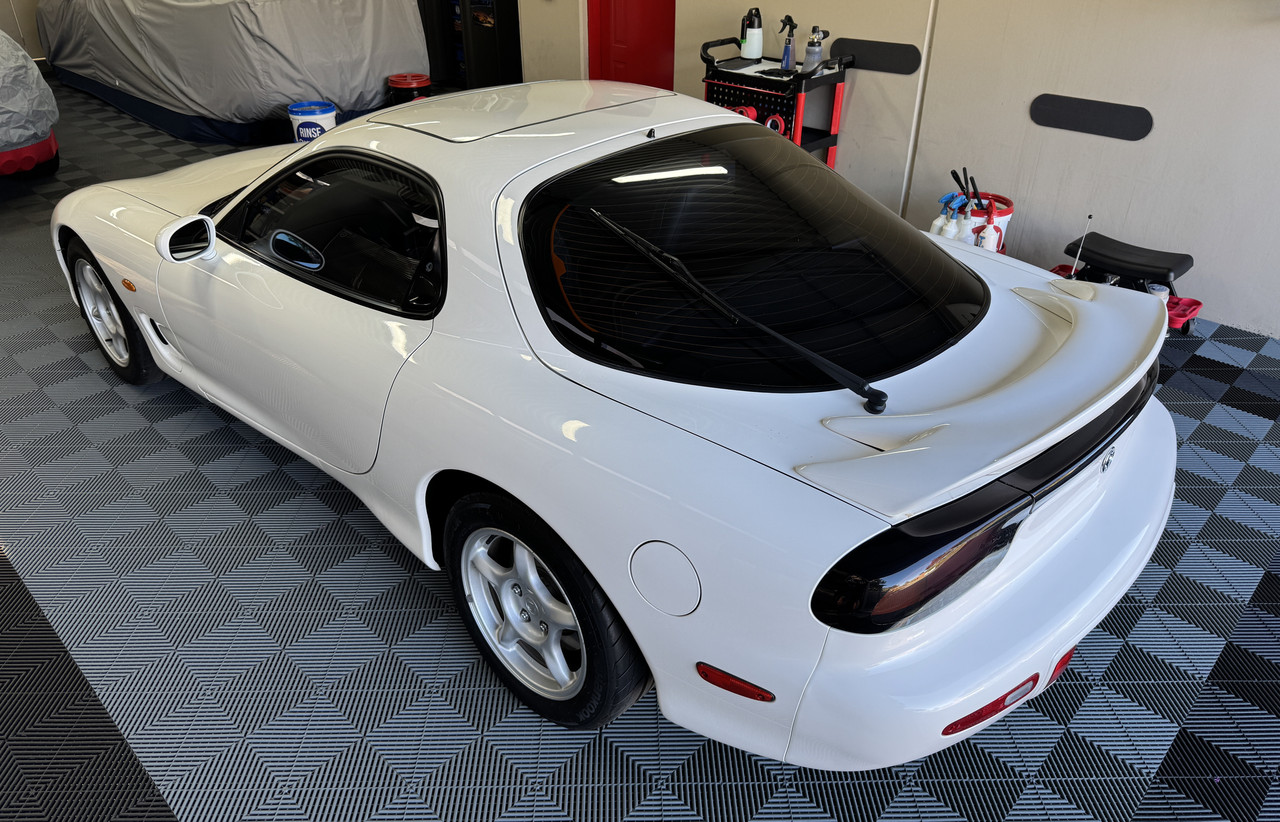
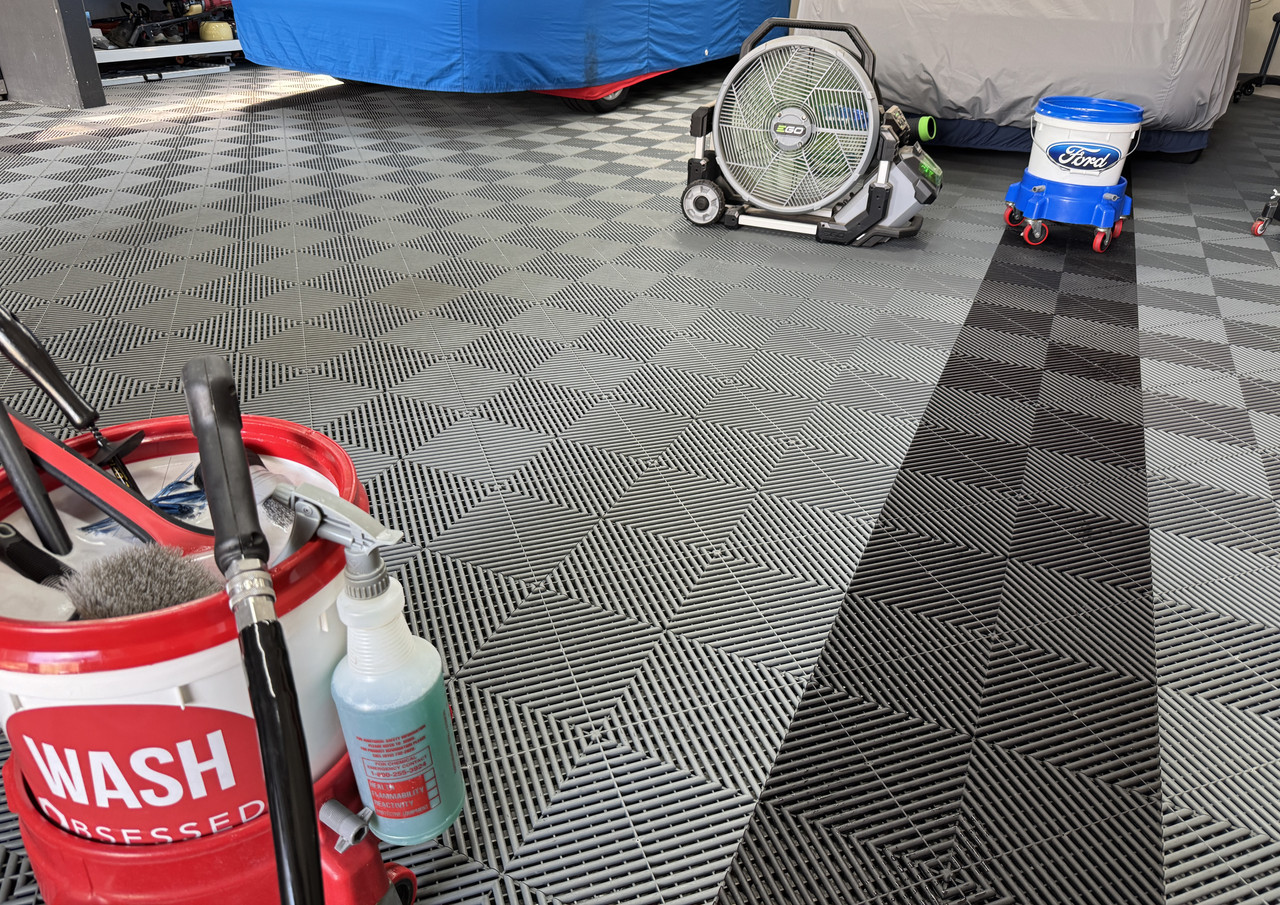
Despite the heat, I still got out in the garage, EGO fan misting away and a Yeti bottle full of ice water. Even with some cloud cover, I still washed inside the garage today.

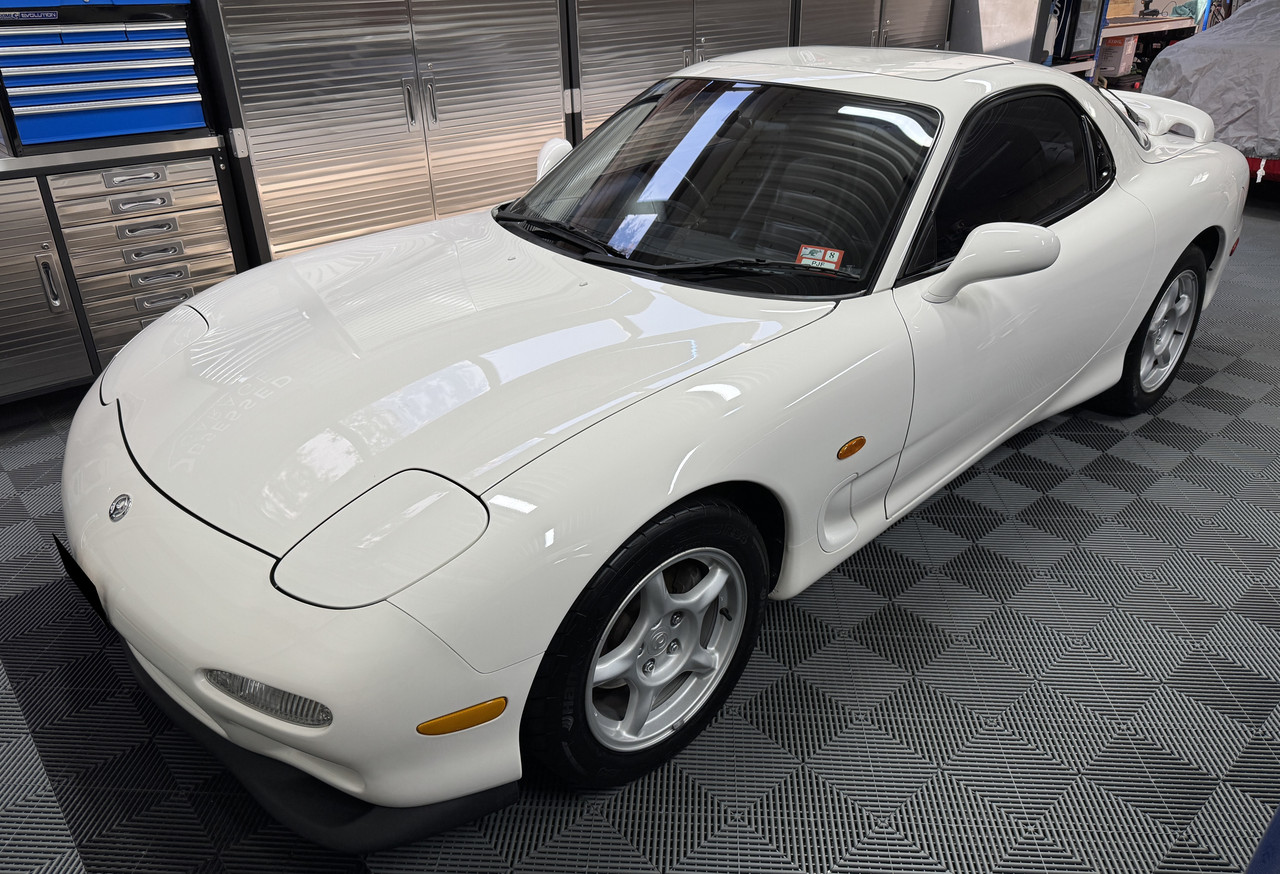
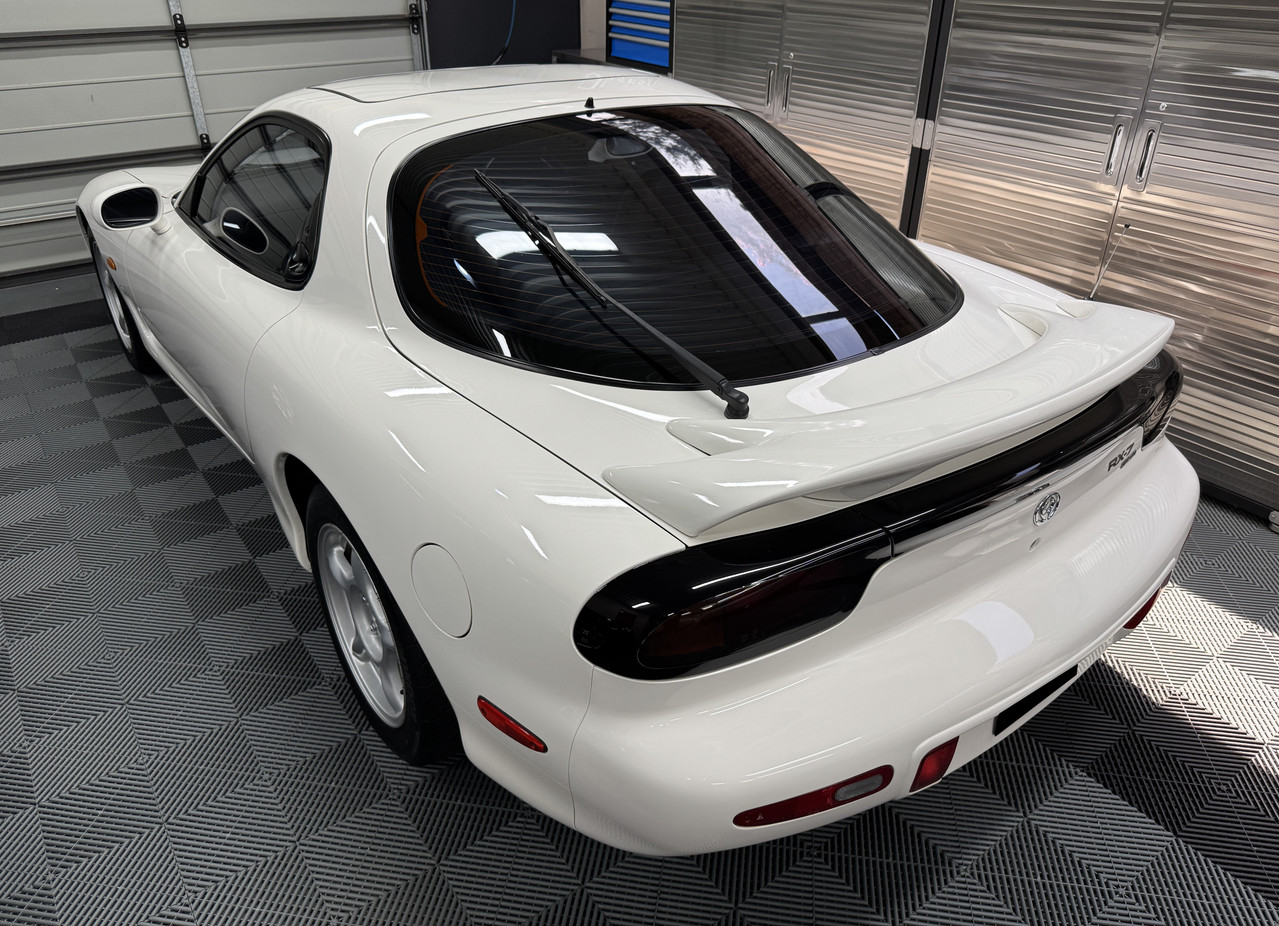
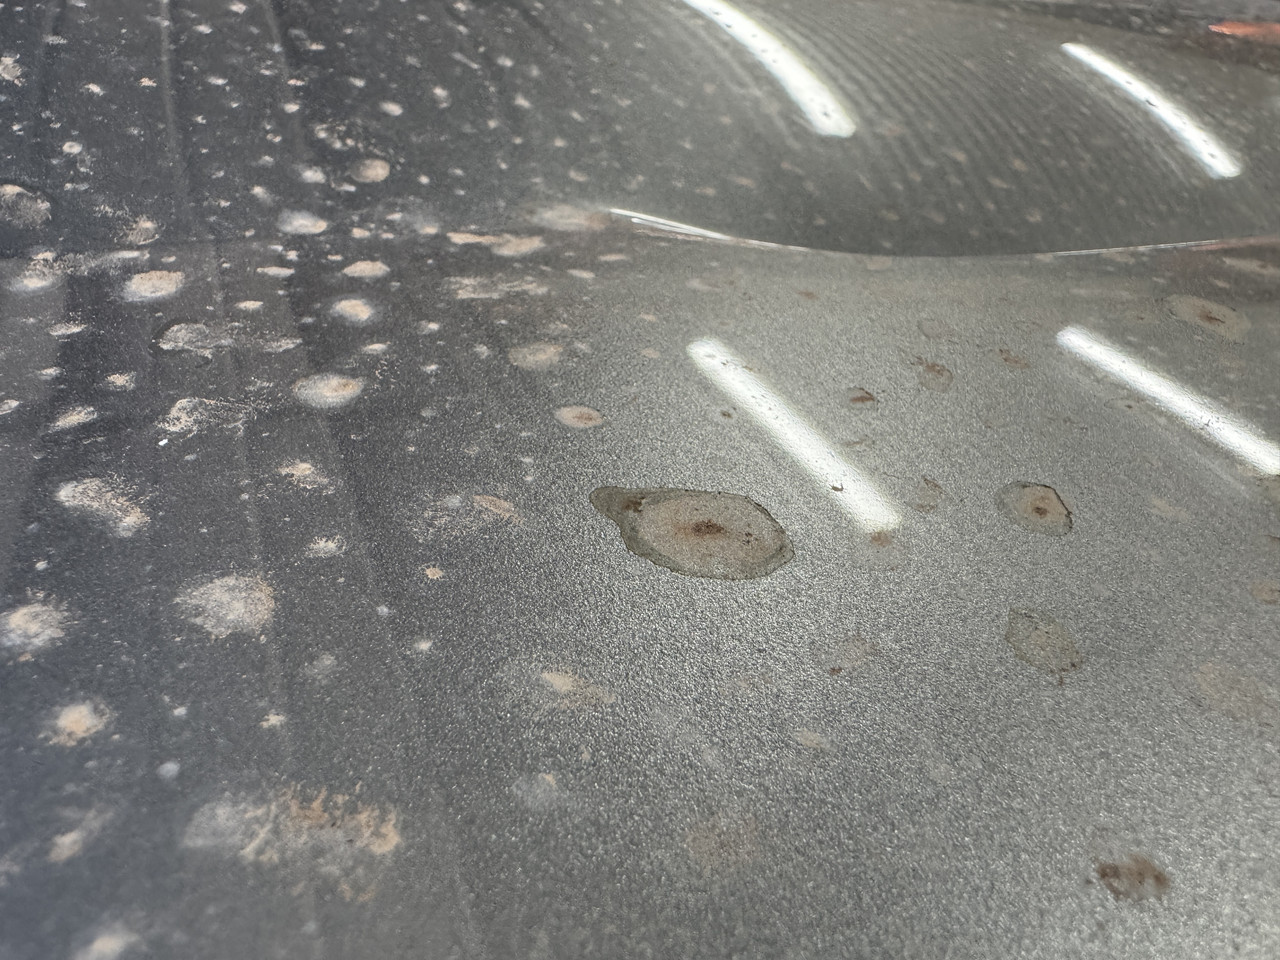
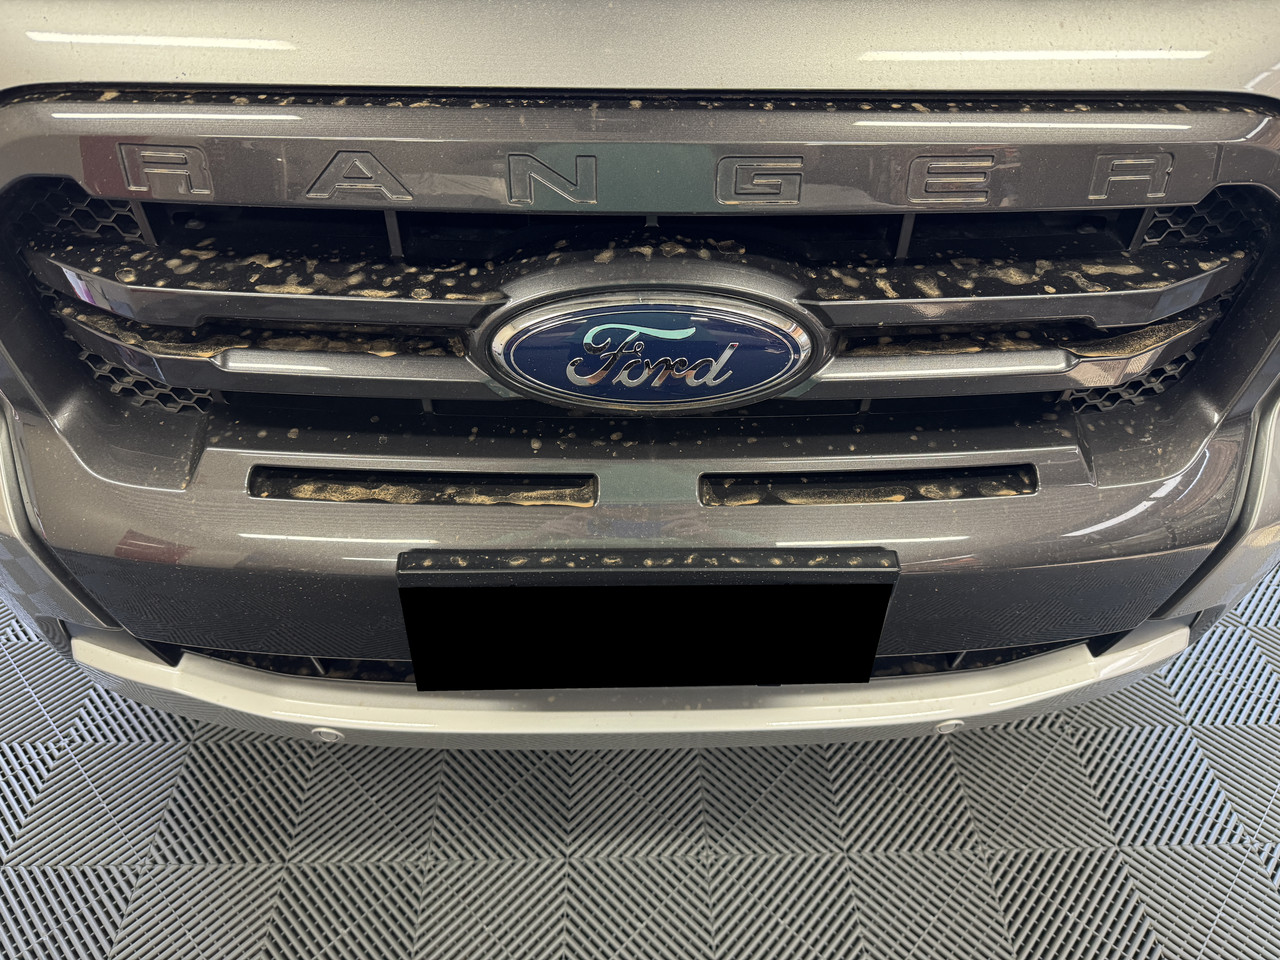
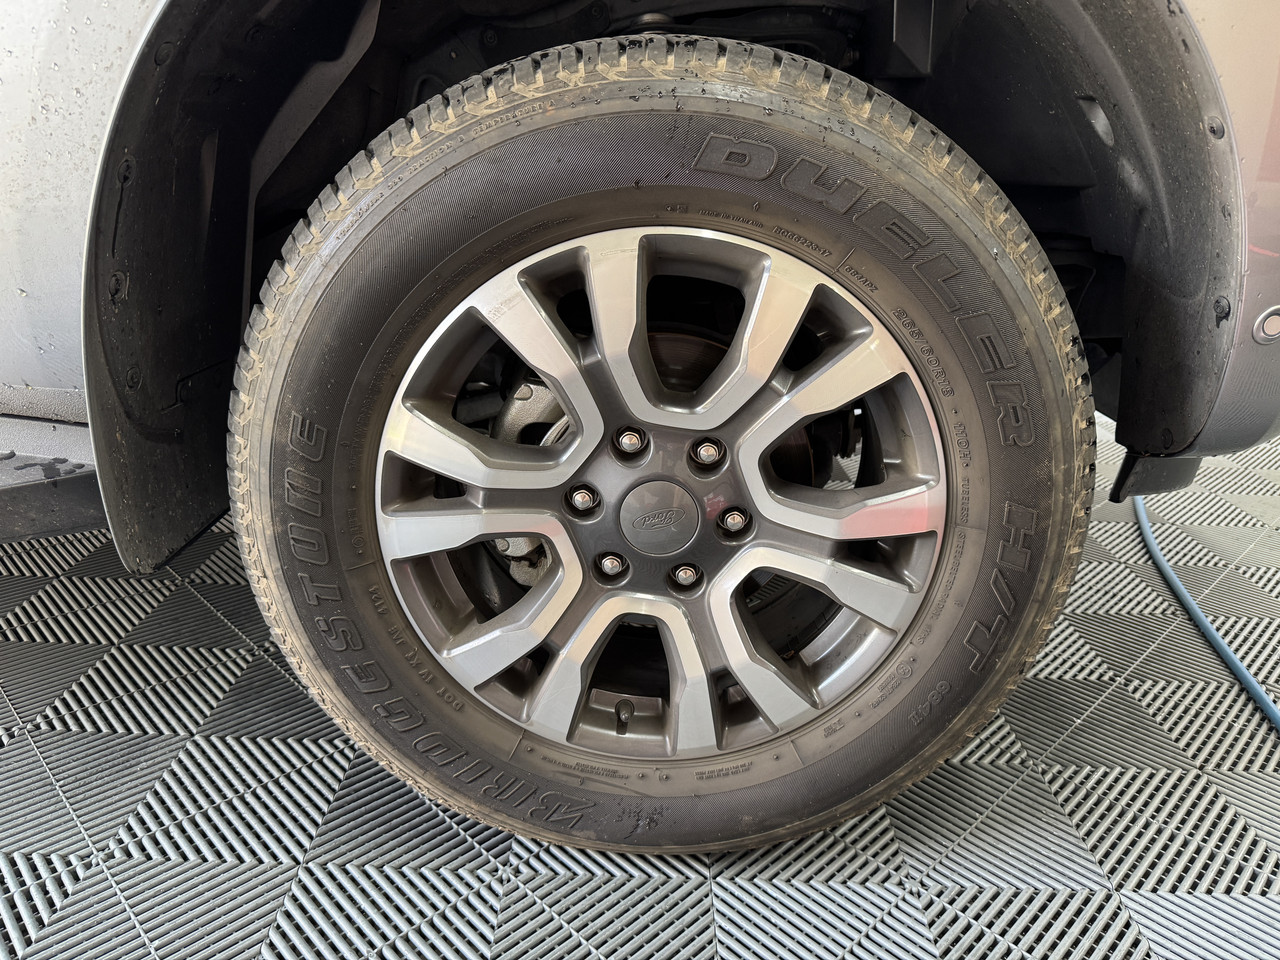
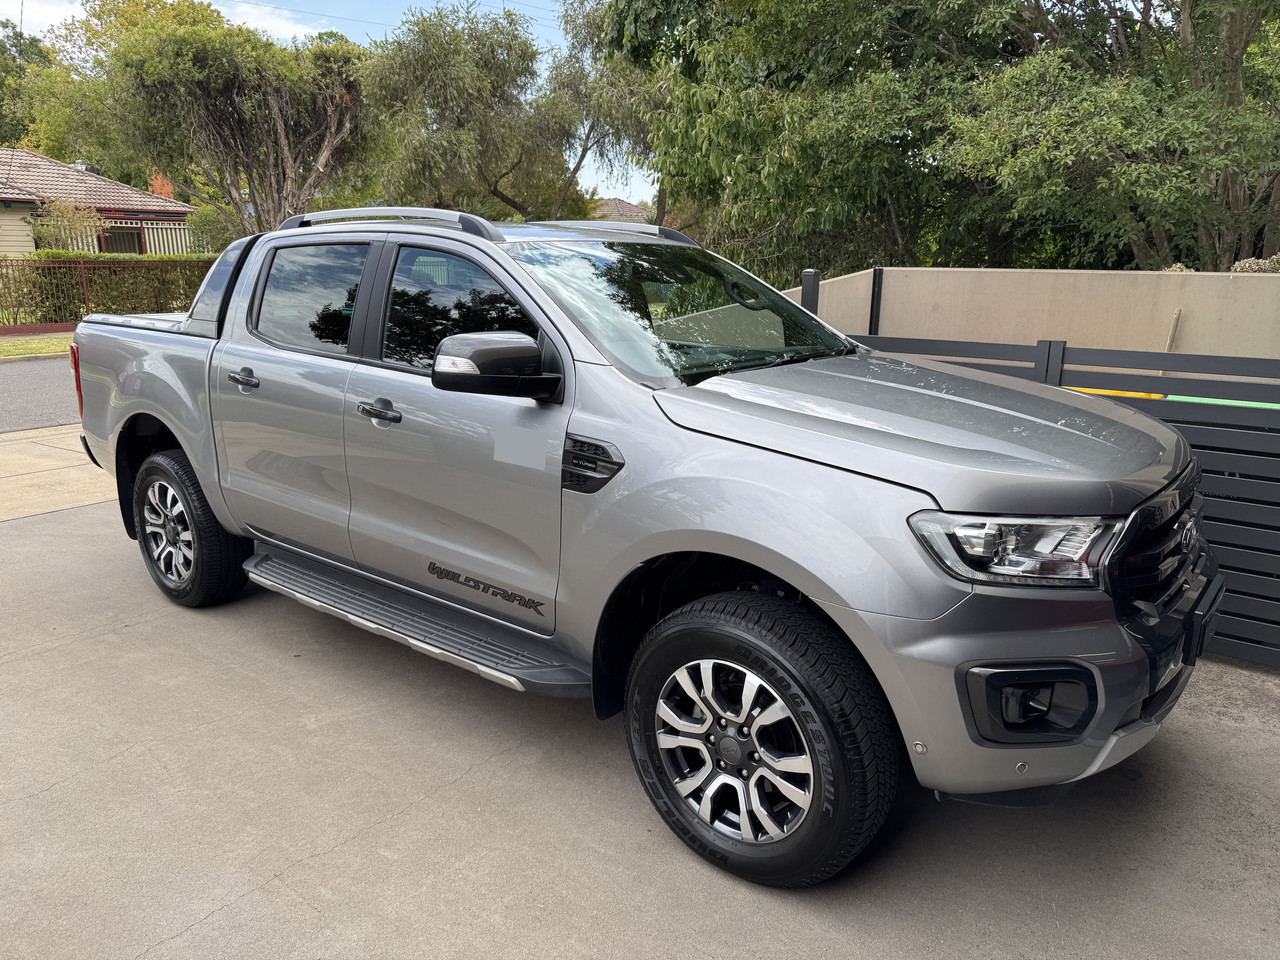
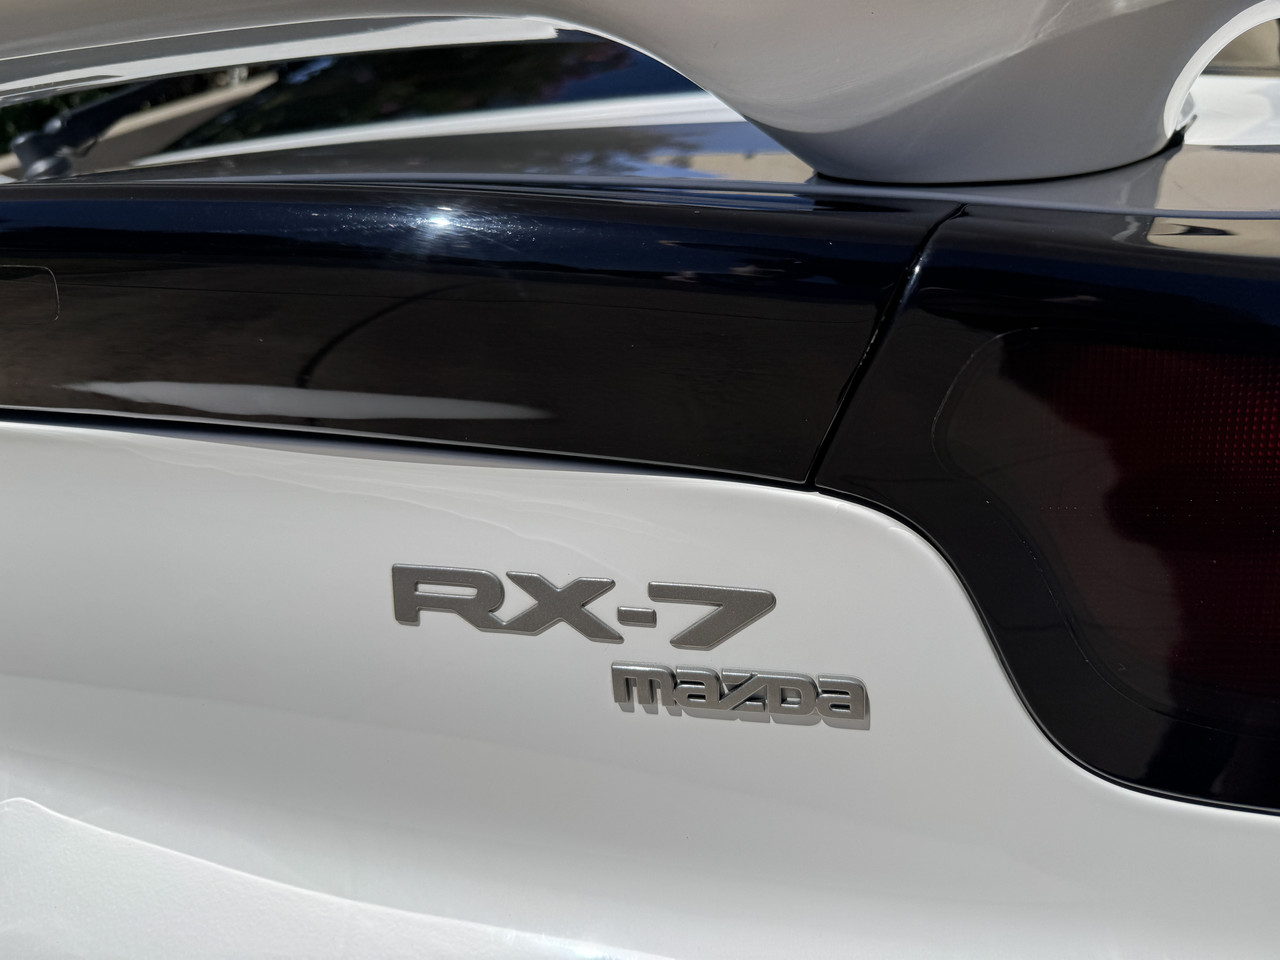
The Wildtrak was in line for a much-needed wash after its 1500km round trip to Adelaide over the last week. Being the dirtiest it's been since last winter, the poor thing was covered in dust, road film and plenty of dead bugs............par for course after a road trip.
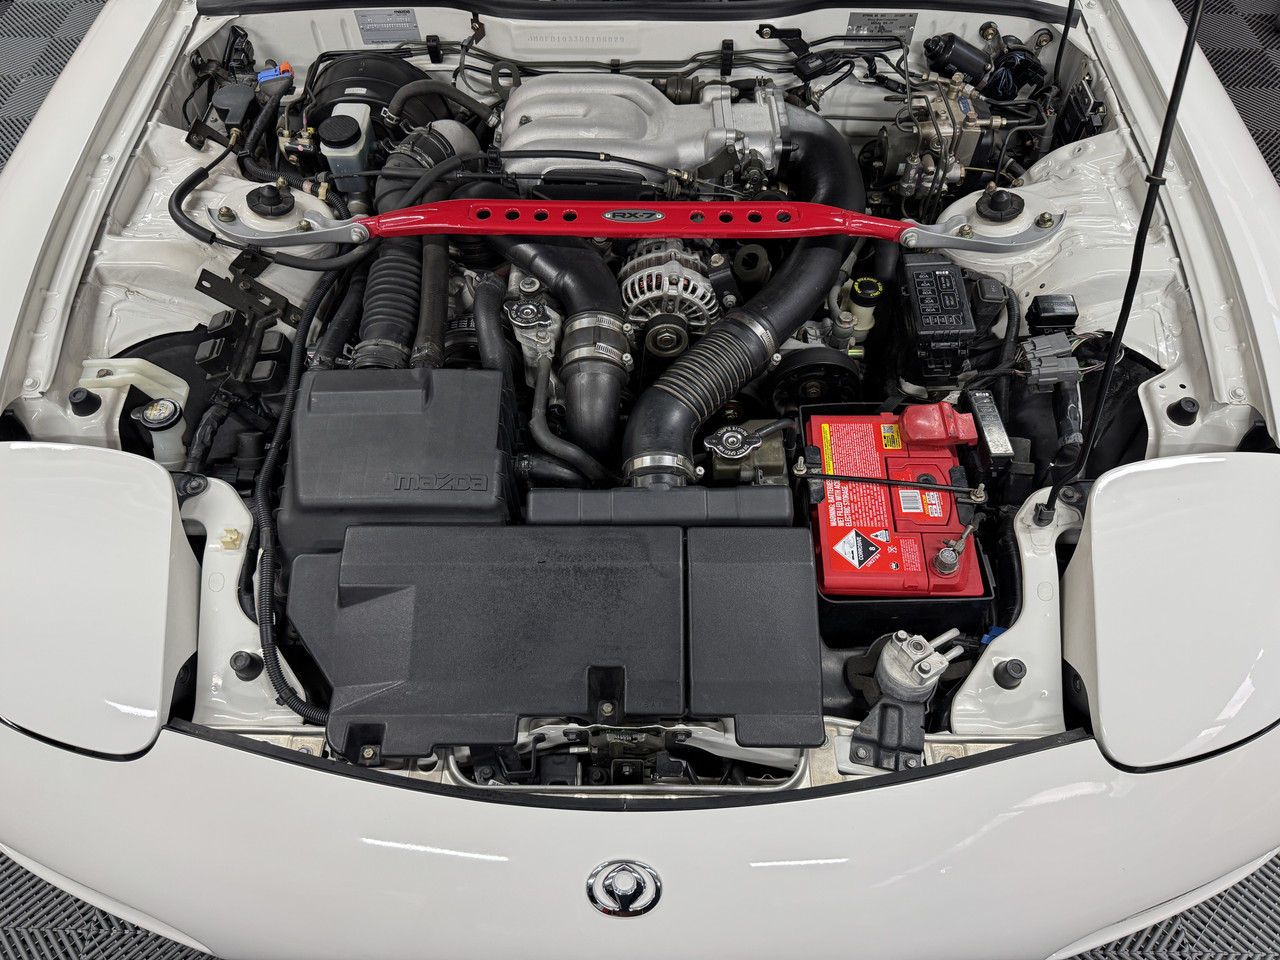
My first port of call was the engine bay. After an initial rinse, I sprayed it down with Green Star and went at it with an assortment of brushes. Another rinse, I applied Hyper Dressing and blew down the engine bay to disperse the dressing and remove excess water. Finally, the washer bottle was topped off with more Bowden's Dry Spell before the hood was closed. Not perfect, but much better.
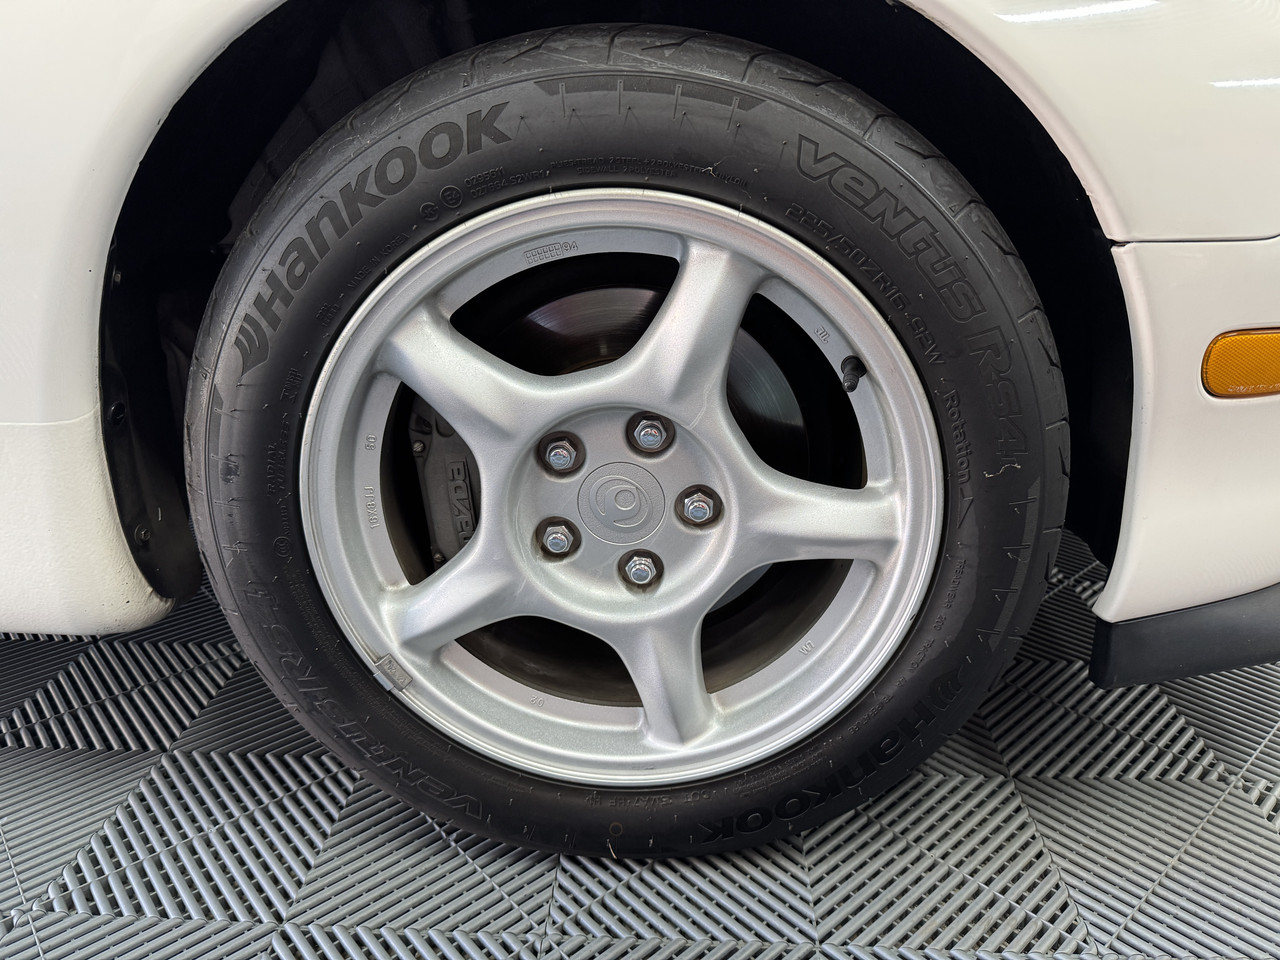
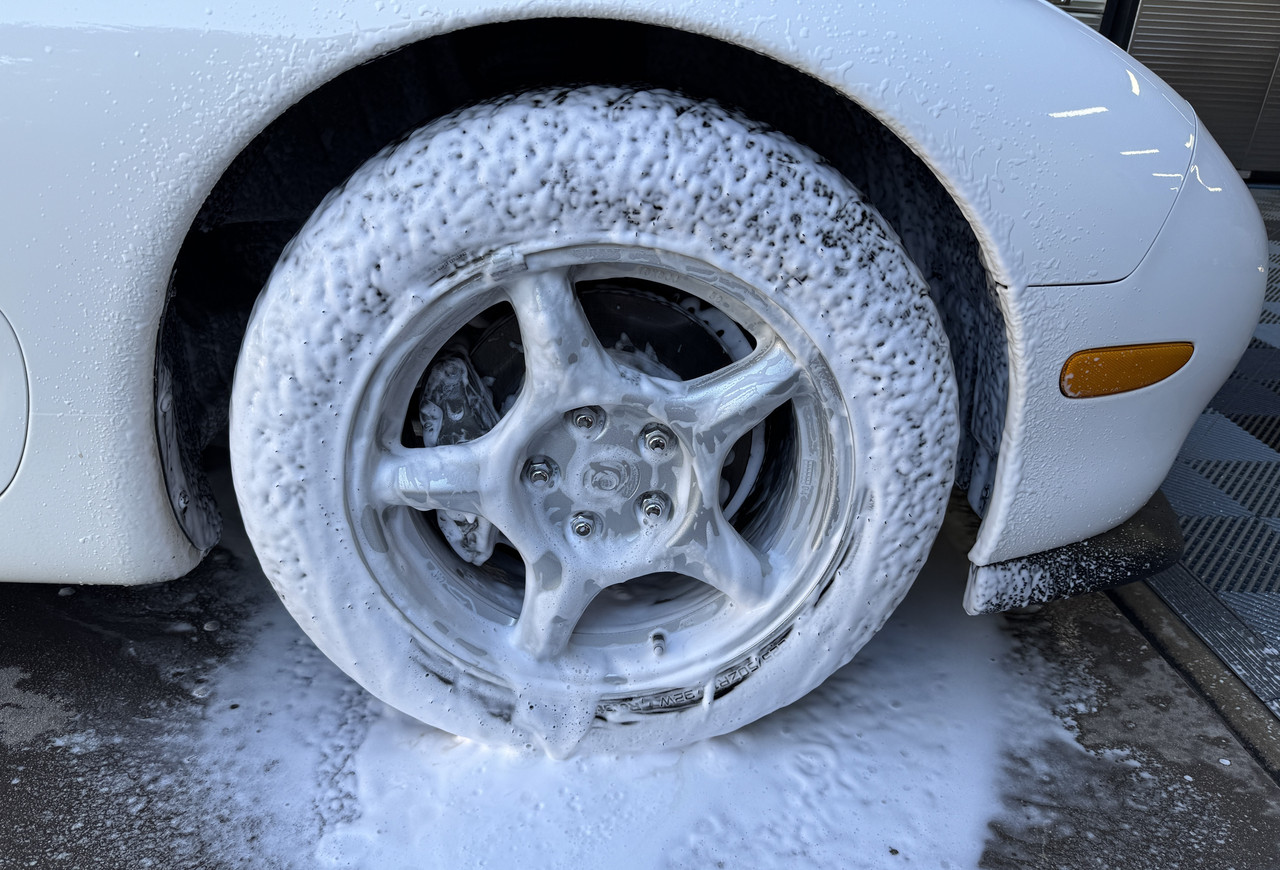
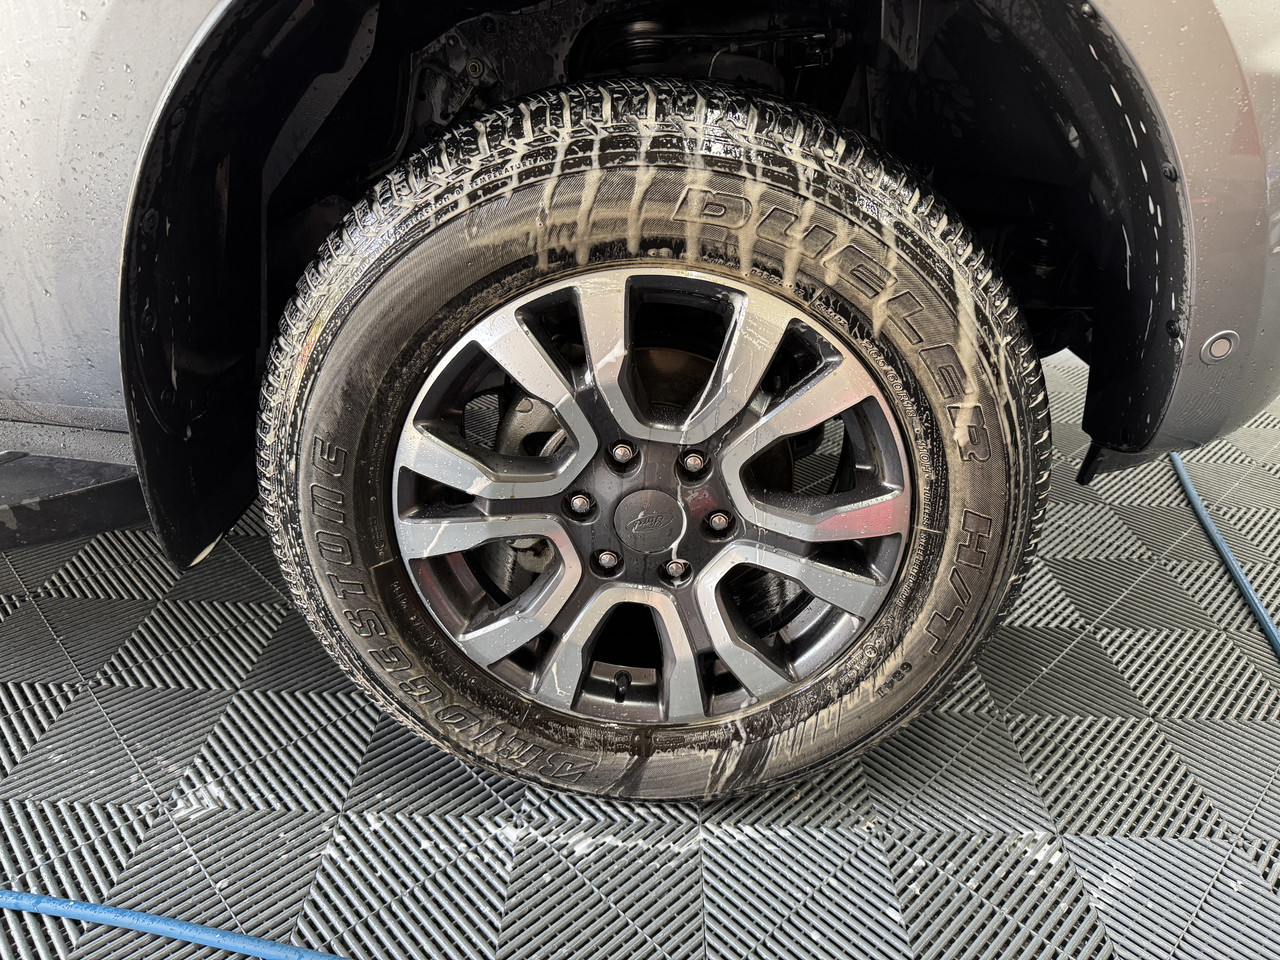
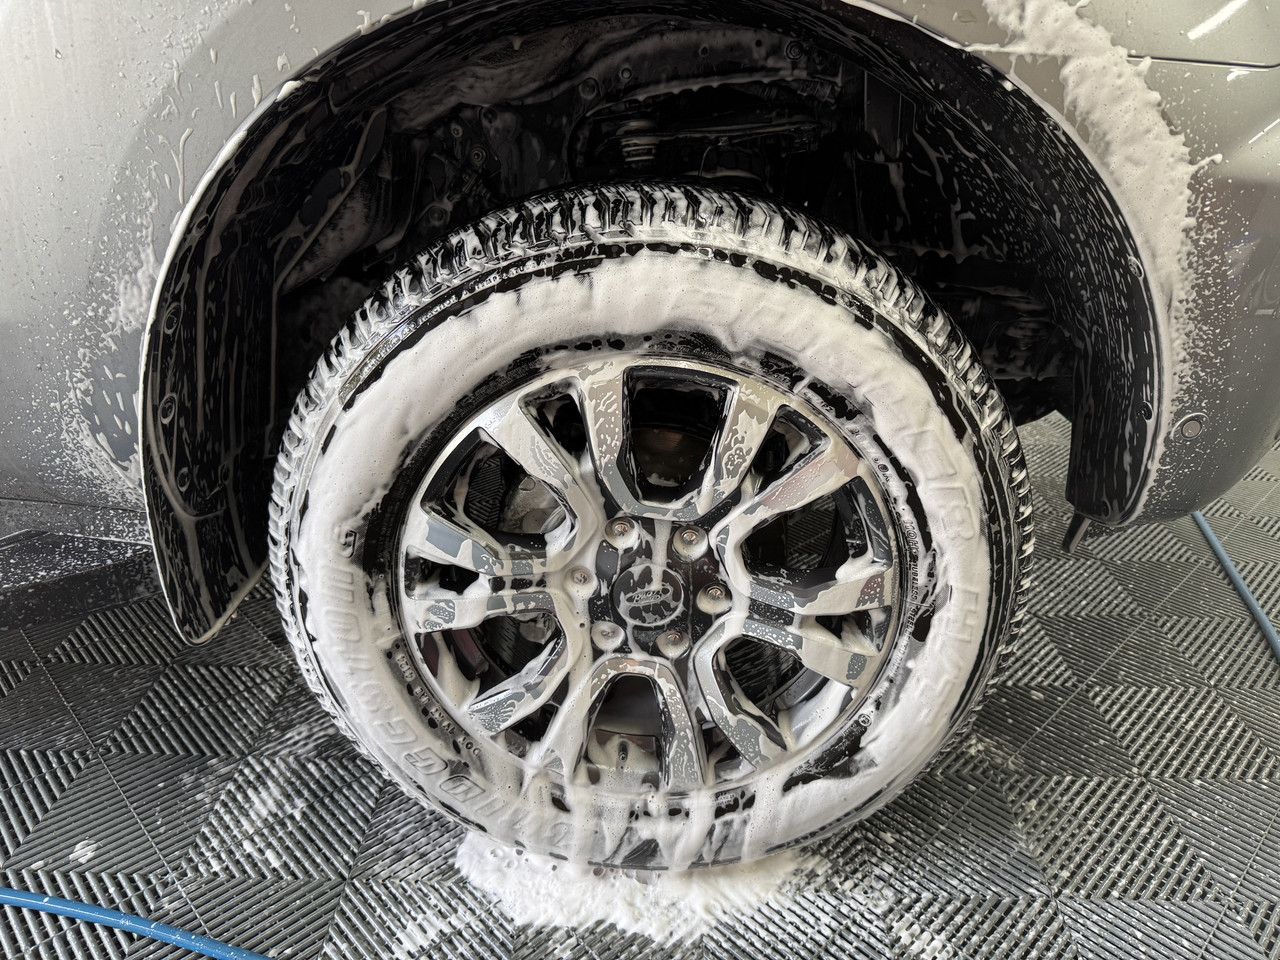
After cleaning the floor mats with Green Star, it was time to address those filthy tyres! For this, I grabbed SS Wise Guy and got scrubbing! From there, the usual foaming with Brake Buster to clean the wheel and wheel arch, followed by some KCx Wet Gloss. I also used Wise Guy and Wet Gloss on the plastic side steps.

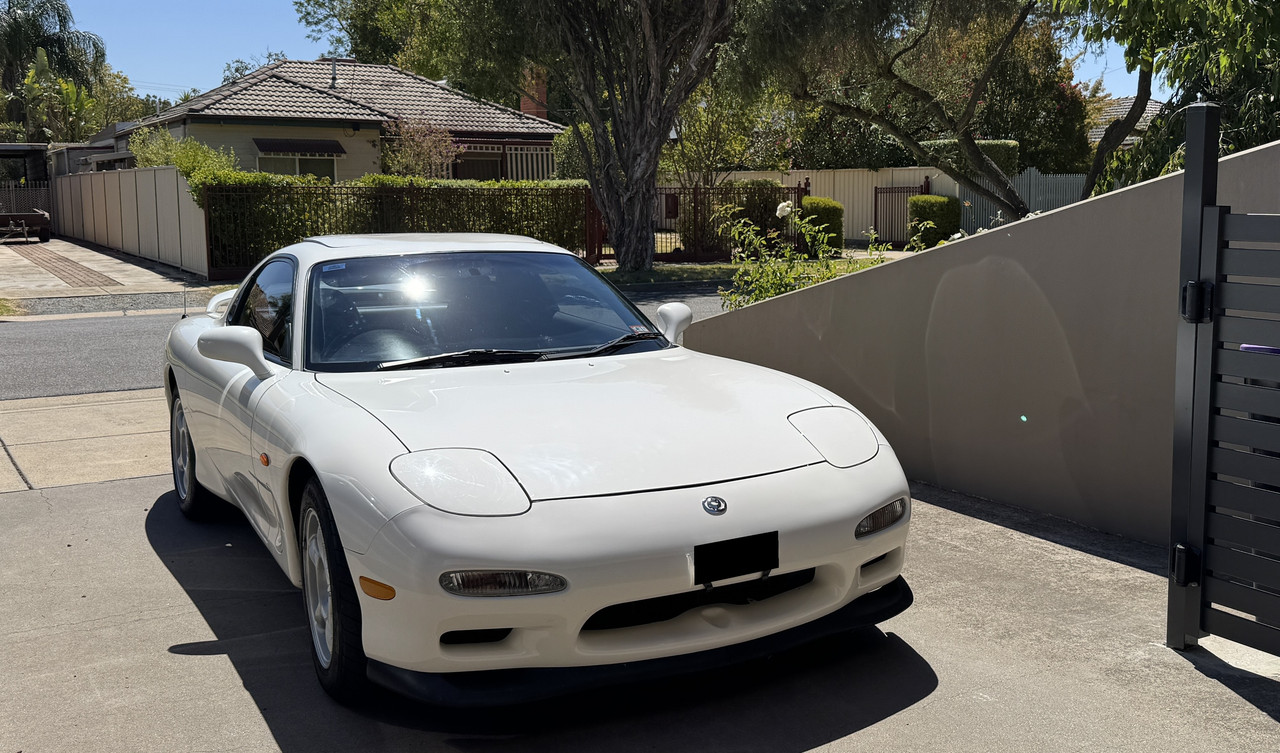
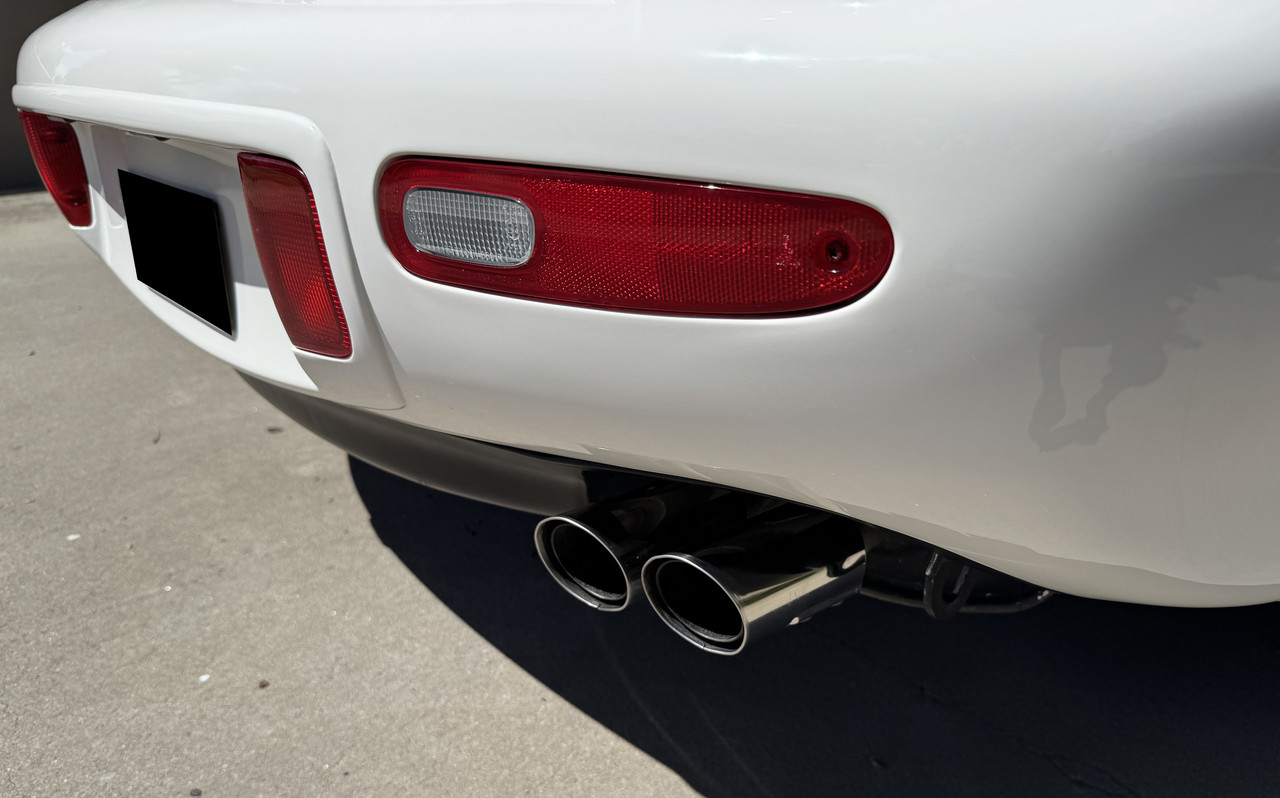
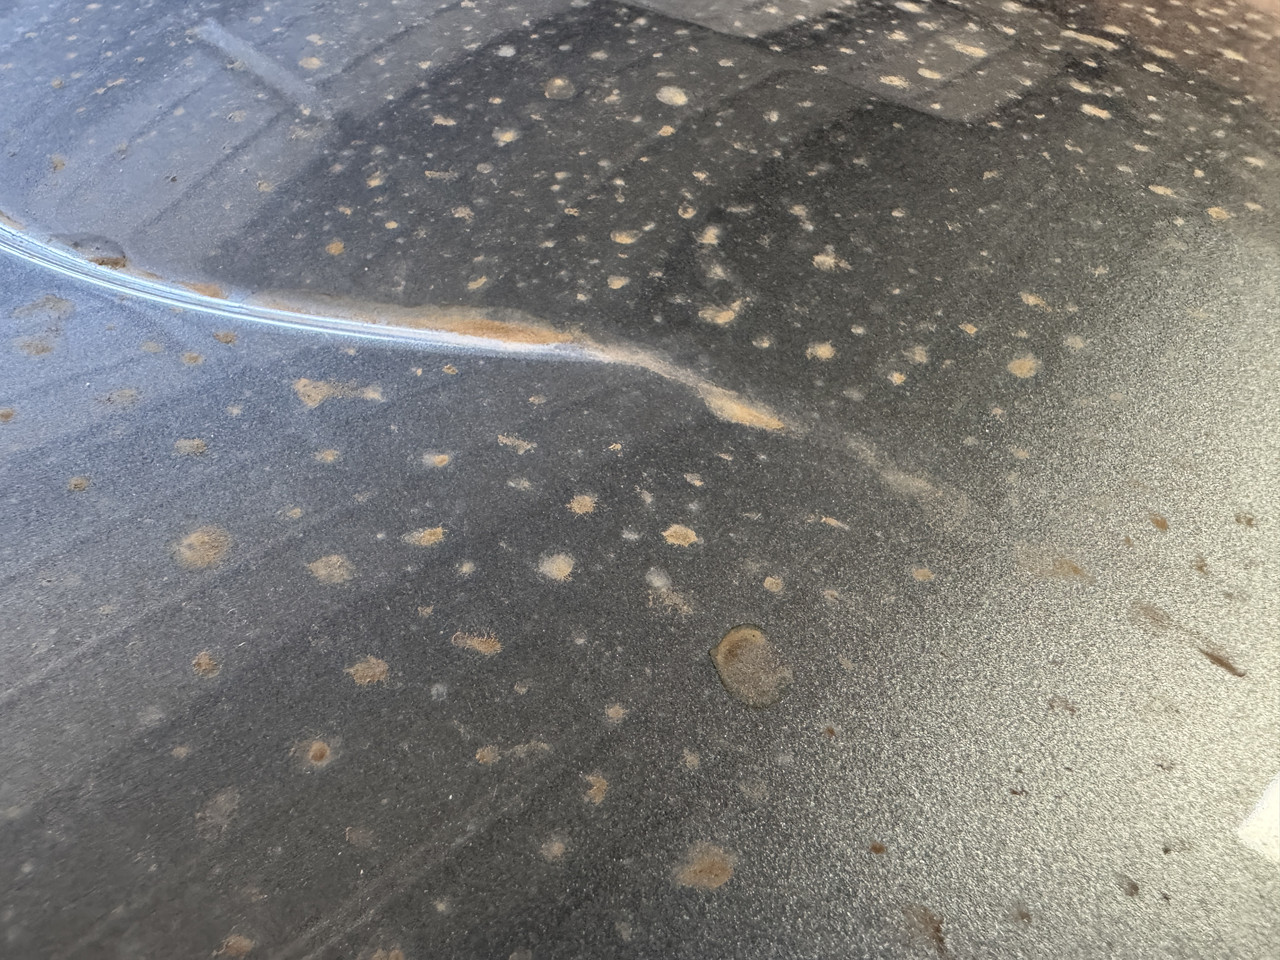
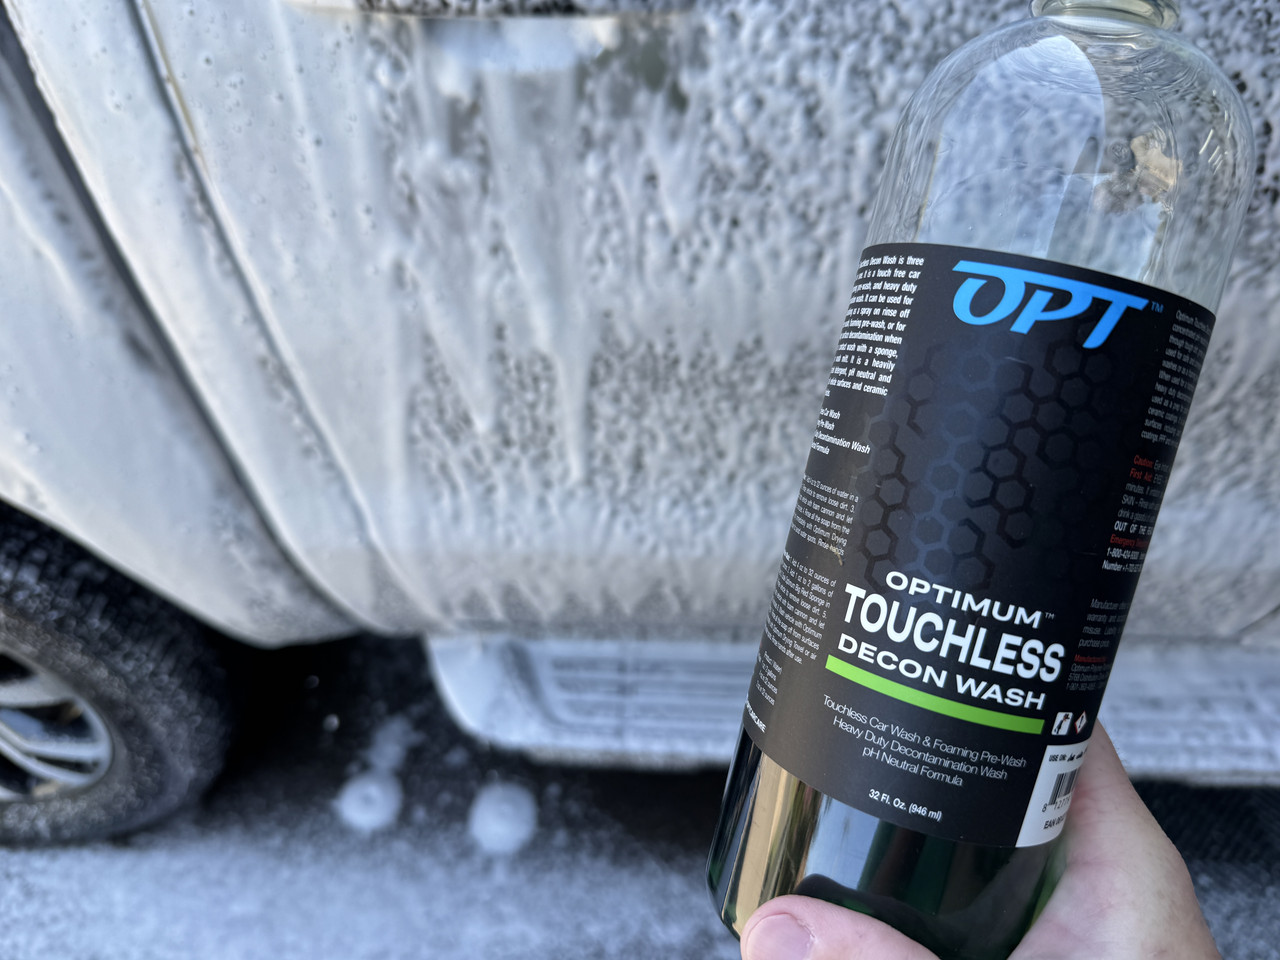
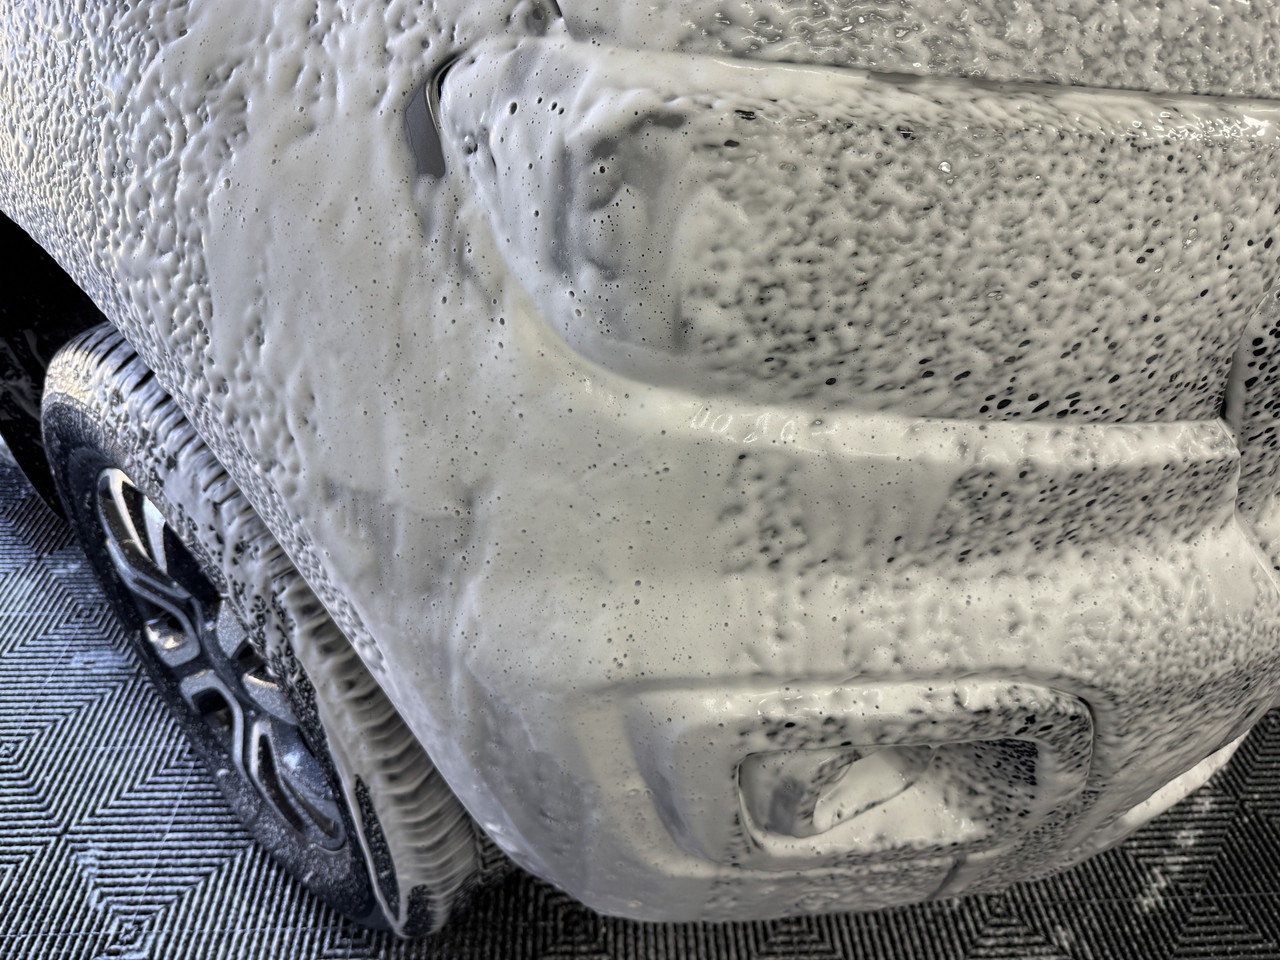
Next, it was time to nuke those bugs! For this, I applied P&S Bug Off to the front bumper, headlights, windscreen and wing mirrors, then foamed the entire vehicle with KCx Active Foam. That combo easily removed the bugs, but there was still some road film on the lowers that I wanted to remove before the contact wash. For this, I sprayed these areas with Green Star, allowed to soak then rinsed. Sorted!

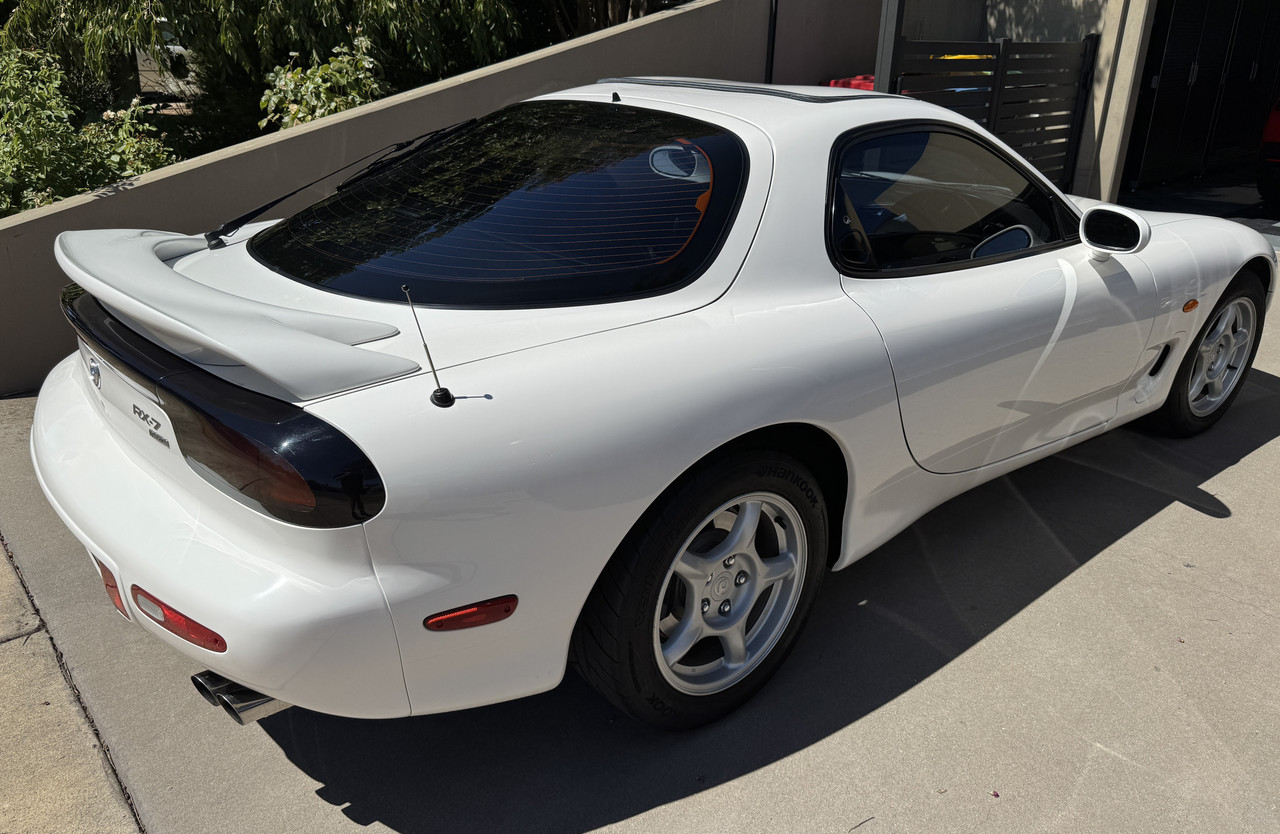
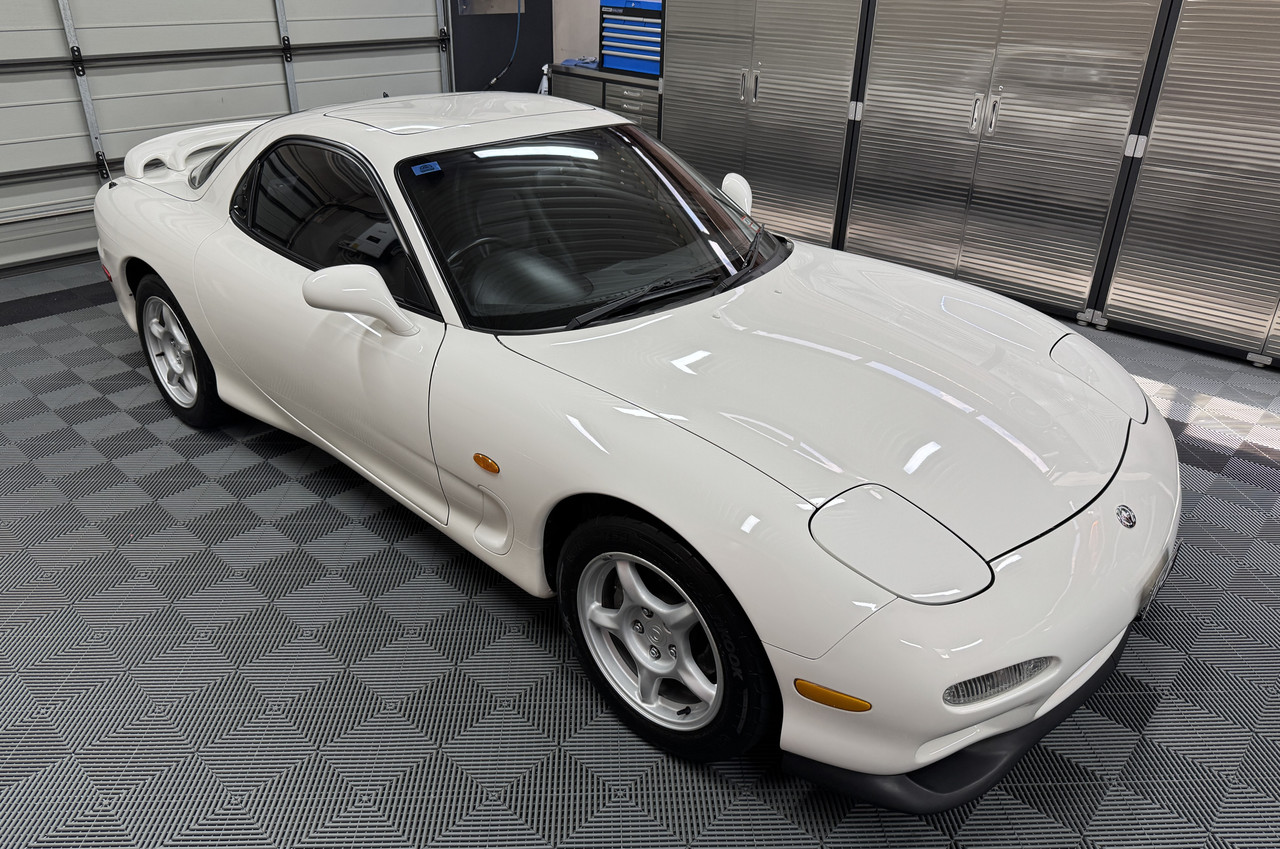
Anything else remaining on the car was easily dealt with during the contact wash with NV Snow. This is a soap I know I can rely upon when that extra cleaning edge is required, it will easily out-clean Carpro Reset. Following the wash, I had to add some Hydr02 to the lower doors, which is always the first area to degrade on an LSP. Following the blow down, I went around and applied ADS Ceramic Spray Sealant, then the door jambs with ECH20.
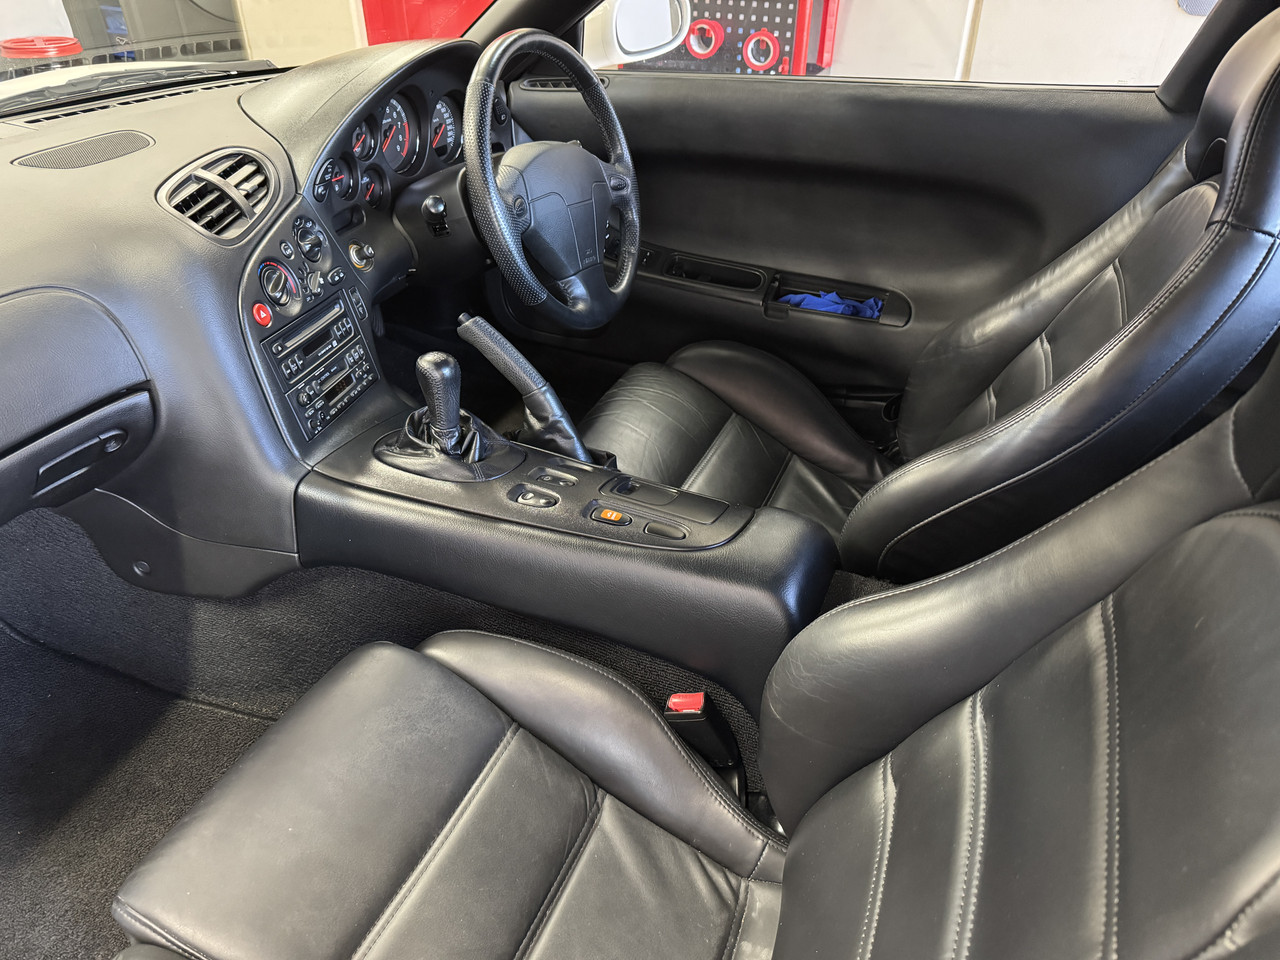
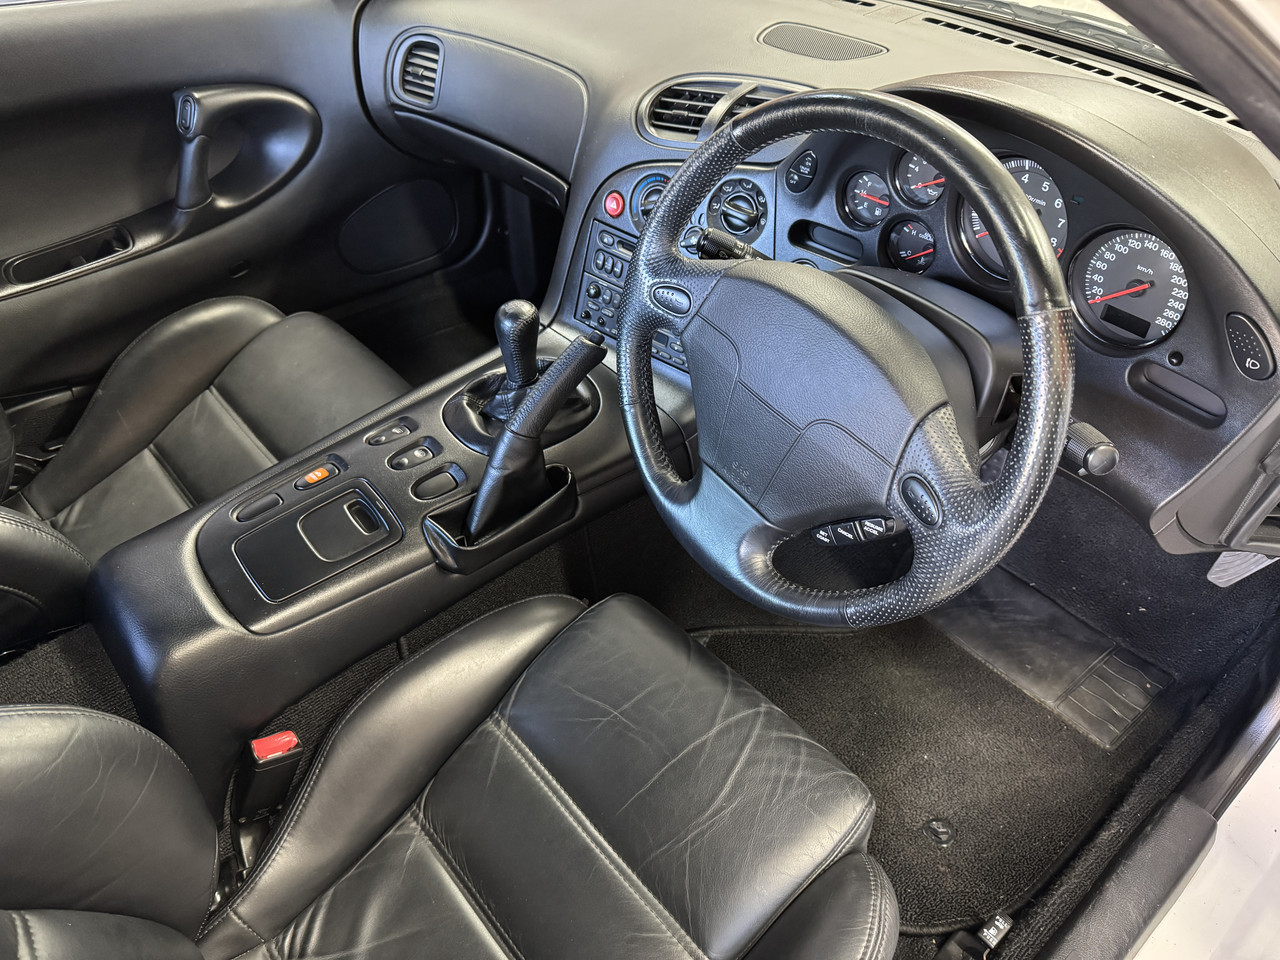
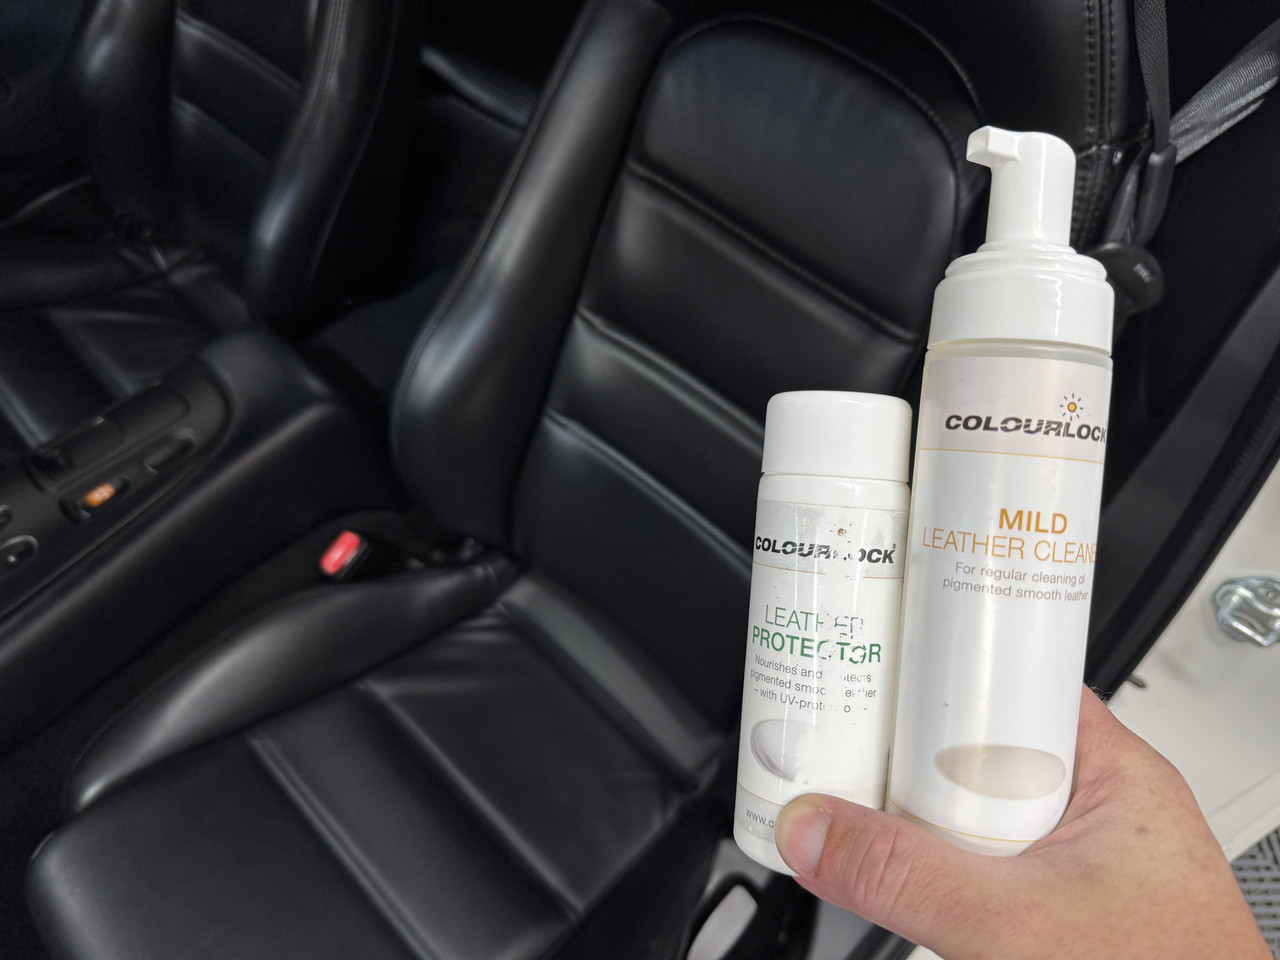
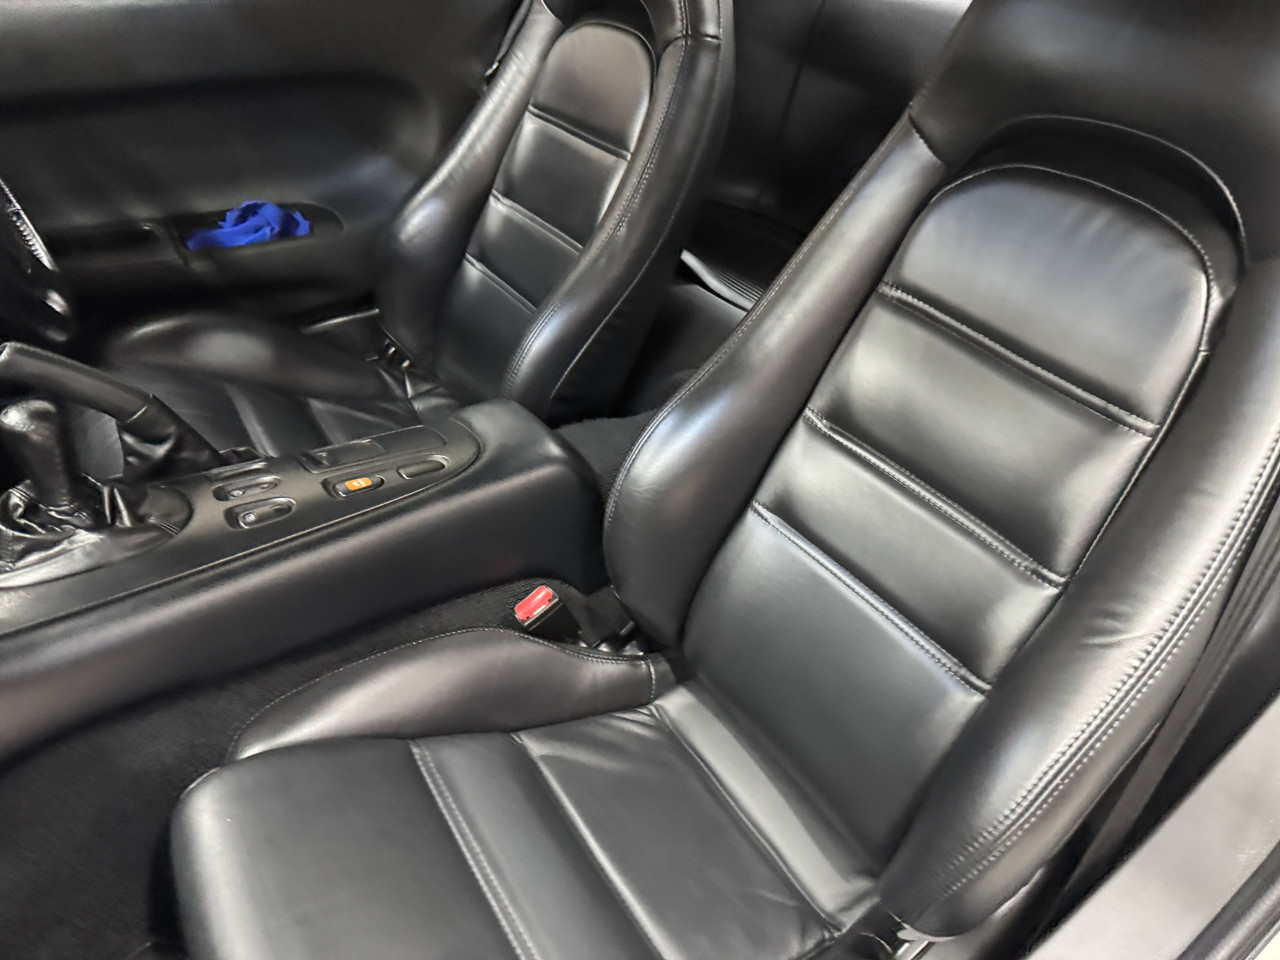
The interior fared well, so I just gave it a vac and wiped everything down with ONR, then Invisible Glass for the interior and exterior windows. From there, some Perl for the tyres and the job done!
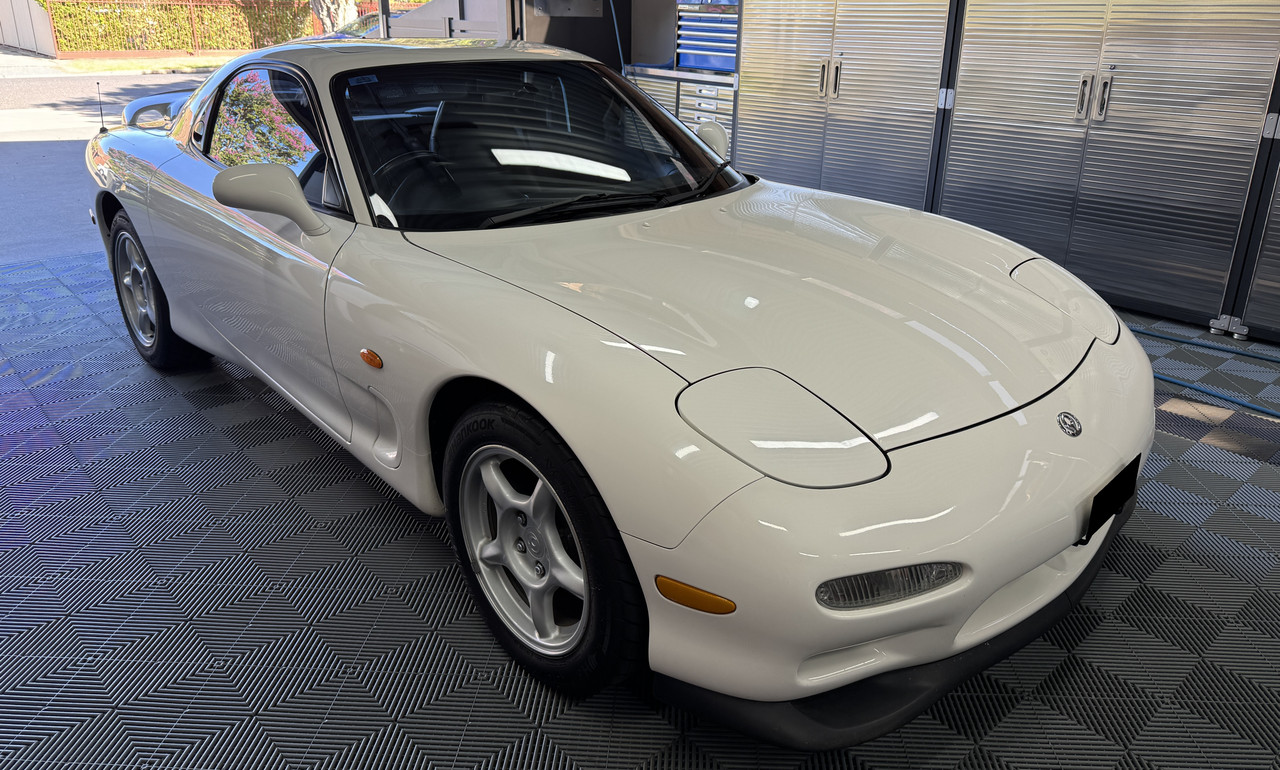
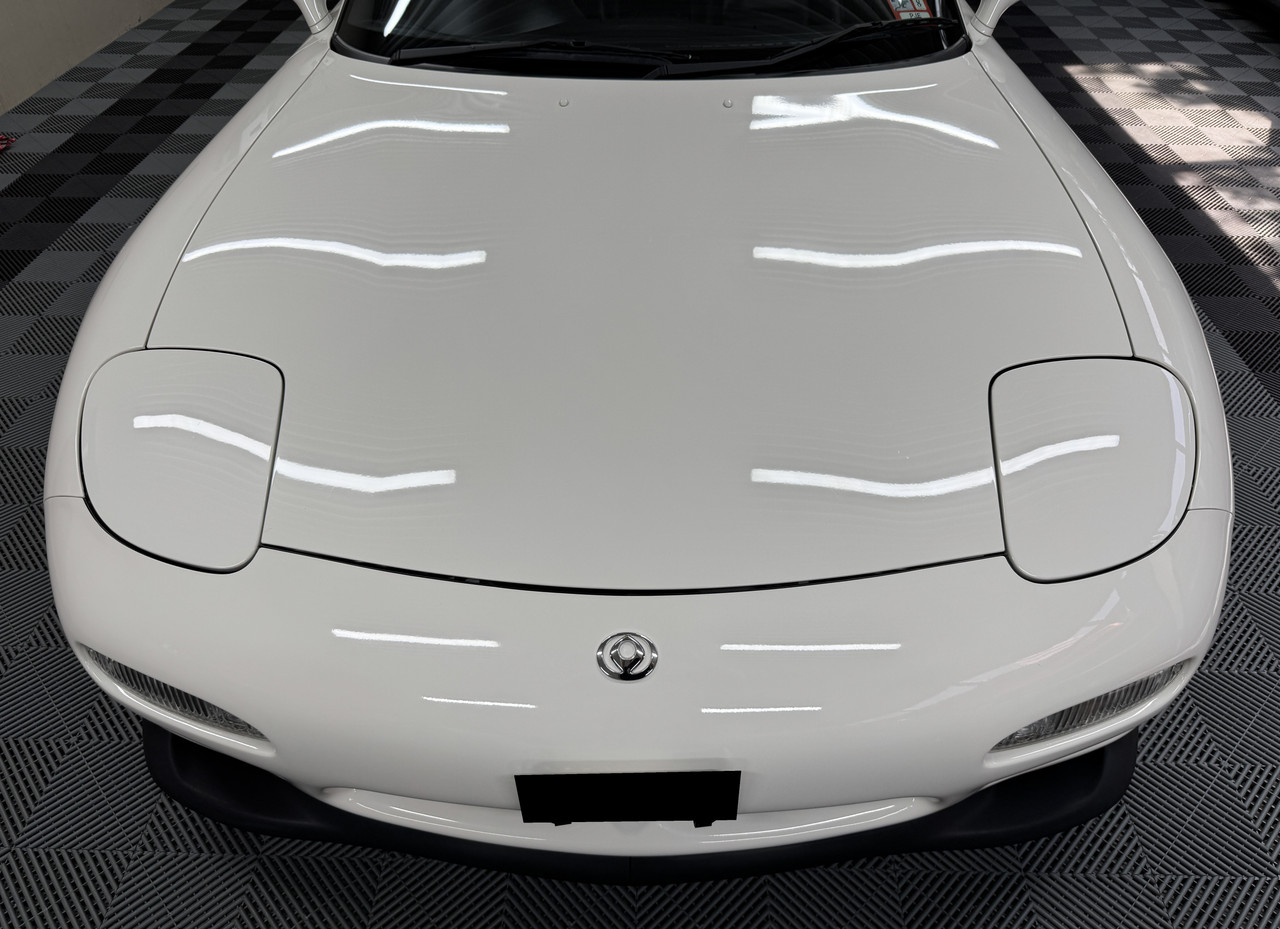
Baking in the Adelaide heat did no favours to the headlights, they need to be polished AGAIN! And that's WITH the fancy $11.80 per ml Opti-Lens ceramic coating applied. I only got about 6-months out of the coating, that's despite "maintaining" it with toppers like any other ceramic coating, at which point you are no better off with or without the coating.
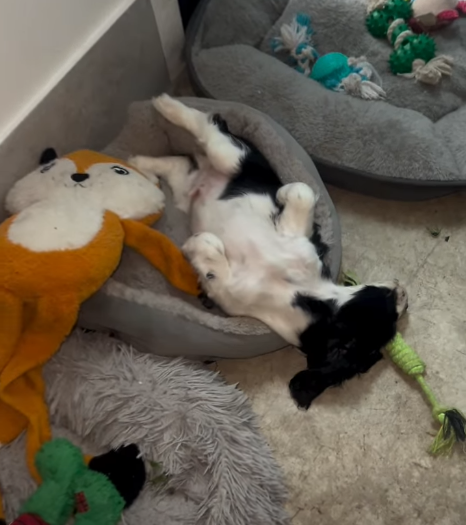
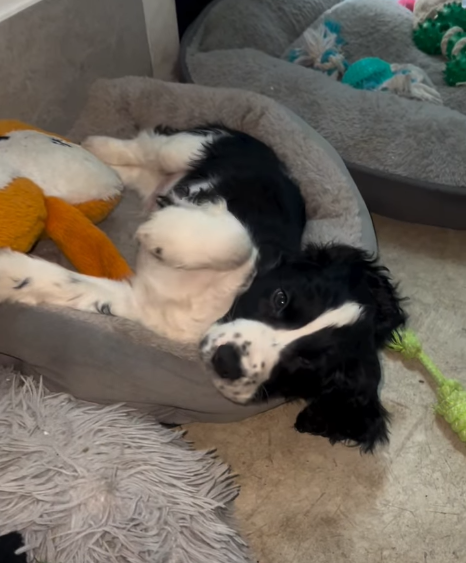
And so, tomorrow is the big day, my little man is coming home. I'm both excited and nervous, fearful of the unknown, but also optimistic of what's to come. The past week has been tough, I've been pining for his company even though we haven't even met yet. I just hope he doesn't get too lost without his siblings around. According to the breeder, he is more of a people dog than a dog dog and completely happy to entertain himself during alone time. Also helping the cause, he is one of three pups yet to go to their forever homes, which I hope means he has already begun adjusting.


"............... mrgh, merha, what, how dare you interrupt nap time!.............."

Despite the heat, I still got out in the garage, EGO fan misting away and a Yeti bottle full of ice water. Even with some cloud cover, I still washed inside the garage today.
The Wildtrak was in line for a much-needed wash after its 1500km round trip to Adelaide over the last week. Being the dirtiest it's been since last winter, the poor thing was covered in dust, road film and plenty of dead bugs............par for course after a road trip.
My first port of call was the engine bay. After an initial rinse, I sprayed it down with Green Star and went at it with an assortment of brushes. Another rinse, I applied Hyper Dressing and blew down the engine bay to disperse the dressing and remove excess water. Finally, the washer bottle was topped off with more Bowden's Dry Spell before the hood was closed. Not perfect, but much better.
After cleaning the floor mats with Green Star, it was time to address those filthy tyres! For this, I grabbed SS Wise Guy and got scrubbing! From there, the usual foaming with Brake Buster to clean the wheel and wheel arch, followed by some KCx Wet Gloss. I also used Wise Guy and Wet Gloss on the plastic side steps.
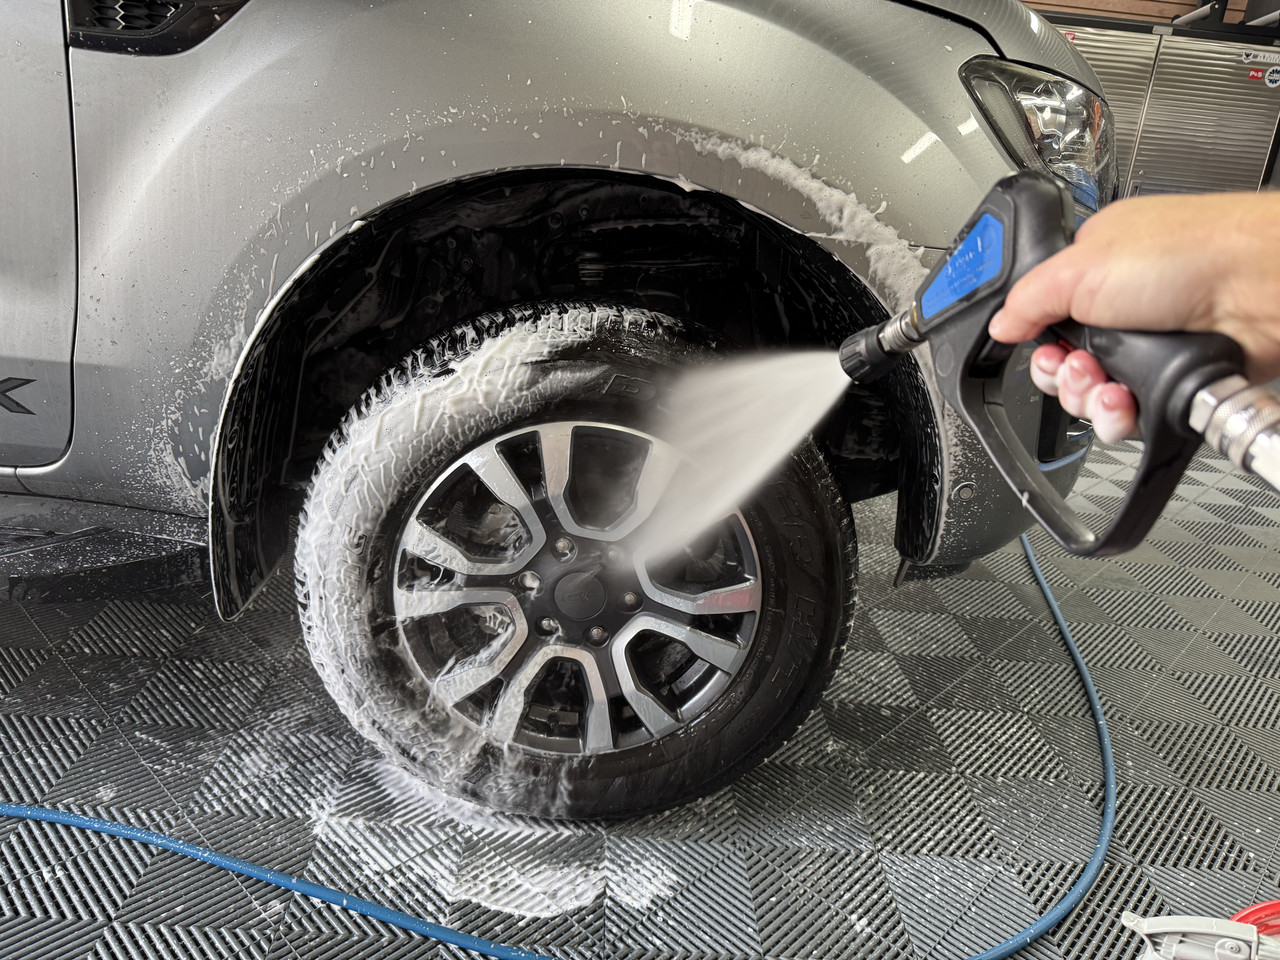
Next, it was time to nuke those bugs! For this, I applied P&S Bug Off to the front bumper, headlights, windscreen and wing mirrors, then foamed the entire vehicle with KCx Active Foam. That combo easily removed the bugs, but there was still some road film on the lowers that I wanted to remove before the contact wash. For this, I sprayed these areas with Green Star, allowed to soak then rinsed. Sorted!

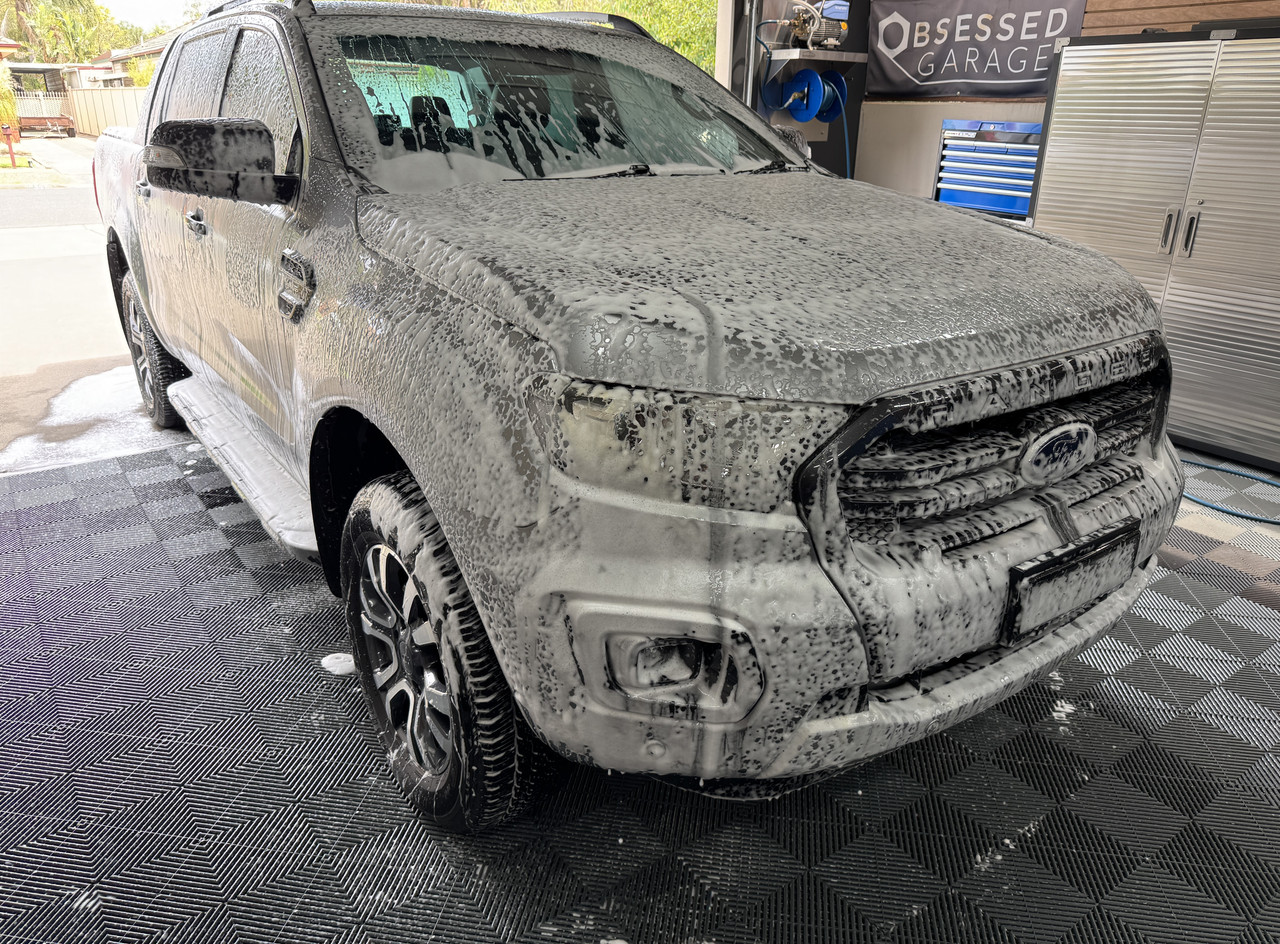
Anything else remaining on the car was easily dealt with during the contact wash with NV Snow. This is a soap I know I can rely upon when that extra cleaning edge is required, it will easily out-clean Carpro Reset. Following the wash, I had to add some Hydr02 to the lower doors, which is always the first area to degrade on an LSP. Following the blow down, I went around and applied ADS Ceramic Spray Sealant, then the door jambs with ECH20.
The interior fared well, so I just gave it a vac and wiped everything down with ONR, then Invisible Glass for the interior and exterior windows. From there, some Perl for the tyres and the job done!
Baking in the Adelaide heat did no favours to the headlights, they need to be polished AGAIN! And that's WITH the fancy $11.80 per ml Opti-Lens ceramic coating applied. I only got about 6-months out of the coating, that's despite "maintaining" it with toppers like any other ceramic coating, at which point you are no better off with or without the coating.
And so, tomorrow is the big day, my little man is coming home. I'm both excited and nervous, fearful of the unknown, but also optimistic of what's to come. The past week has been tough, I've been pining for his company even though we haven't even met yet. I just hope he doesn't get too lost without his siblings around. According to the breeder, he is more of a people dog than a dog dog and completely happy to entertain himself during alone time. Also helping the cause, he is one of three pups yet to go to their forever homes, which I hope means he has already begun adjusting.
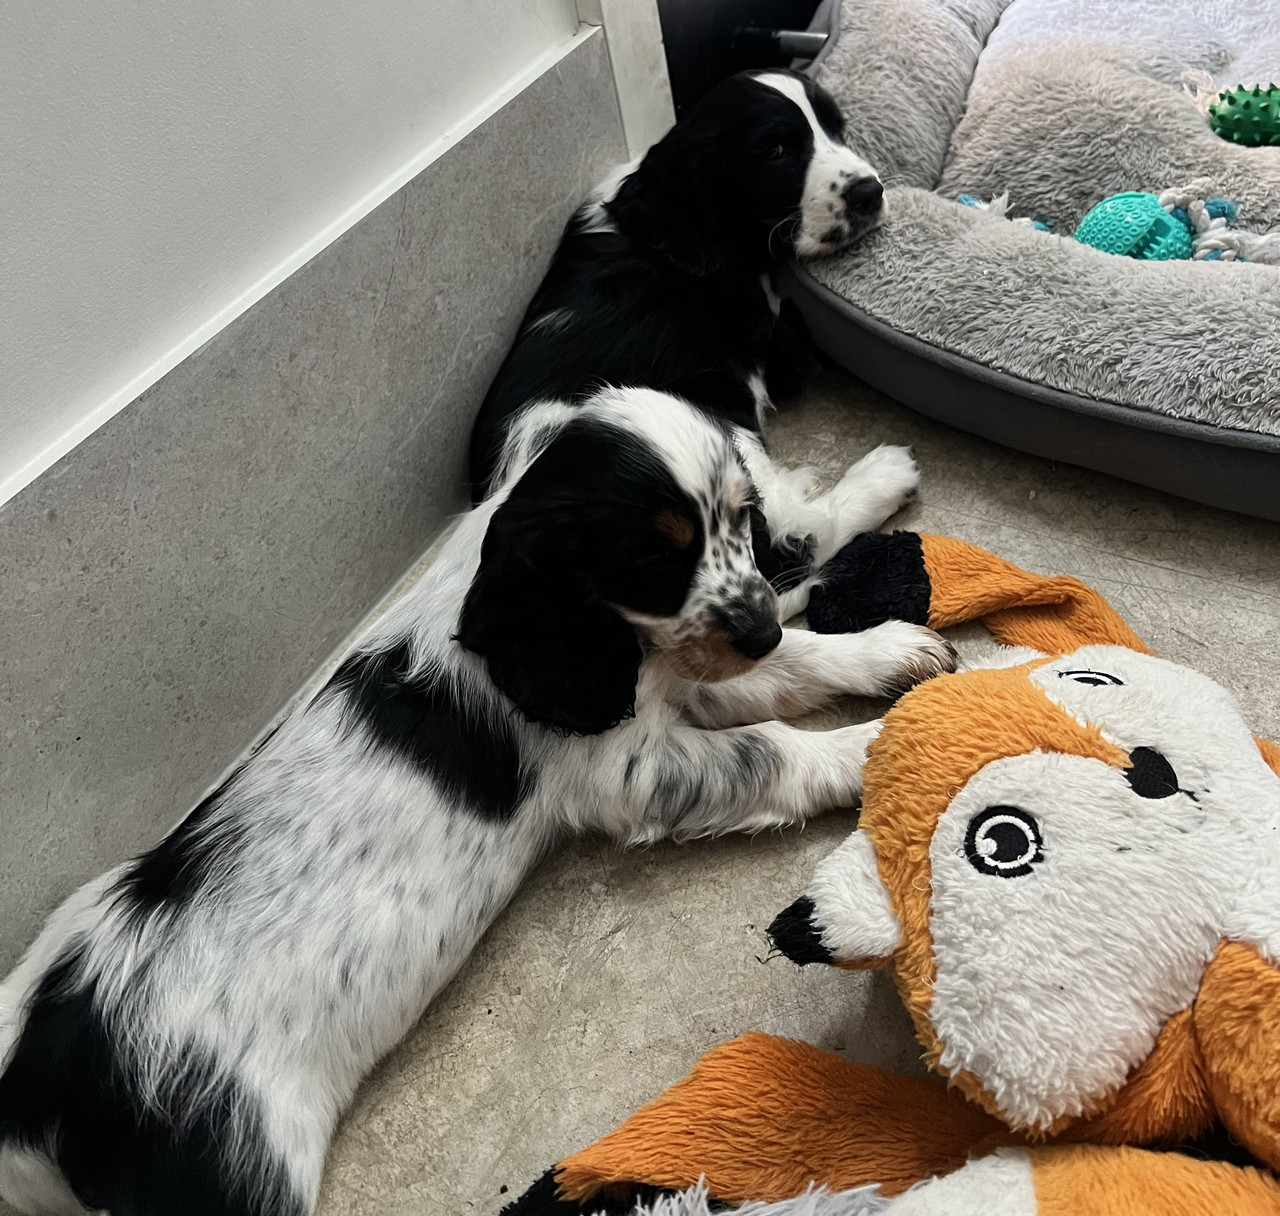
"............... mrgh, merha, what, how dare you interrupt nap time!.............."
Sponsored


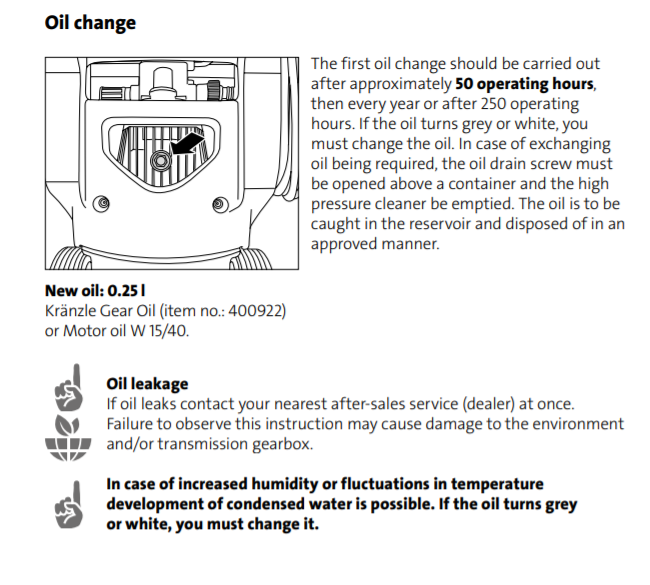
 I only use it once or maybe twice a year, so not only is the battery dead beyond recovery, but I'm probably still not up to 50 hours on it. It's really hard to start with the pull cord, so I'm probably buying a battery this year too.