OP
OP
DFB5.0
Well-Known Member
- Thread starter
- #226
2025 XR6 Detail – Part 2
Picking up where I left of, that means more polishing, most of which being the more intricated areas.
Polishing (continued) -
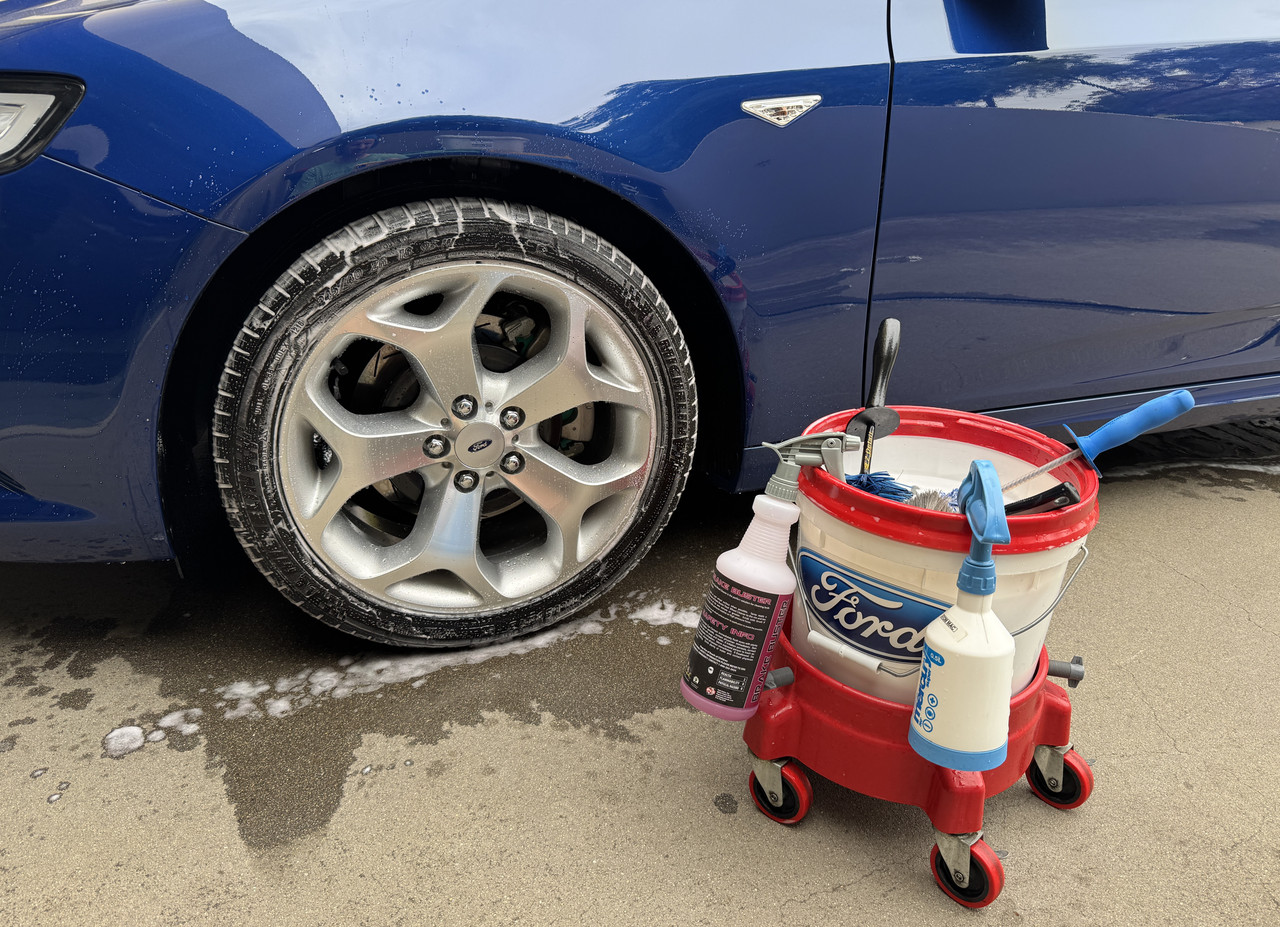
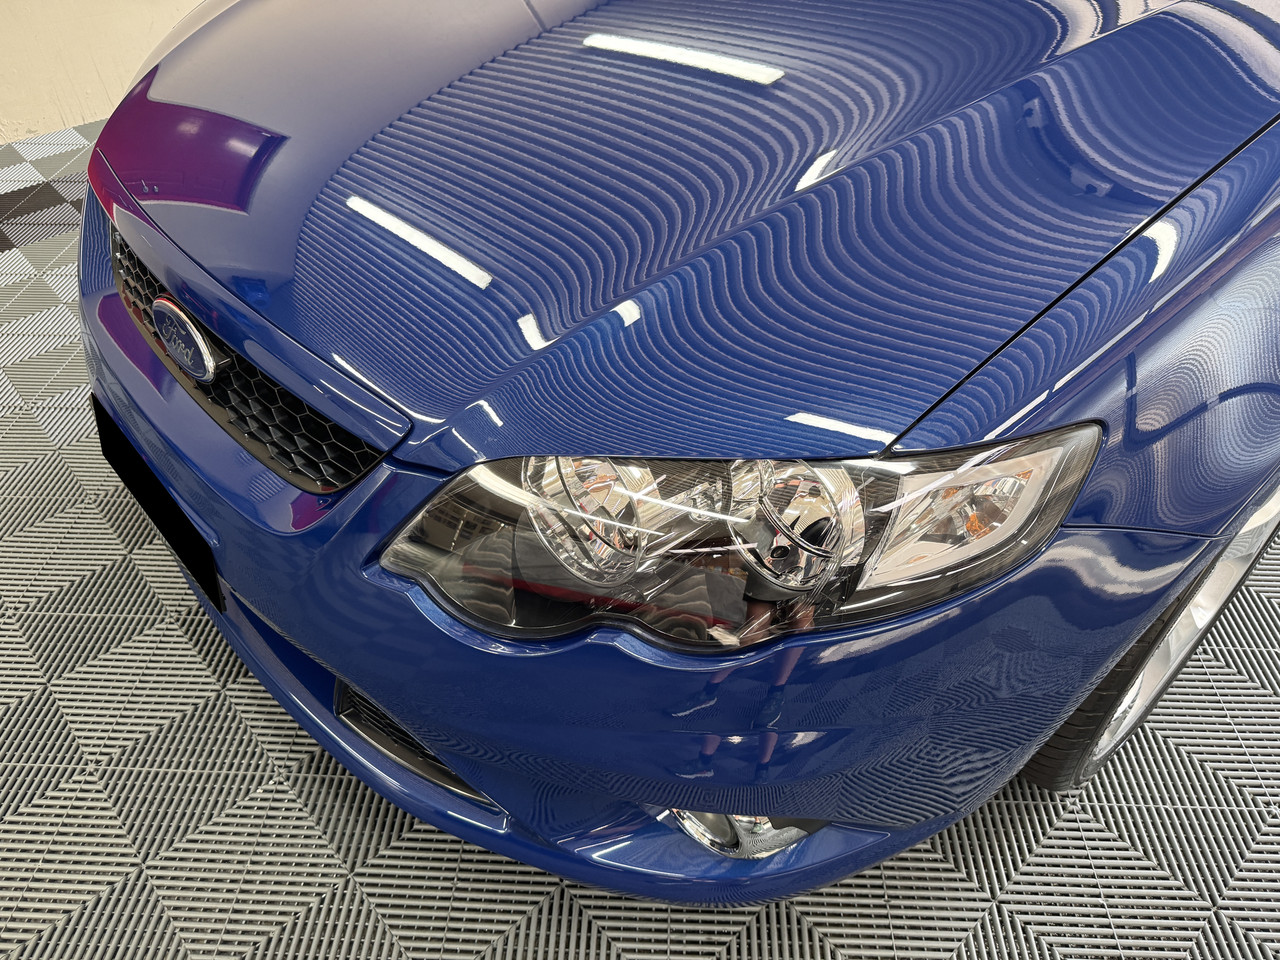
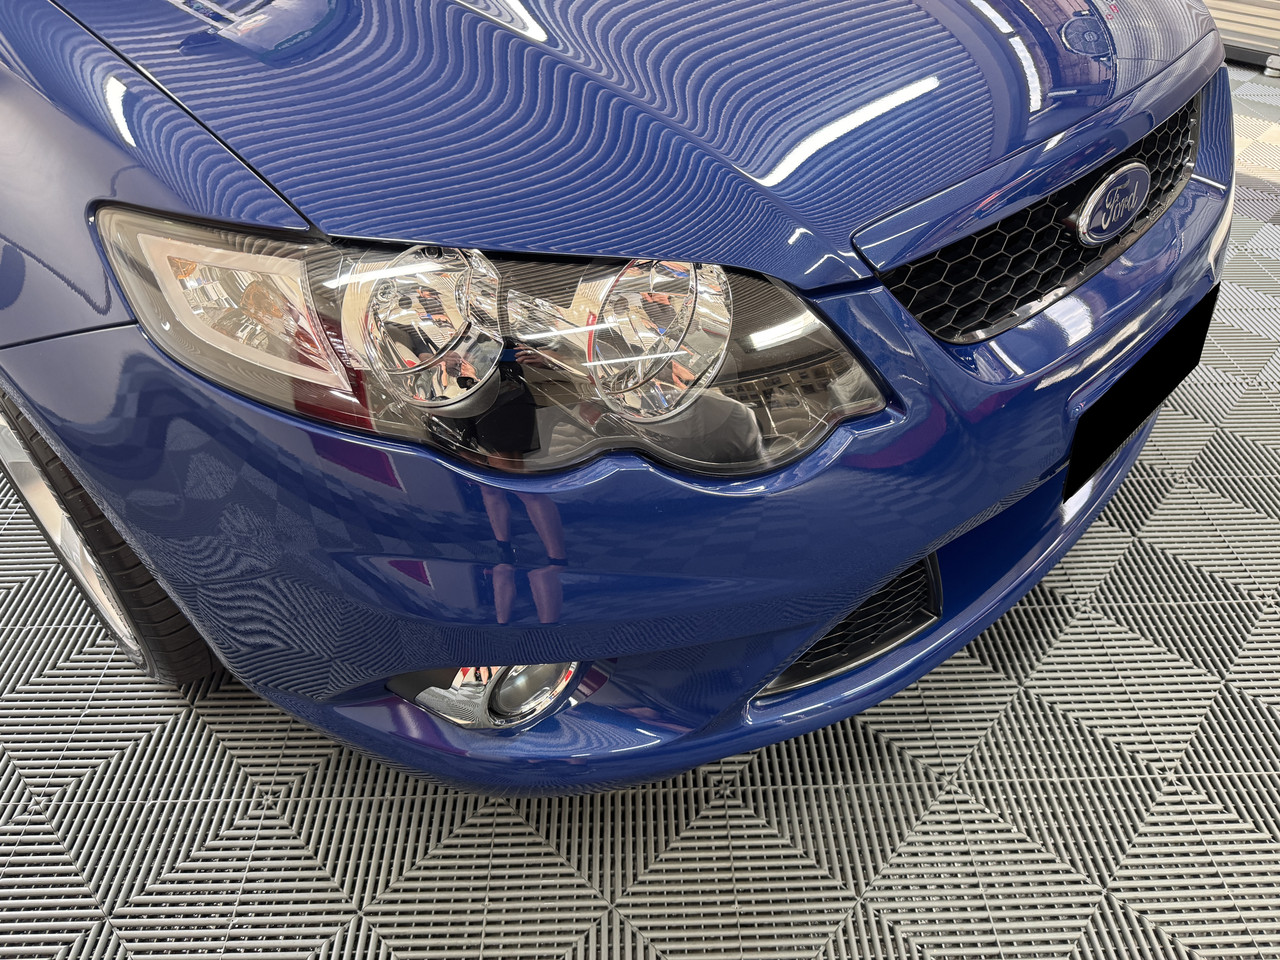
Because I hate polishing front bumpers, I decided to get this out of the way first. Before starting, I added some additional taping around fog light bezels, headlights and grill inserts. Again, Carpro Reflect was teamed with an orange ShineMate polishing pad. For the more intricate sections, the iBrid Nano was used with the 12mm orbit and Rupes yellow foam pad.
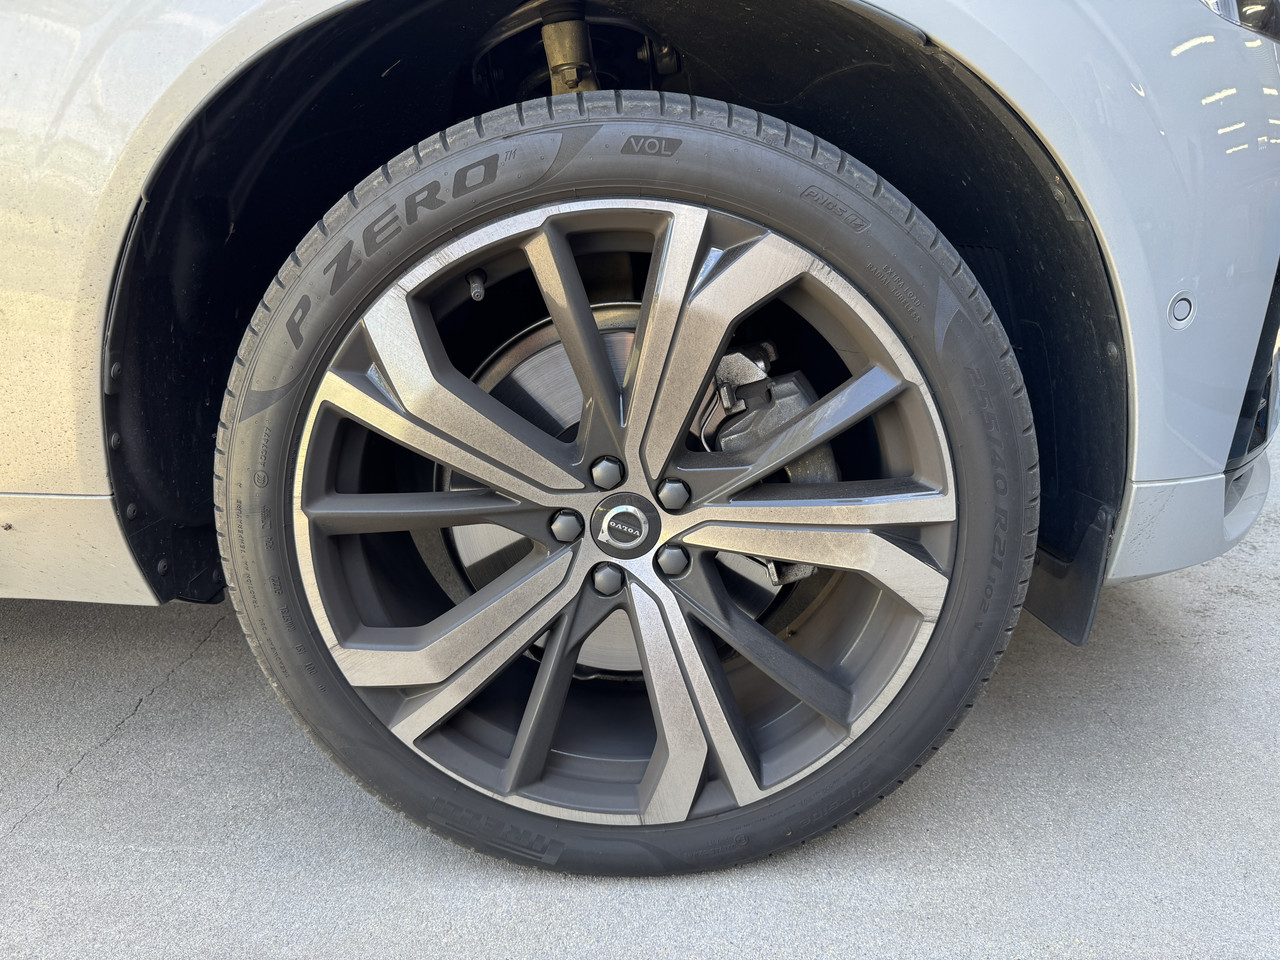
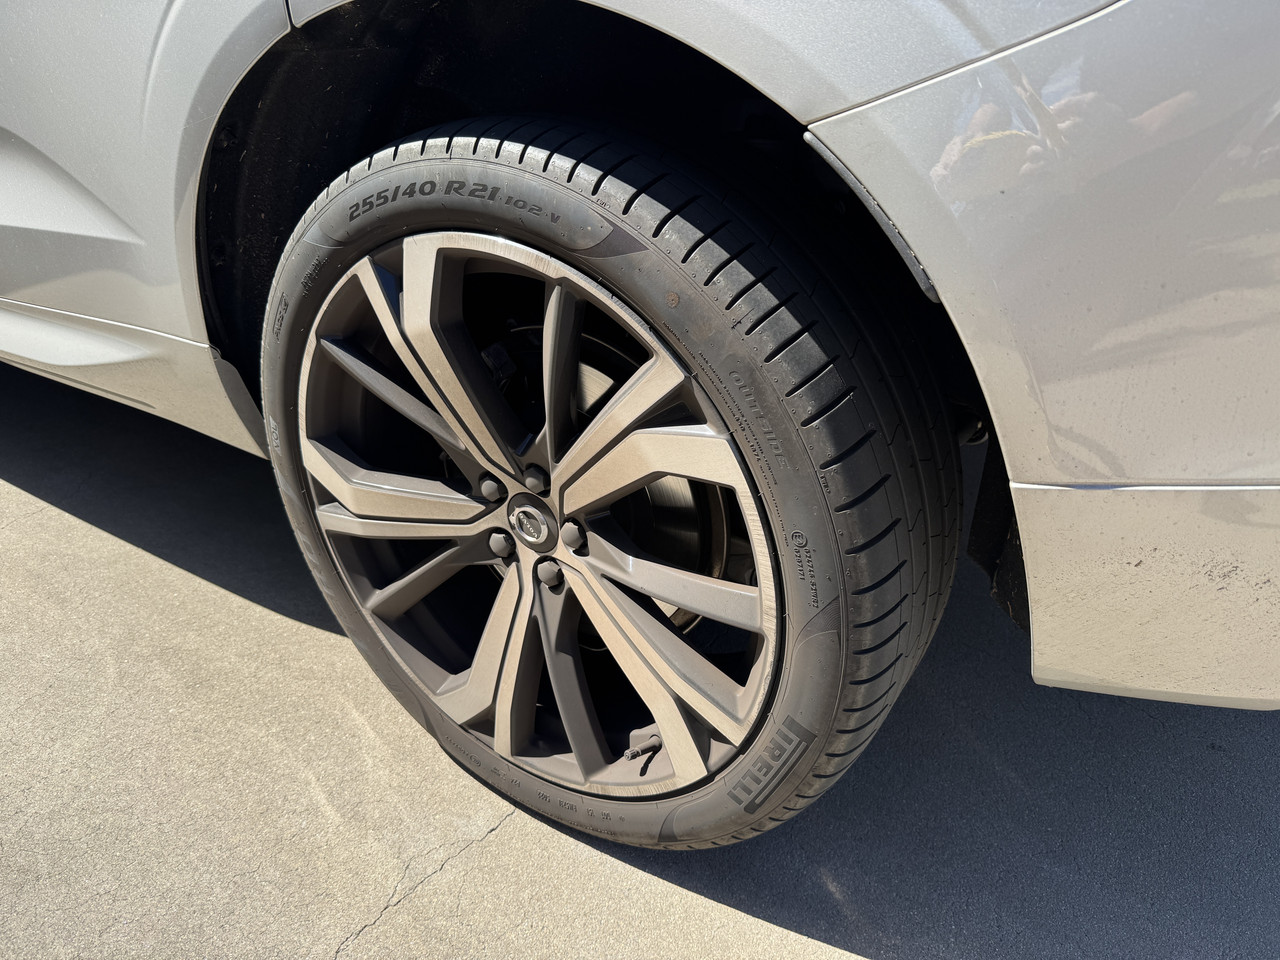
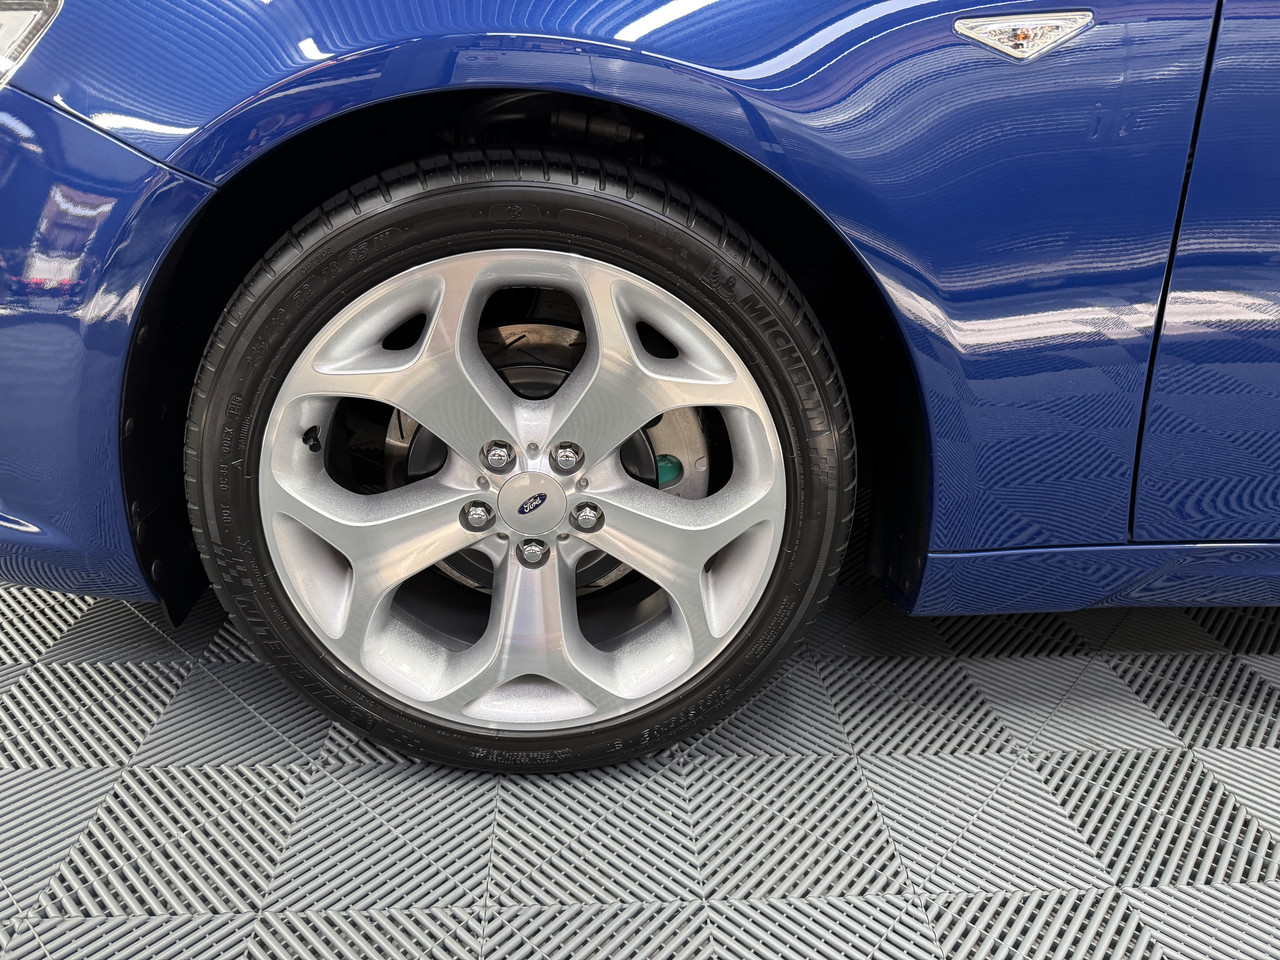
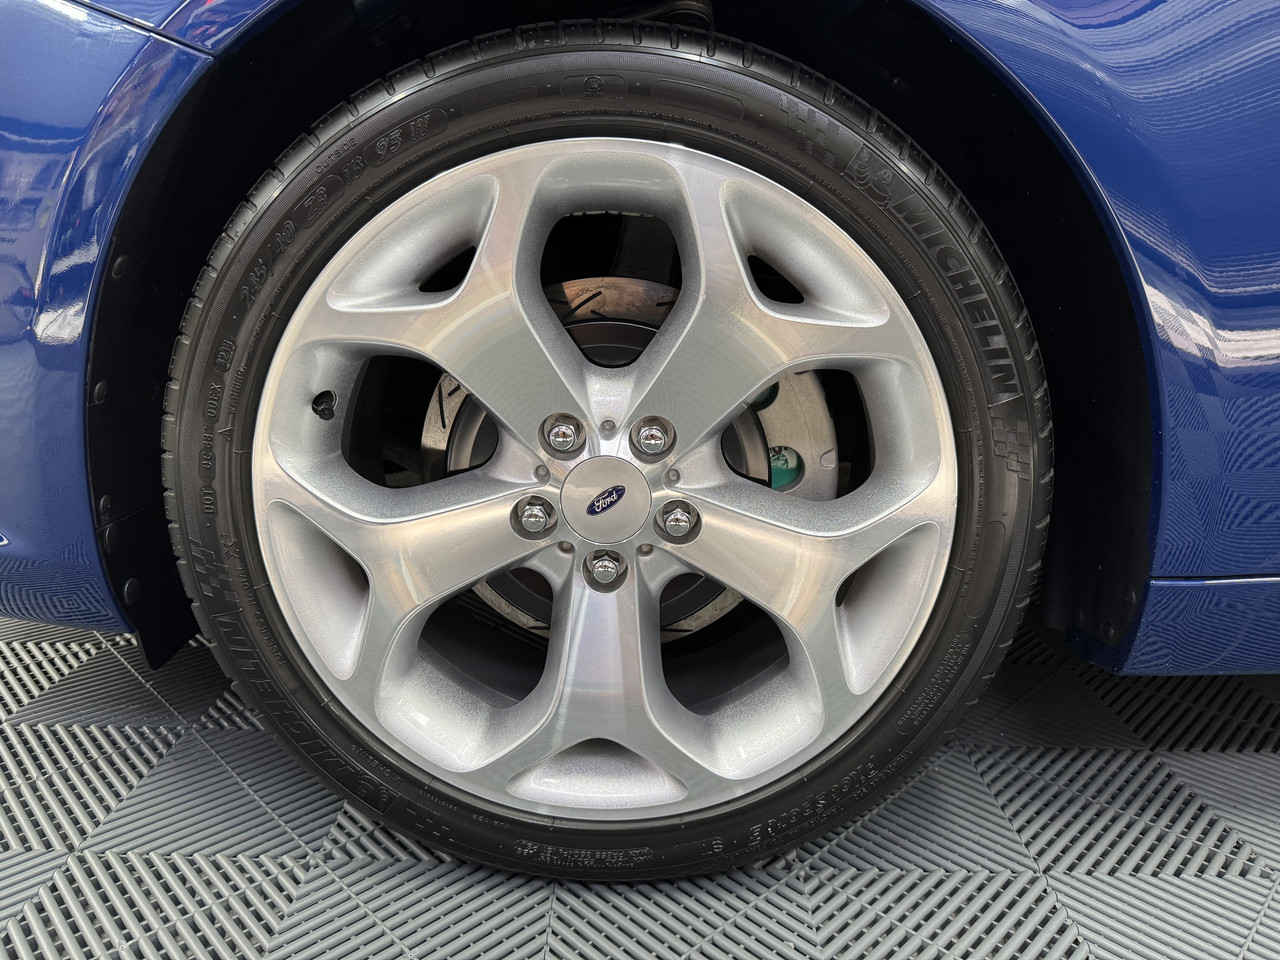
Once the front bumper was done, I began rolling through the doors, side skirts, wing mirrors and glossy black B-pillar trims. For the doors, I used all three machines. The Nano was used around the handles, the EB212 3-inch for the belt line, contoured lower section and side skirts, the HLR15 5-inch for mid sections. The B-pillar trims and mirrors were next, the Nano with yellow Rupes pads were used here, one on the machine and one used by hand.
I set up the camera to show the EB212 in action -
Glass -
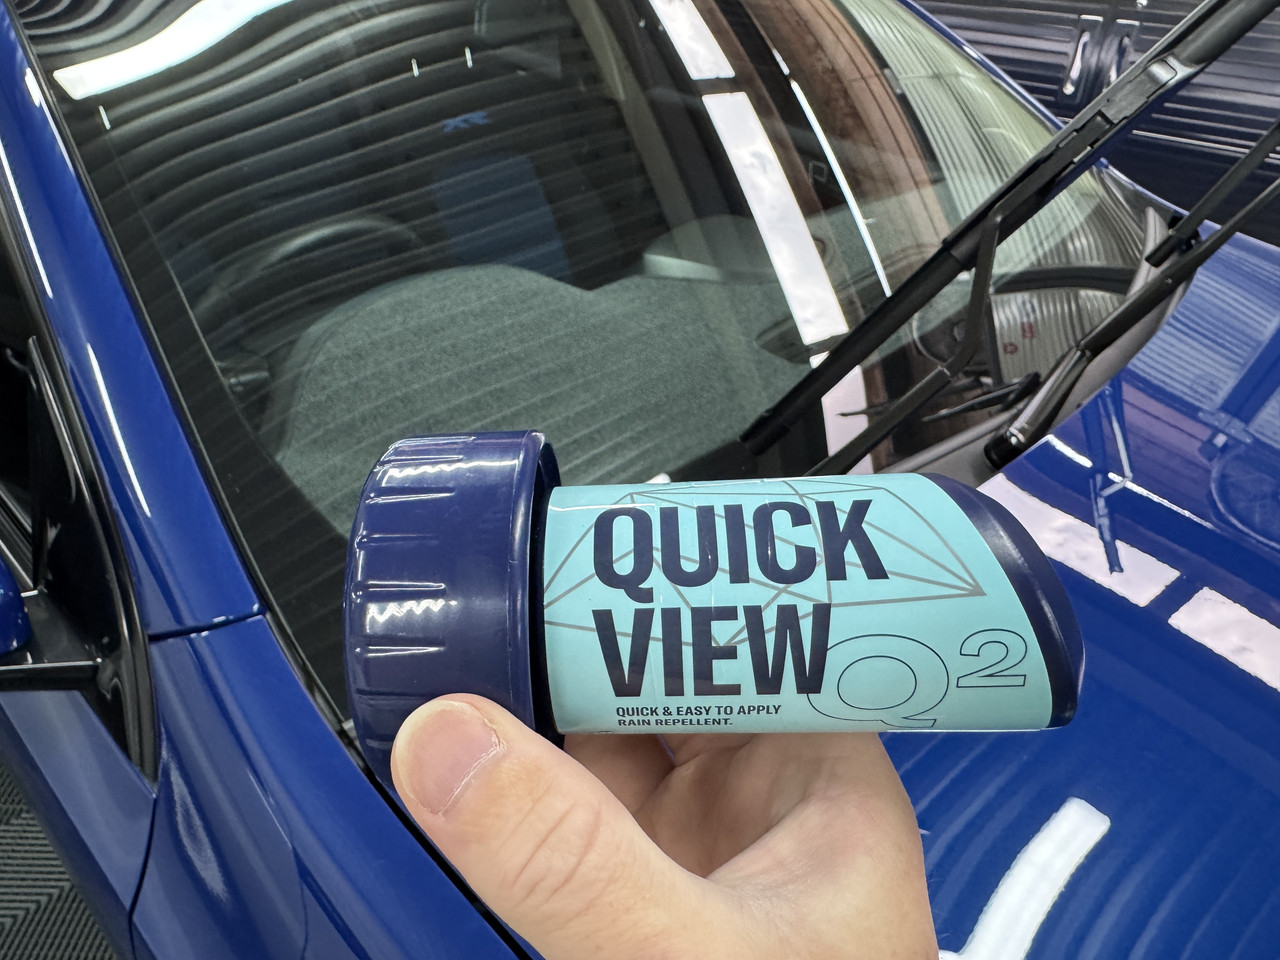
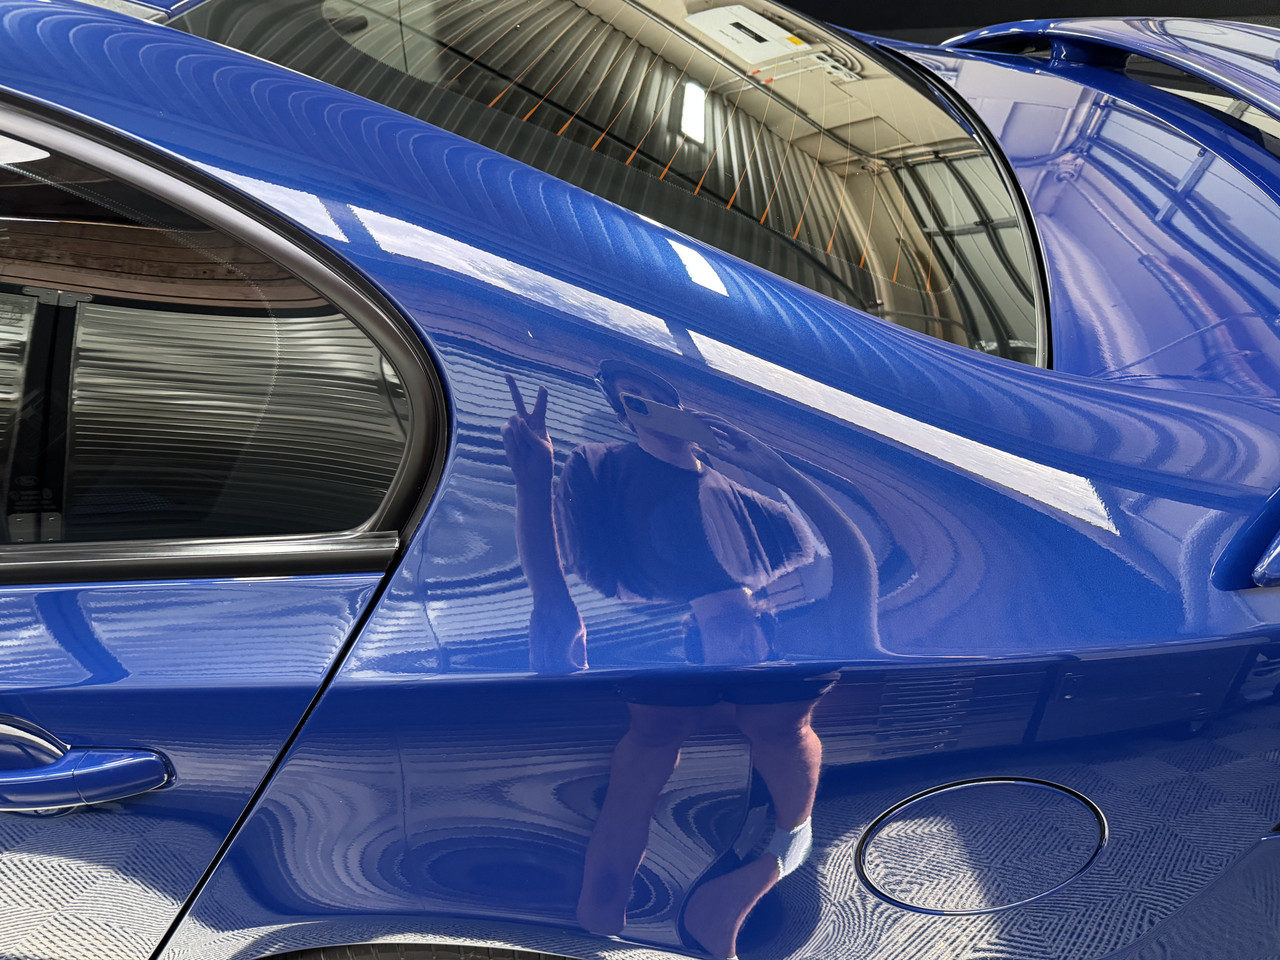
With the paint done, it was time to polish the glass. I like polishing glass, although not necessarily for the task itself. Instead, I love how polished glass disappears from behind the steering wheel.
To start, I needed additional taping around the windows to prevent staining the rubber trims and protect surrounding paintwork. Choice of compound was P&S Clarity Crème, first with the Nano in rotary mode for around the edges, followed by the EB212 and blue Lake Country cutting pad for the bulk.

With glass polishing, keep in mind that you aren’t really “correcting” the surface like you would with paint. Even with heavy duty compounds and pads, it will take your hours to remove a single scratch…………..if you are lucky. In which case, Carpro Ceri-Glass or Cerium Oxide teamed with a rayon pad would be your best bet. In my case, glass polishing is about deep cleaning. I like to use Clarity Crème, but any medium to heavy cutting compound teamed with foam or wool pads will also do the job, I'd probably avoid microfiber pads due to the higher heat generation.
Protection –
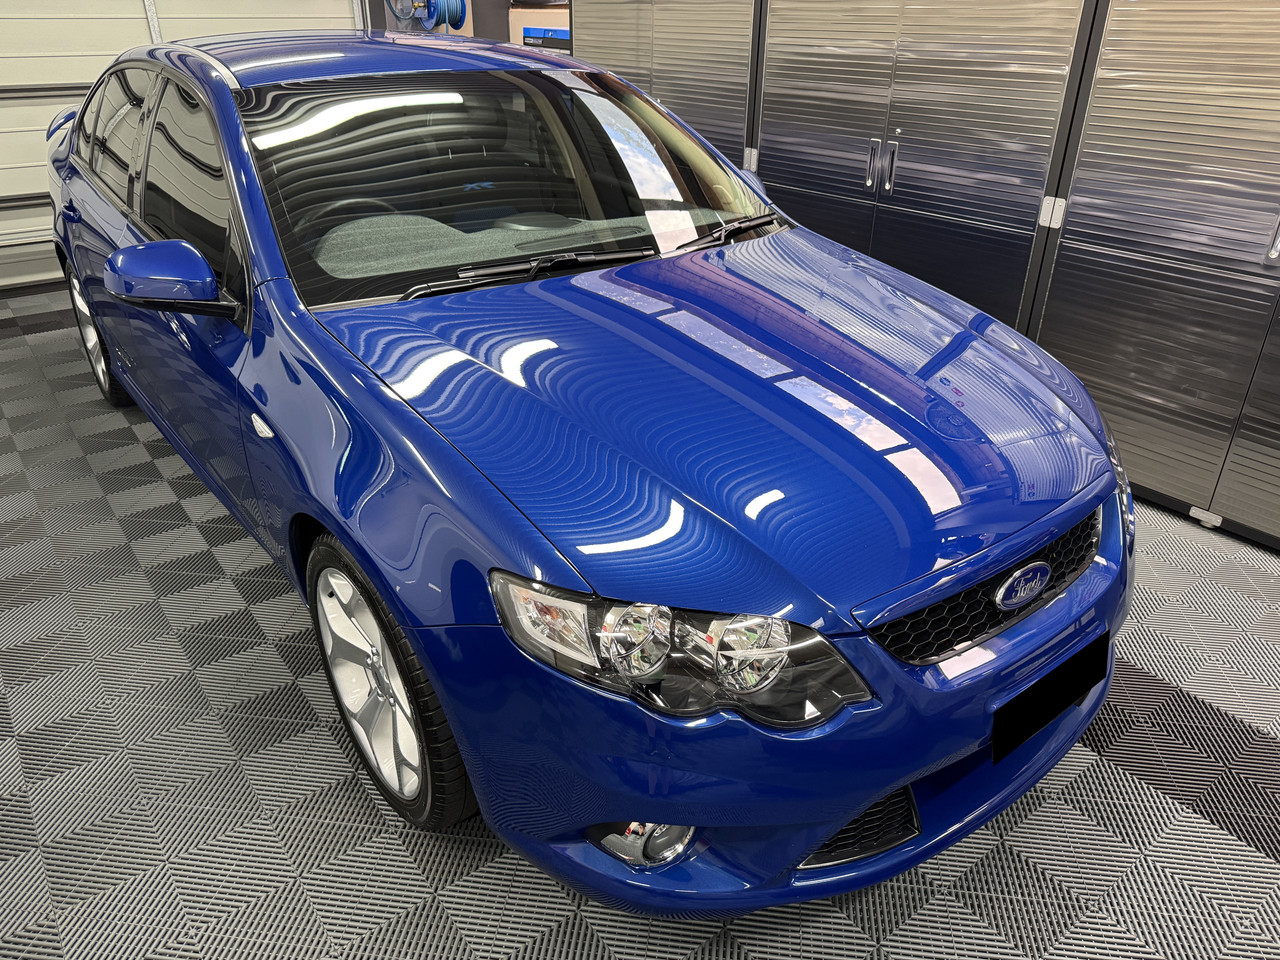
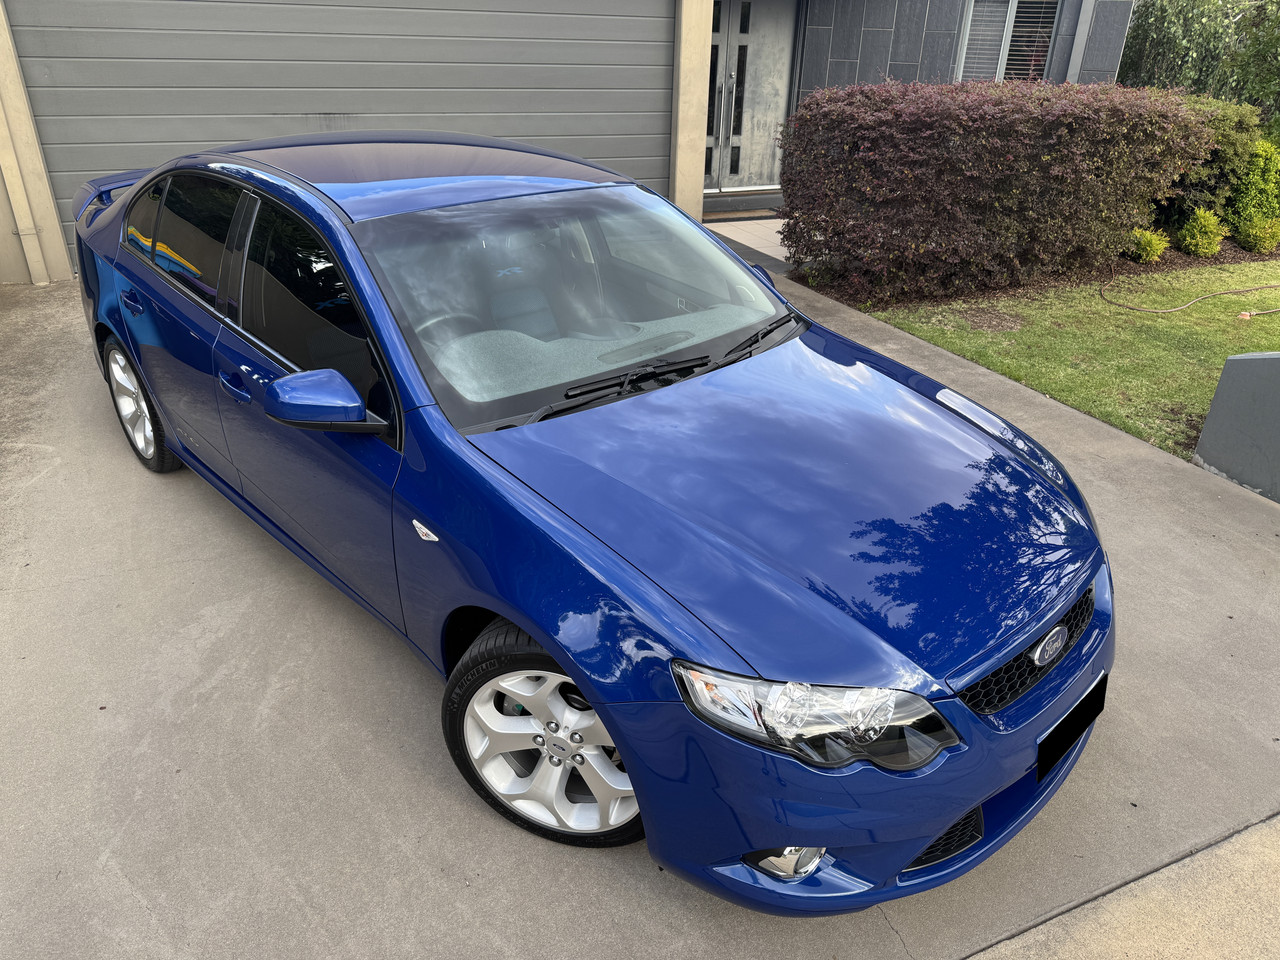
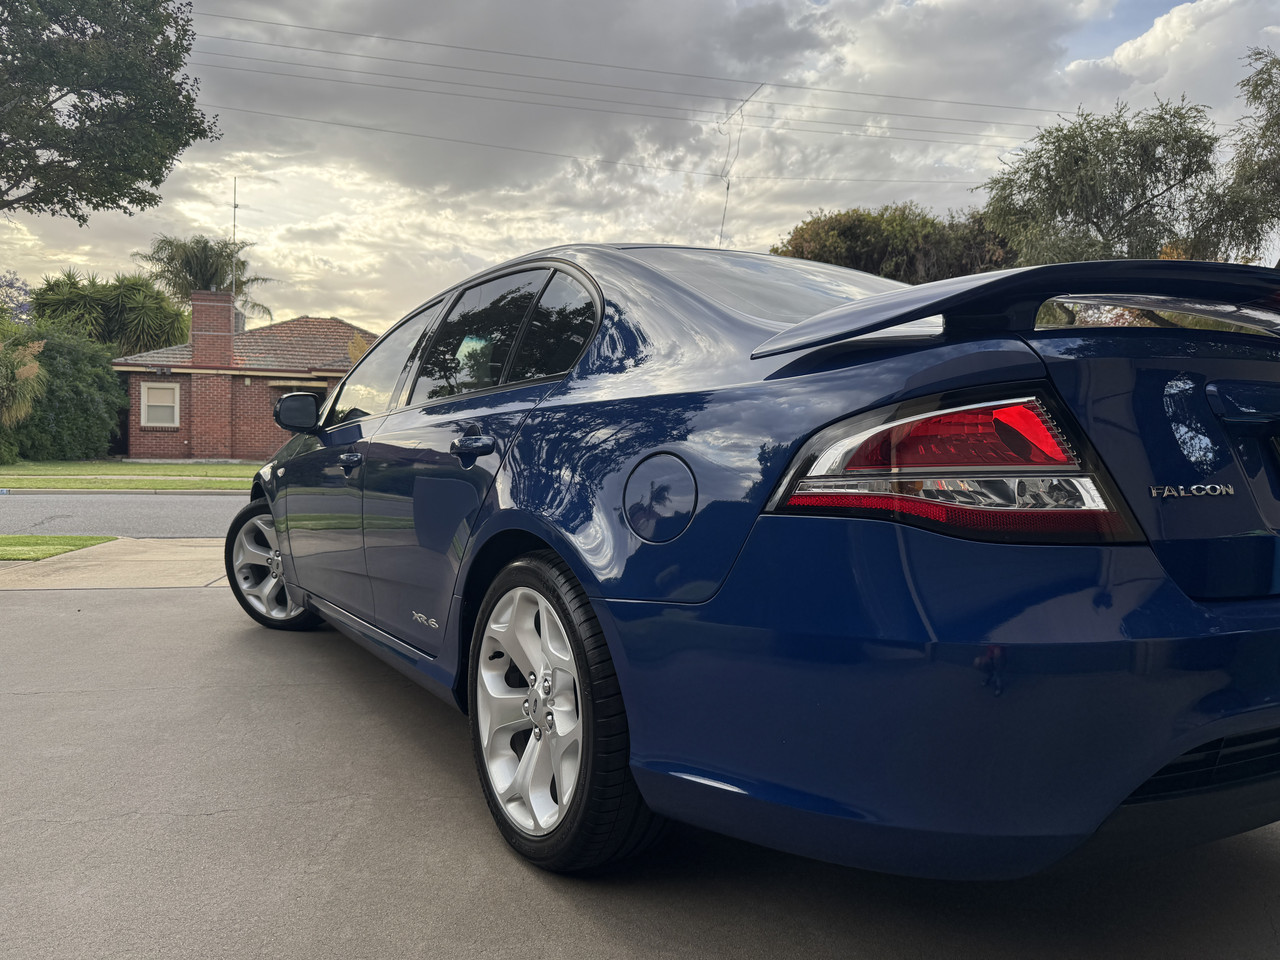
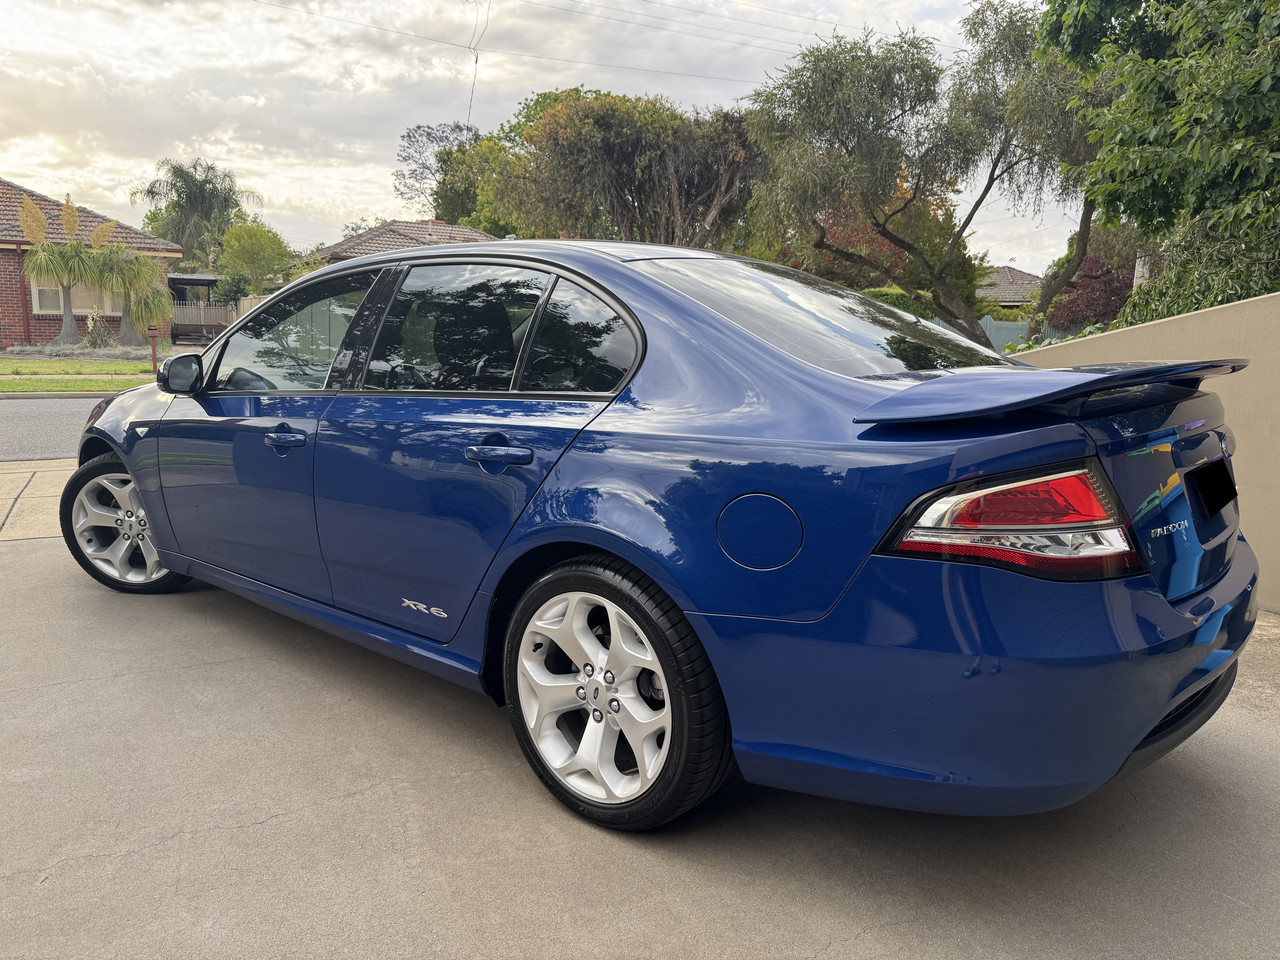
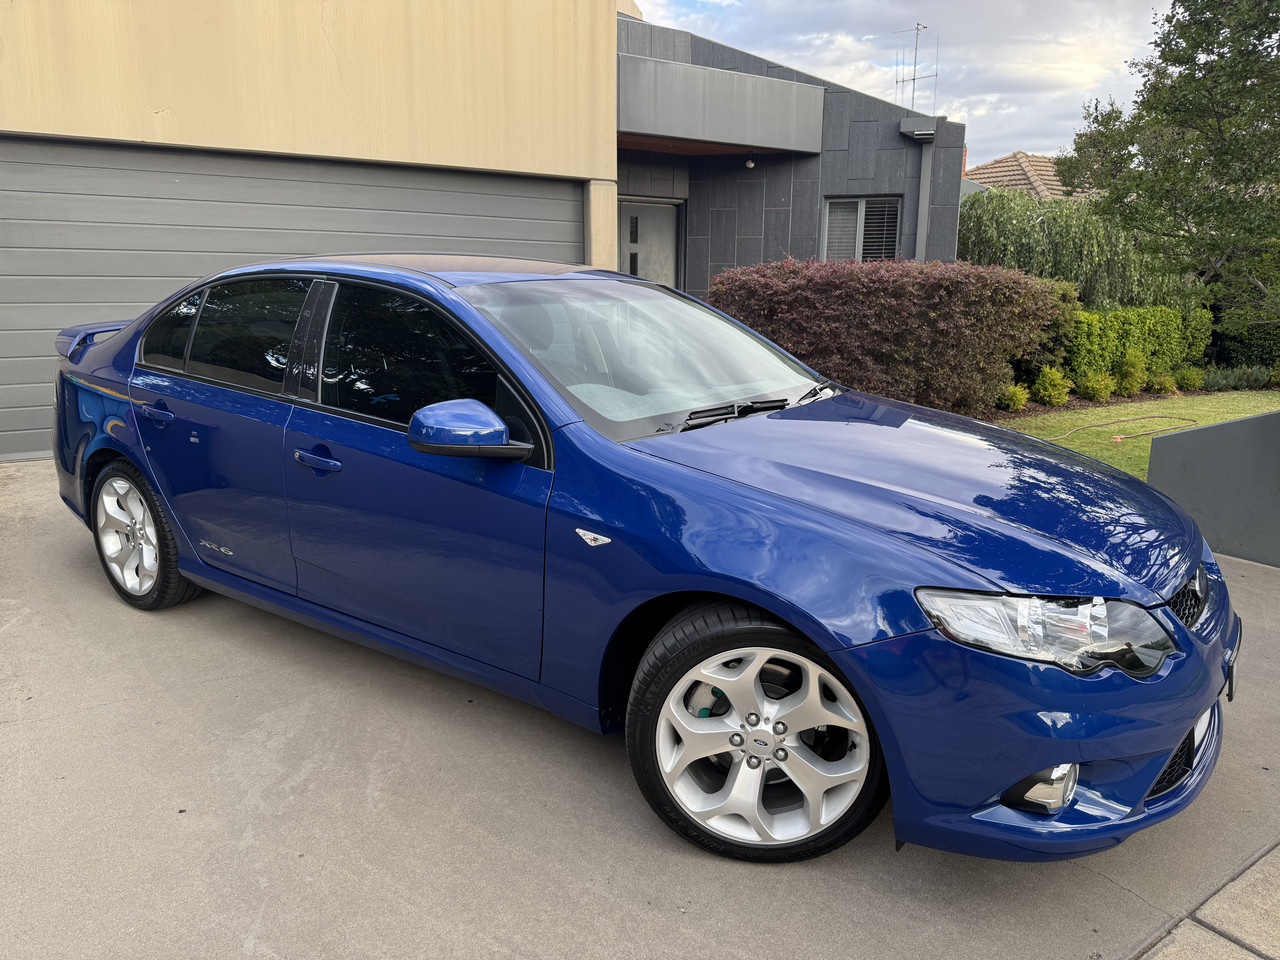
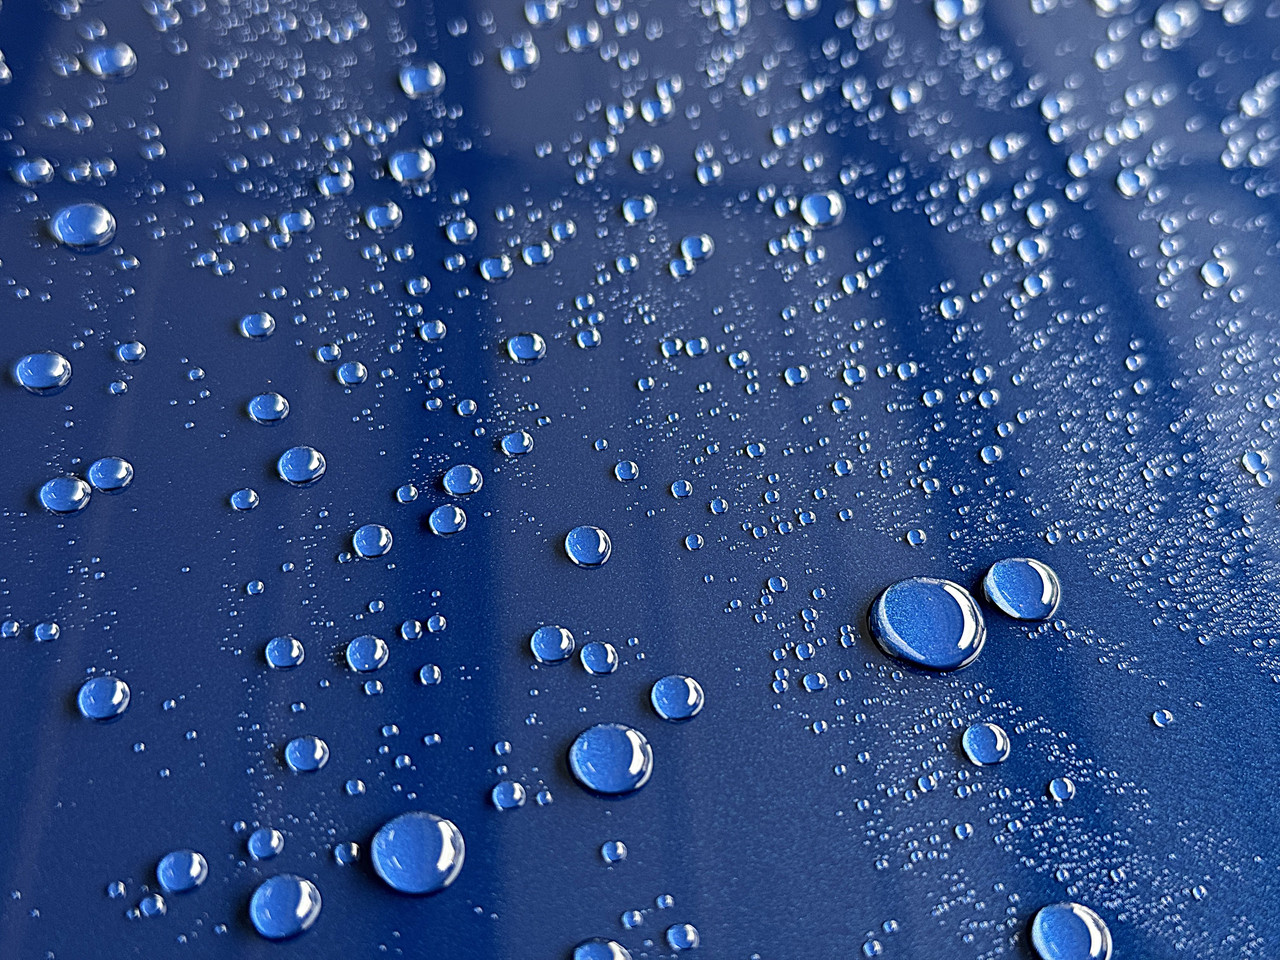
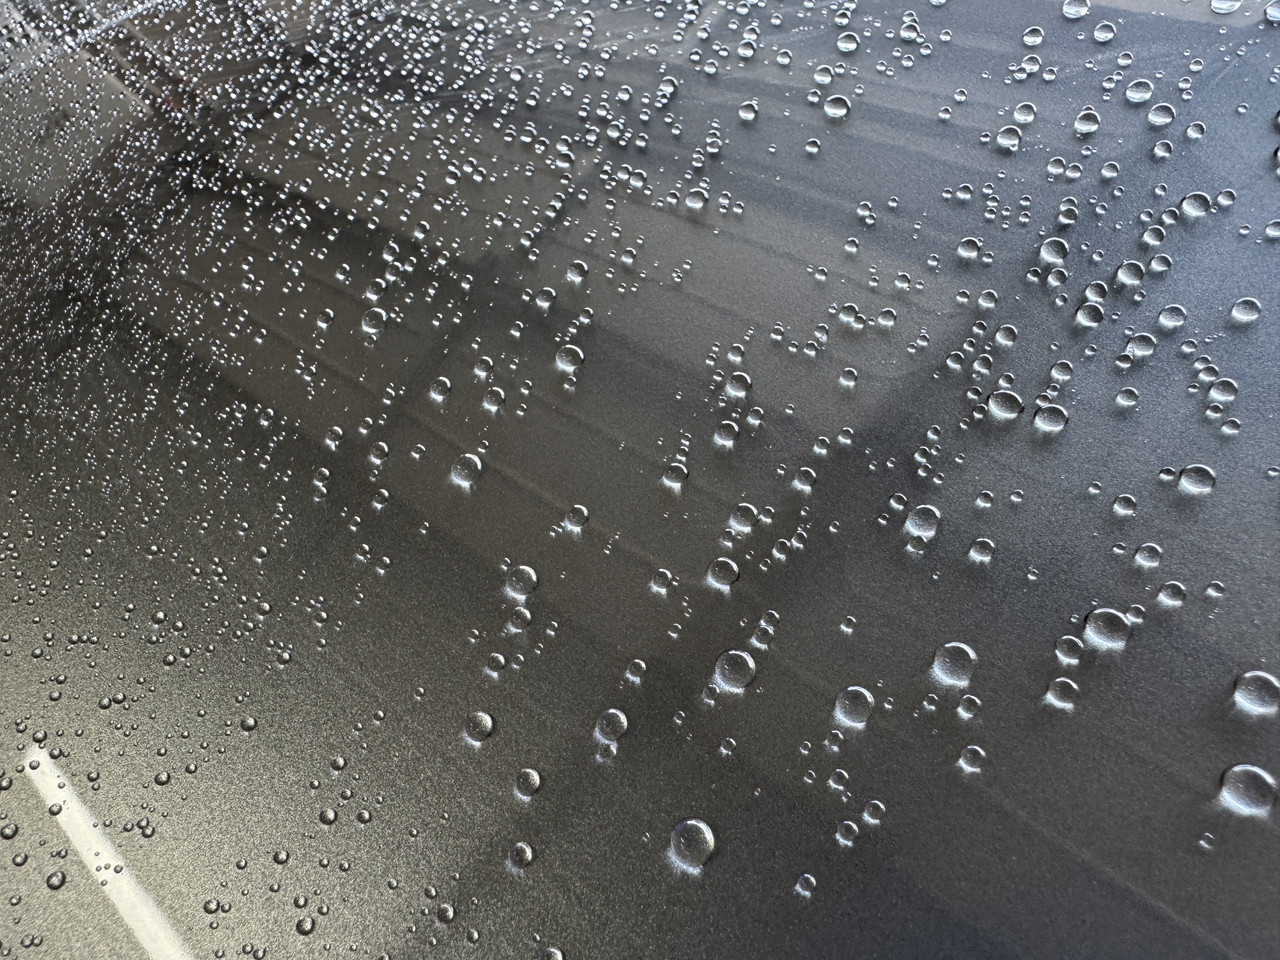
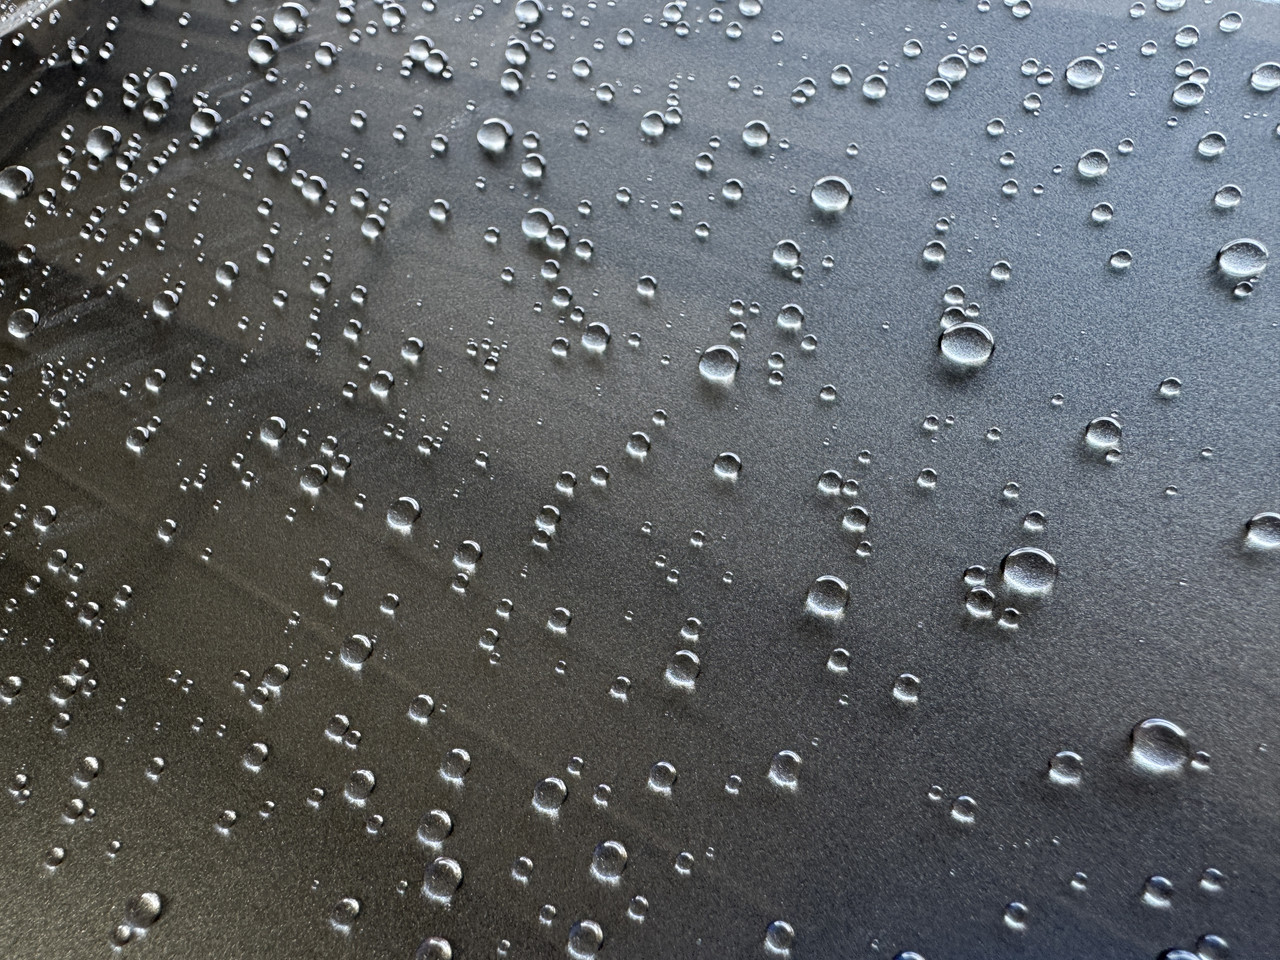
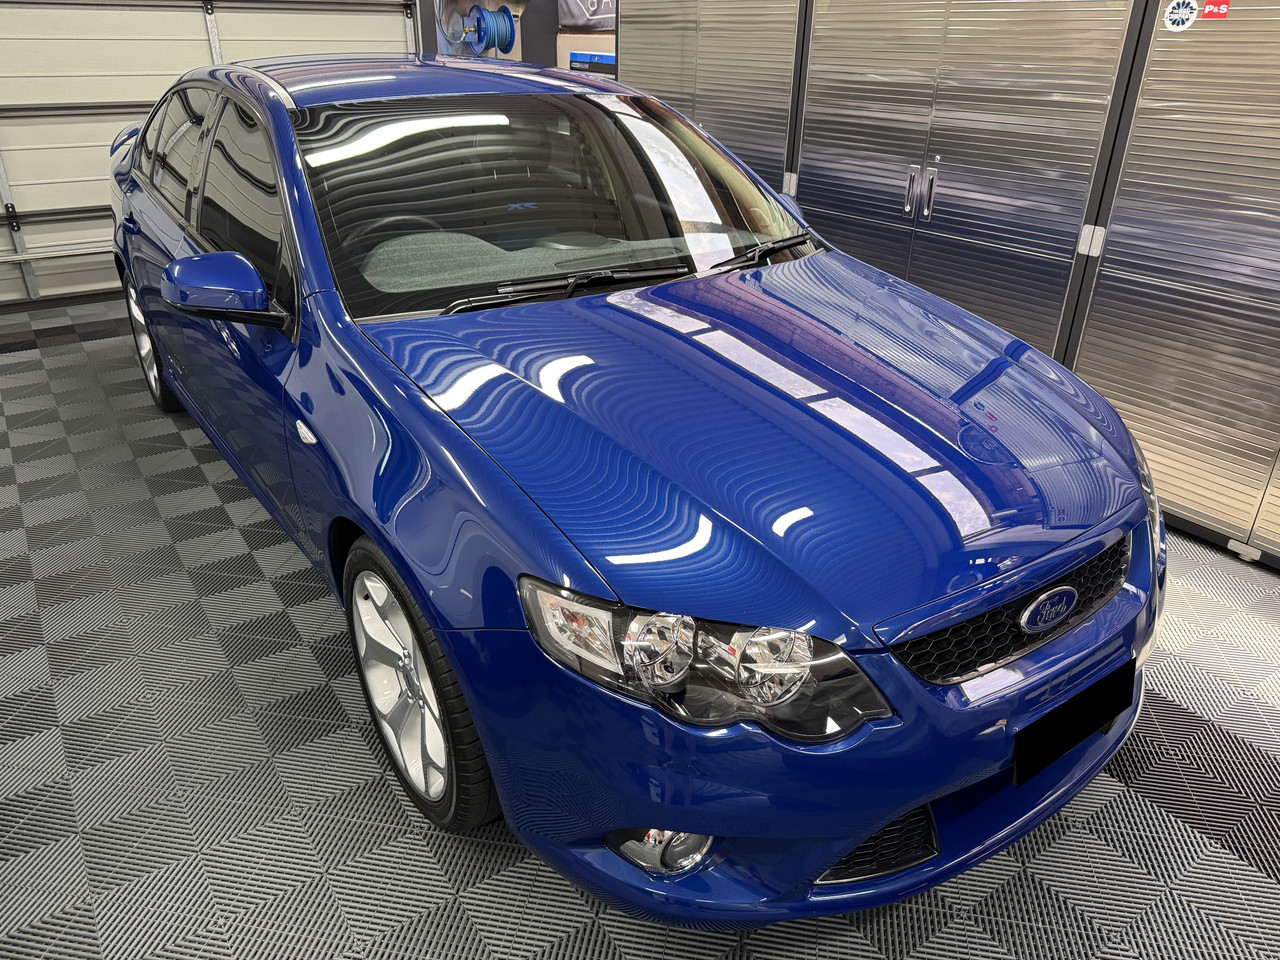
I’m done with ceramic coatings on garage queens. Longevity and ultimate chemical resistance are not a factor, especially with how “we” tend to continue topping things off with detailers and spray sealants. This is why after 5-years, the XR6 still showed supreme water behaviour. Having said that, on daily drivers a coating is probably a better option, but even then, I must prefer the user experience of a wax or sealant, far less stressful. There, I said it, again.
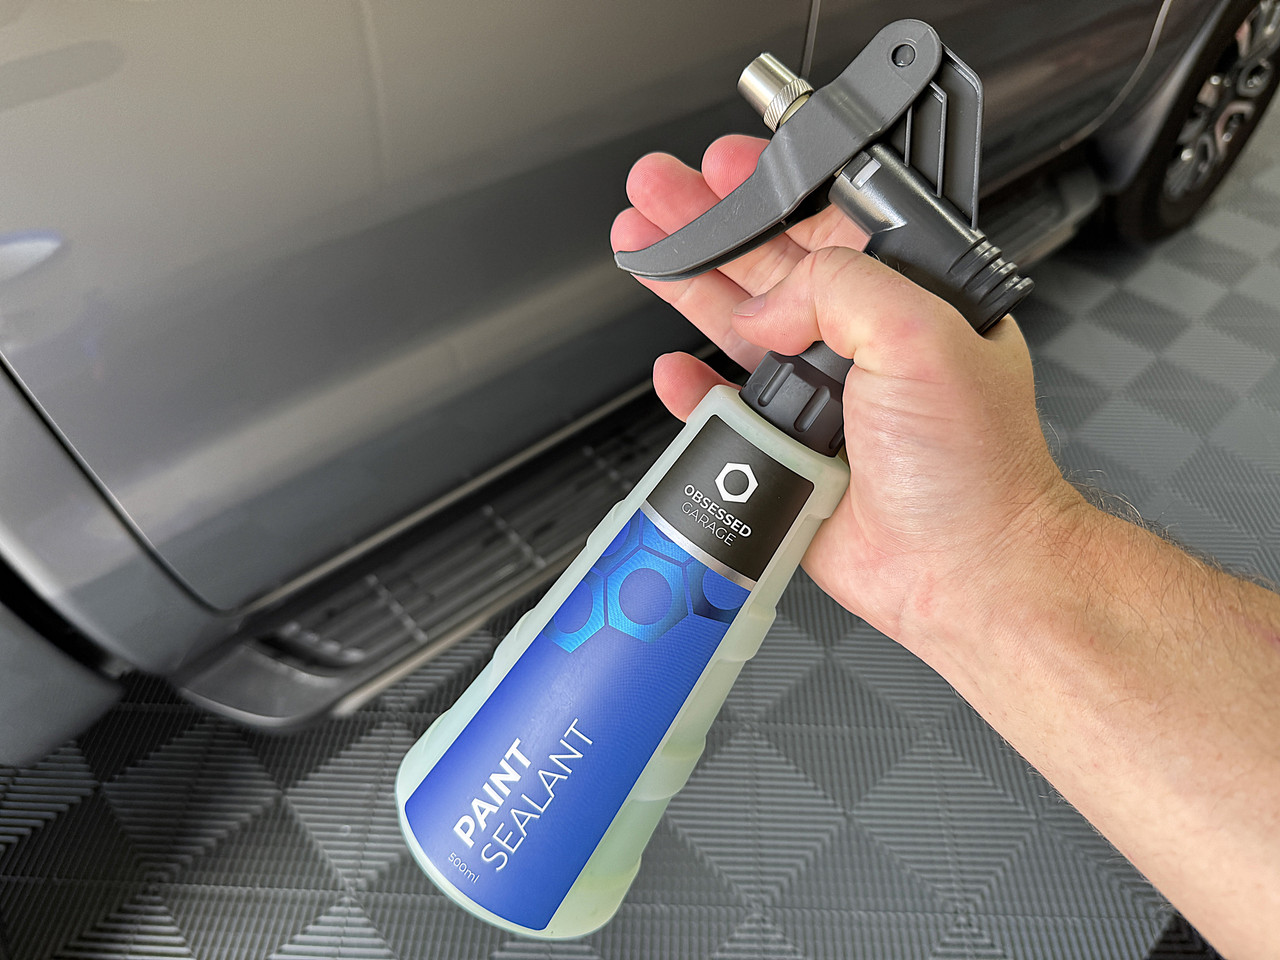
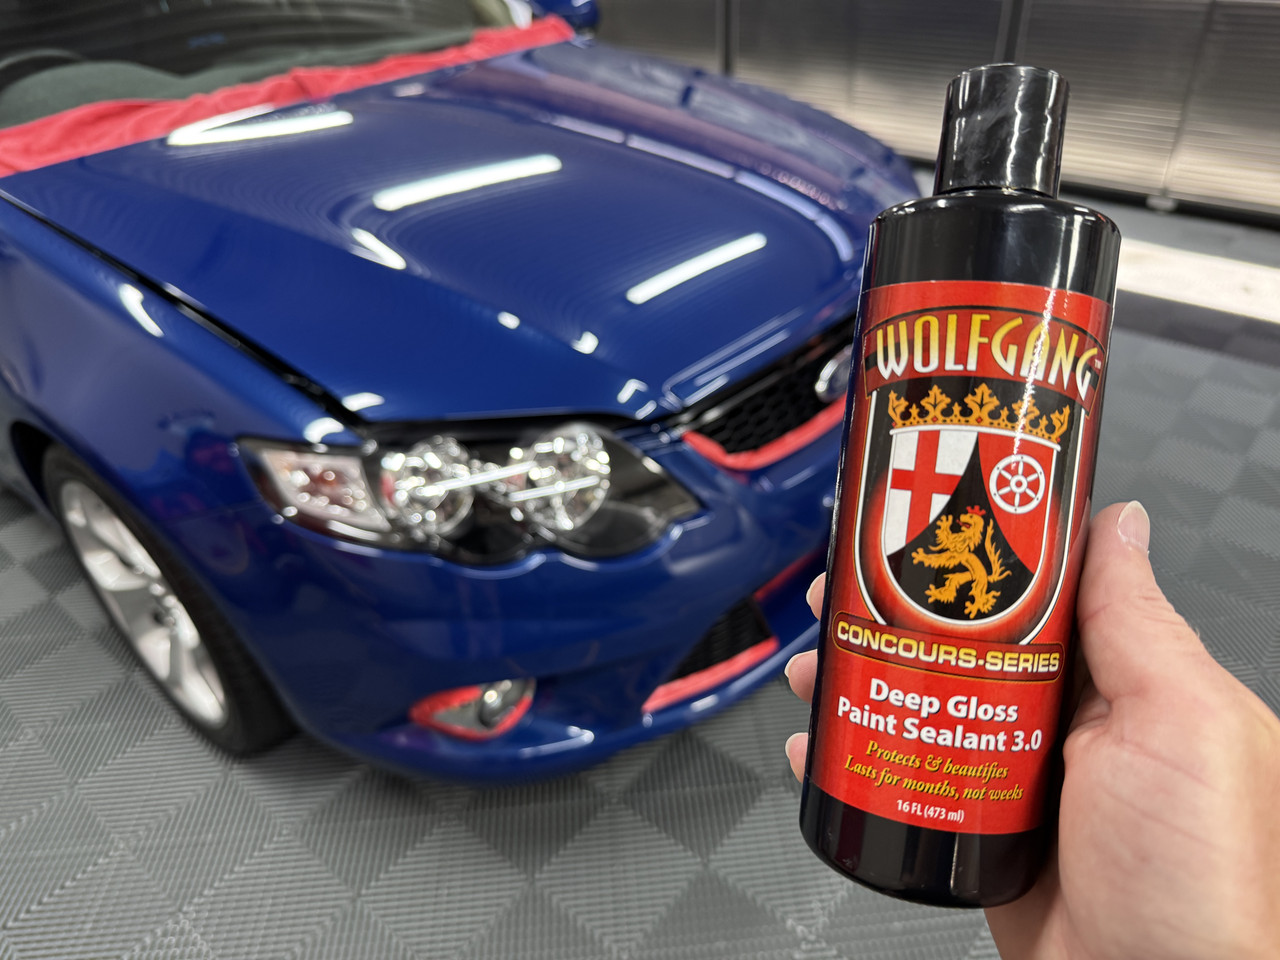
So, once again I’m reaching for an old favourite…………the now discontinued (in Australia) Wolfgang Deep Gloss Paint Sealant. I landed on this product way back in the early 2010’s after searching for something new/better than the Meguiar’s NXT paste wax and Autoglym Extra Gloss Protection that I had been using. This was back when Waxit was a sponsor of a local forum, so I reached out asking for advice, the reply suggested I try DGPS as it would suit the dark blue Sensation paint. I’ve used it on and off ever since. Are there better sealants out there, probably. Are there easier to apply LSP’s available, probably. Do I enjoy using the product, absolutely. Does the end result give me a sense of satisfaction, absolutely. Does the paint look and feel amazing, 100% yes. I remember not long after using DGPS for the first time, a family friend dropped around while I was washing the XR6, he instantly wanted to know what I had on the paint, he’d seen nothing like it before.
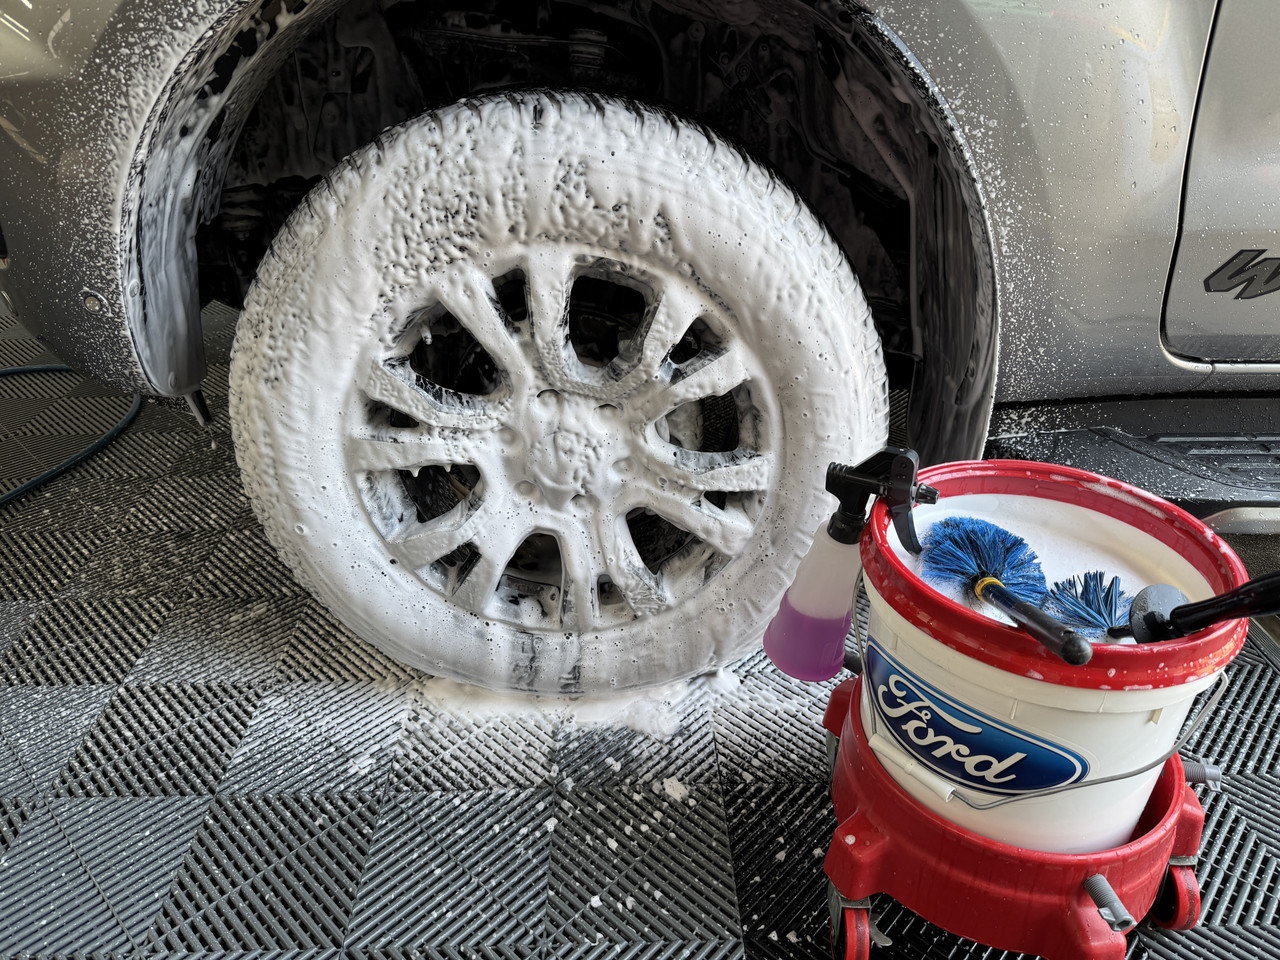
Prior to application, I used compressed air to blast out any polish dust from the door jambs and panel gaps. This was then followed by a heavy wipe down using Carpro Eraser.
As always, for the large areas I apply DGPS with a 5-inch dual action polisher and soft black waxing pad. I went with the ShineMate EB351 for this task because speed one on this unit is considerably slower than the Rupes, and for waxing you don't want or need pad speed. Intricate areas were treated with a foam applicator pad by hand. Once the entire vehicle is coated, leave the sealant to bond for 30 - 45min, then buff the residue. The wipe off is super smooth if applied in a light, even manner, however I recommend at least 4 to 6 towels to do this to prevent dust build up. You must then allow 12-hours for DGPS to cure before exposure to moisture.
Picking up where I left of, that means more polishing, most of which being the more intricated areas.
Polishing (continued) -
Because I hate polishing front bumpers, I decided to get this out of the way first. Before starting, I added some additional taping around fog light bezels, headlights and grill inserts. Again, Carpro Reflect was teamed with an orange ShineMate polishing pad. For the more intricate sections, the iBrid Nano was used with the 12mm orbit and Rupes yellow foam pad.
Once the front bumper was done, I began rolling through the doors, side skirts, wing mirrors and glossy black B-pillar trims. For the doors, I used all three machines. The Nano was used around the handles, the EB212 3-inch for the belt line, contoured lower section and side skirts, the HLR15 5-inch for mid sections. The B-pillar trims and mirrors were next, the Nano with yellow Rupes pads were used here, one on the machine and one used by hand.
I set up the camera to show the EB212 in action -
Glass -
With the paint done, it was time to polish the glass. I like polishing glass, although not necessarily for the task itself. Instead, I love how polished glass disappears from behind the steering wheel.
To start, I needed additional taping around the windows to prevent staining the rubber trims and protect surrounding paintwork. Choice of compound was P&S Clarity Crème, first with the Nano in rotary mode for around the edges, followed by the EB212 and blue Lake Country cutting pad for the bulk.
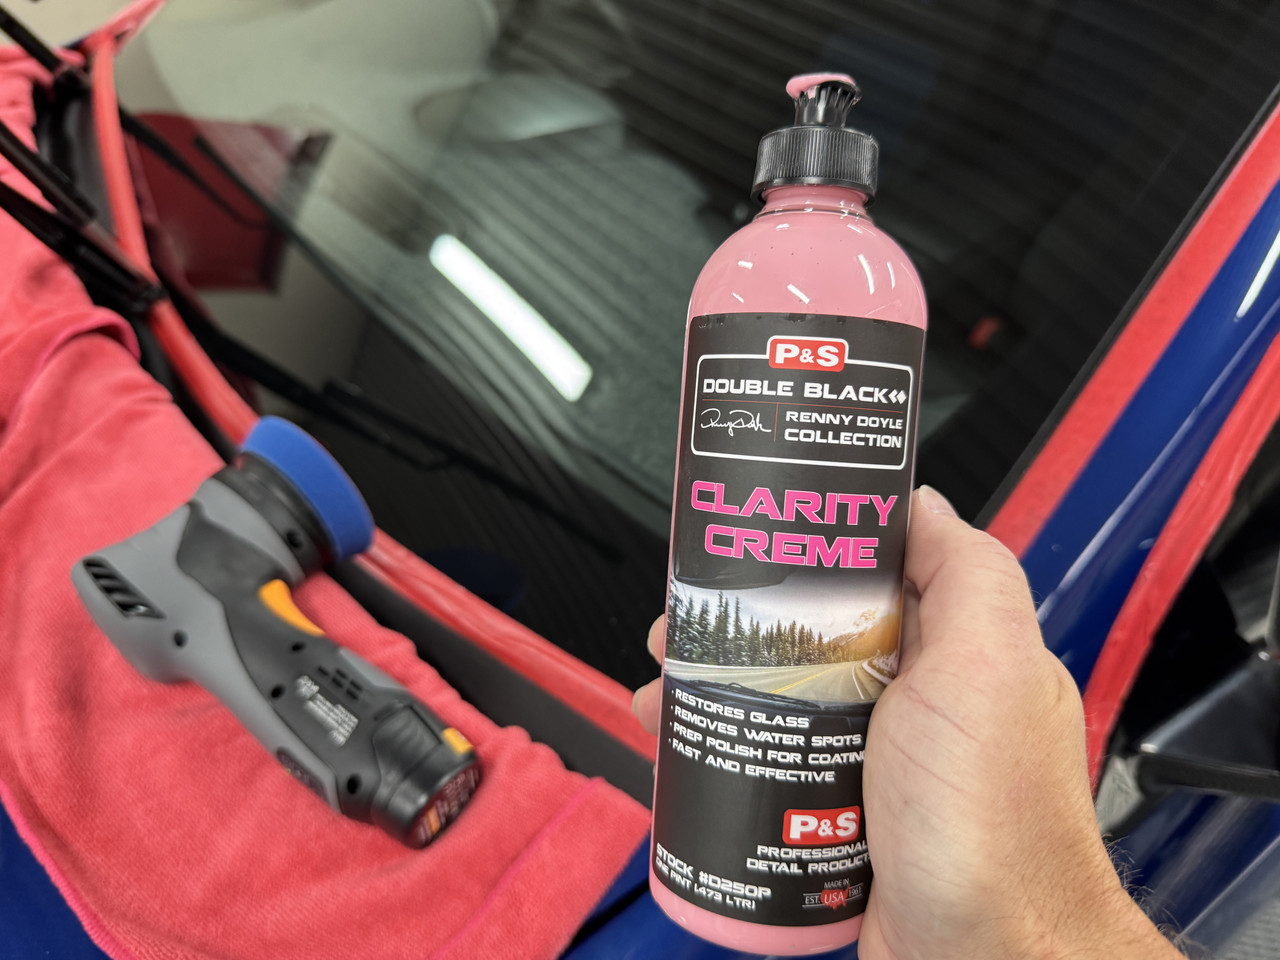
With glass polishing, keep in mind that you aren’t really “correcting” the surface like you would with paint. Even with heavy duty compounds and pads, it will take your hours to remove a single scratch…………..if you are lucky. In which case, Carpro Ceri-Glass or Cerium Oxide teamed with a rayon pad would be your best bet. In my case, glass polishing is about deep cleaning. I like to use Clarity Crème, but any medium to heavy cutting compound teamed with foam or wool pads will also do the job, I'd probably avoid microfiber pads due to the higher heat generation.
Protection –
I’m done with ceramic coatings on garage queens. Longevity and ultimate chemical resistance are not a factor, especially with how “we” tend to continue topping things off with detailers and spray sealants. This is why after 5-years, the XR6 still showed supreme water behaviour. Having said that, on daily drivers a coating is probably a better option, but even then, I must prefer the user experience of a wax or sealant, far less stressful. There, I said it, again.
So, once again I’m reaching for an old favourite…………the now discontinued (in Australia) Wolfgang Deep Gloss Paint Sealant. I landed on this product way back in the early 2010’s after searching for something new/better than the Meguiar’s NXT paste wax and Autoglym Extra Gloss Protection that I had been using. This was back when Waxit was a sponsor of a local forum, so I reached out asking for advice, the reply suggested I try DGPS as it would suit the dark blue Sensation paint. I’ve used it on and off ever since. Are there better sealants out there, probably. Are there easier to apply LSP’s available, probably. Do I enjoy using the product, absolutely. Does the end result give me a sense of satisfaction, absolutely. Does the paint look and feel amazing, 100% yes. I remember not long after using DGPS for the first time, a family friend dropped around while I was washing the XR6, he instantly wanted to know what I had on the paint, he’d seen nothing like it before.
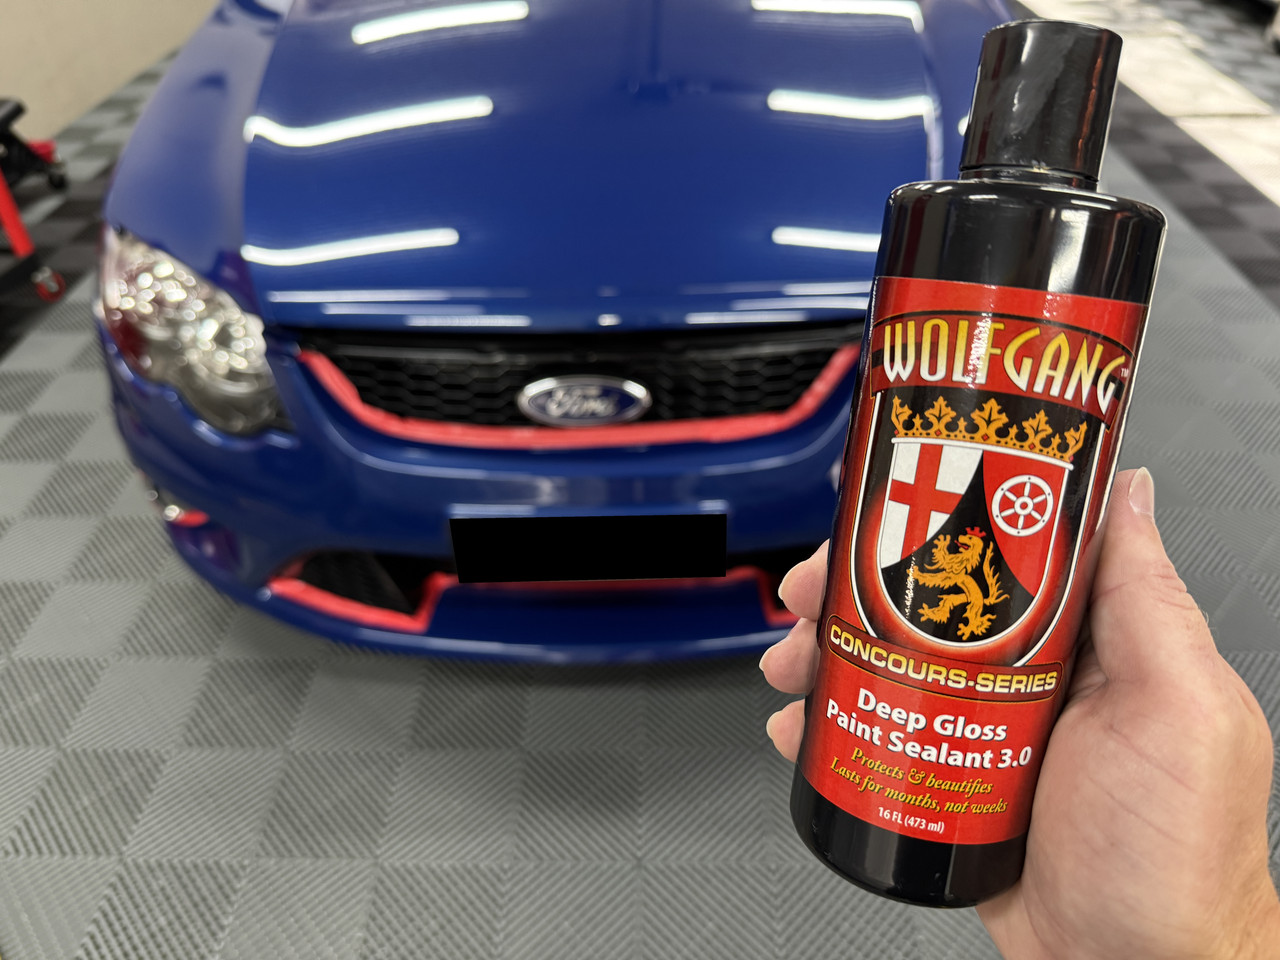
Prior to application, I used compressed air to blast out any polish dust from the door jambs and panel gaps. This was then followed by a heavy wipe down using Carpro Eraser.
As always, for the large areas I apply DGPS with a 5-inch dual action polisher and soft black waxing pad. I went with the ShineMate EB351 for this task because speed one on this unit is considerably slower than the Rupes, and for waxing you don't want or need pad speed. Intricate areas were treated with a foam applicator pad by hand. Once the entire vehicle is coated, leave the sealant to bond for 30 - 45min, then buff the residue. The wipe off is super smooth if applied in a light, even manner, however I recommend at least 4 to 6 towels to do this to prevent dust build up. You must then allow 12-hours for DGPS to cure before exposure to moisture.
Sponsored
Last edited: