• Welcome to Mustang7G!

    If you're joining us from Mustang6G, then you may already have an account here!

    As long as you were registered on Mustang6G as of March 10, 2021 or earlier, then you can simply login here with the same username and password!

DFB's Detailing Garage

OP
OP
DFB5.0

DFB5.0

Well-Known Member
Joined
Mar 15, 2017
Threads
26
Messages
1,074
Reaction score
1,390
Location
Australia
Vehicle(s)
Mustang GT Fastback
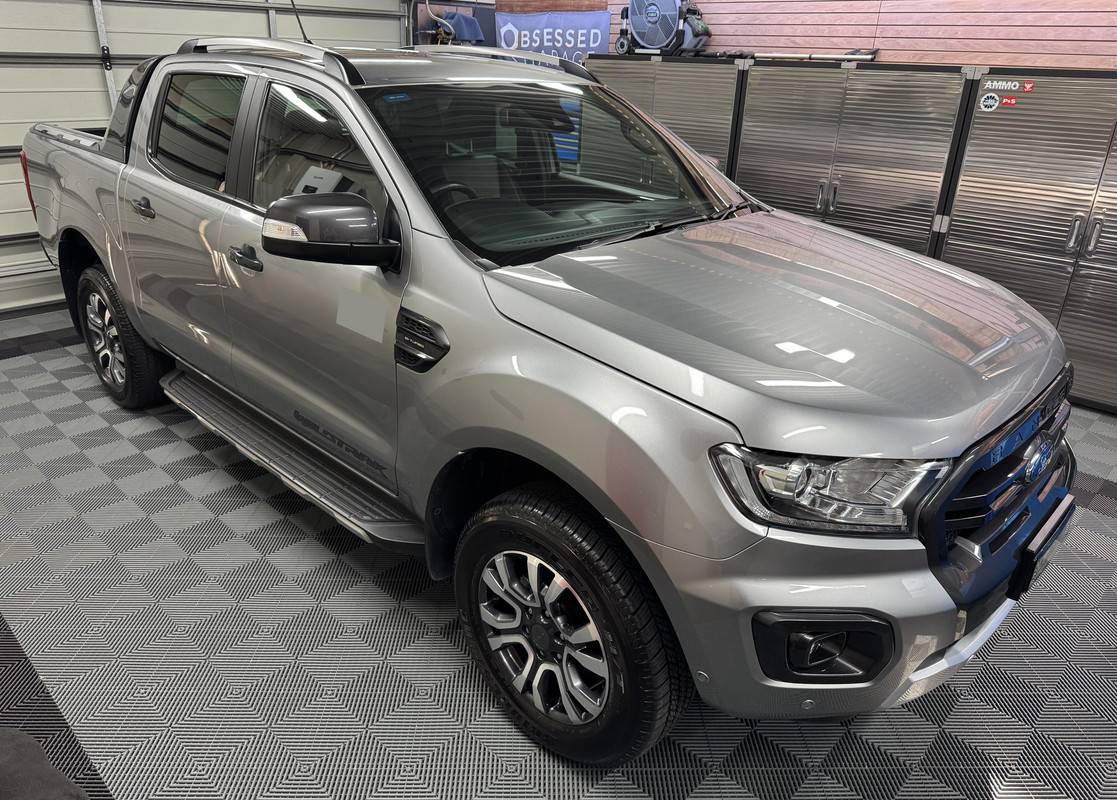
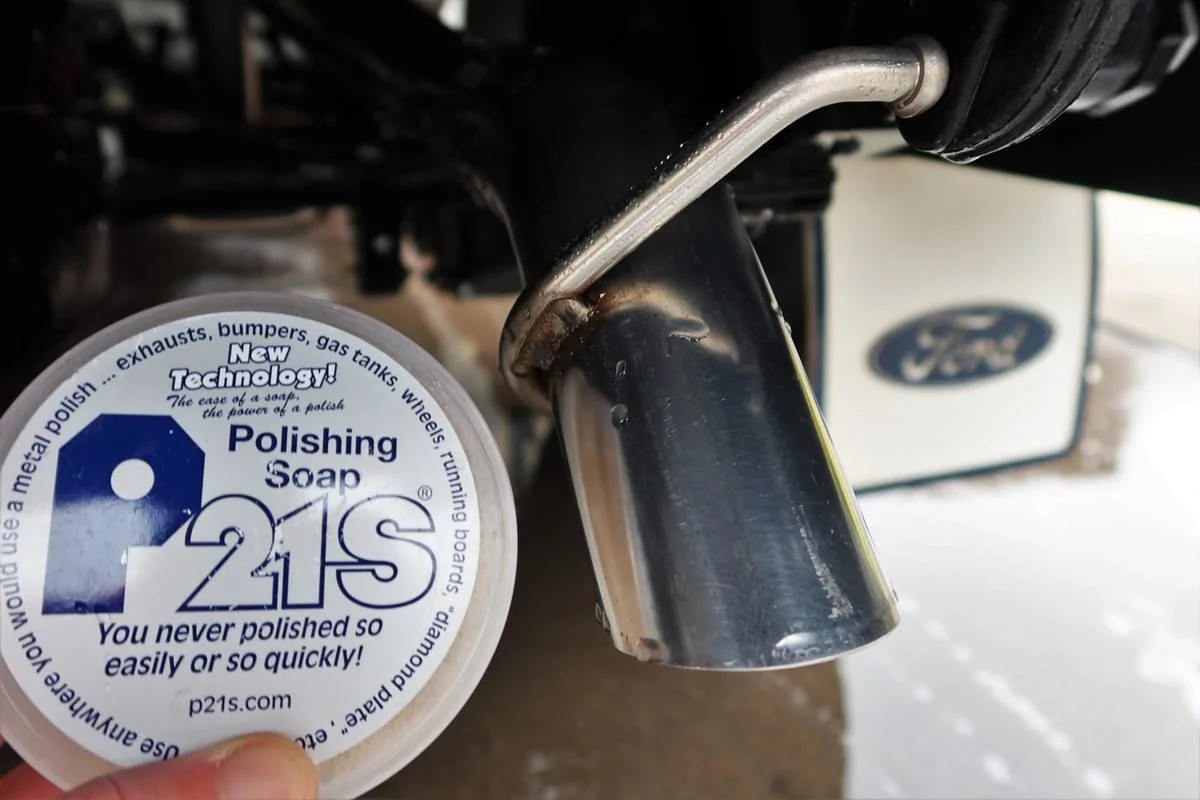
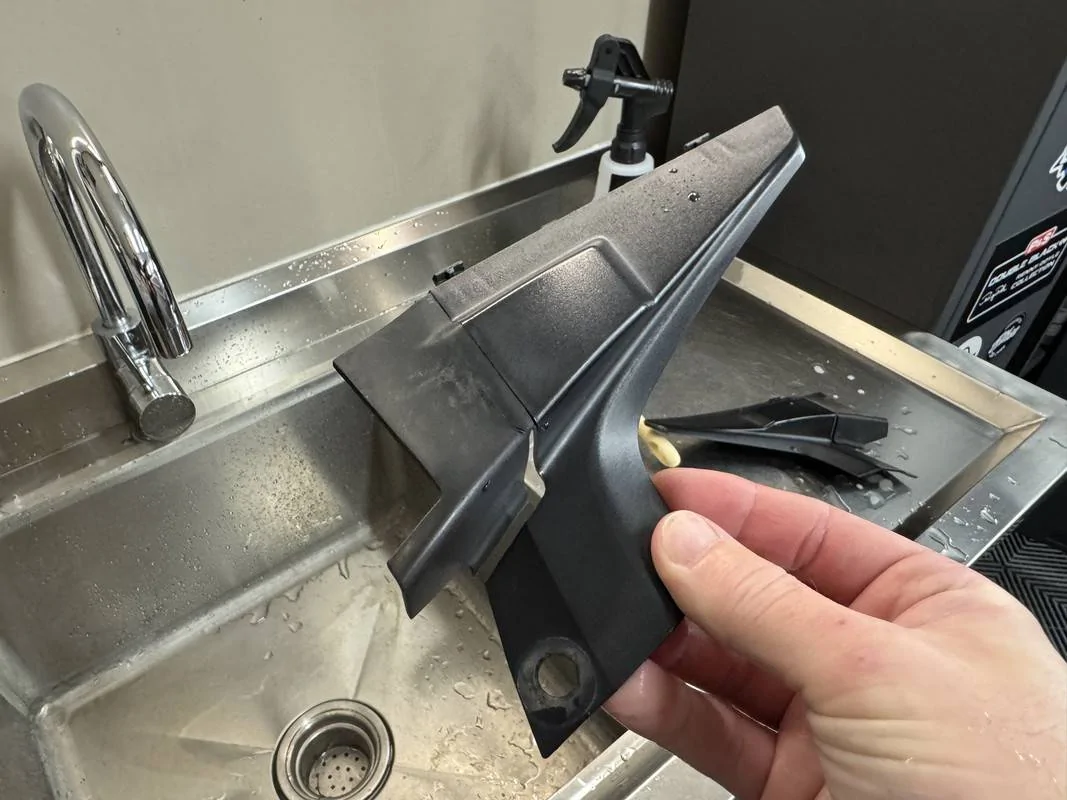
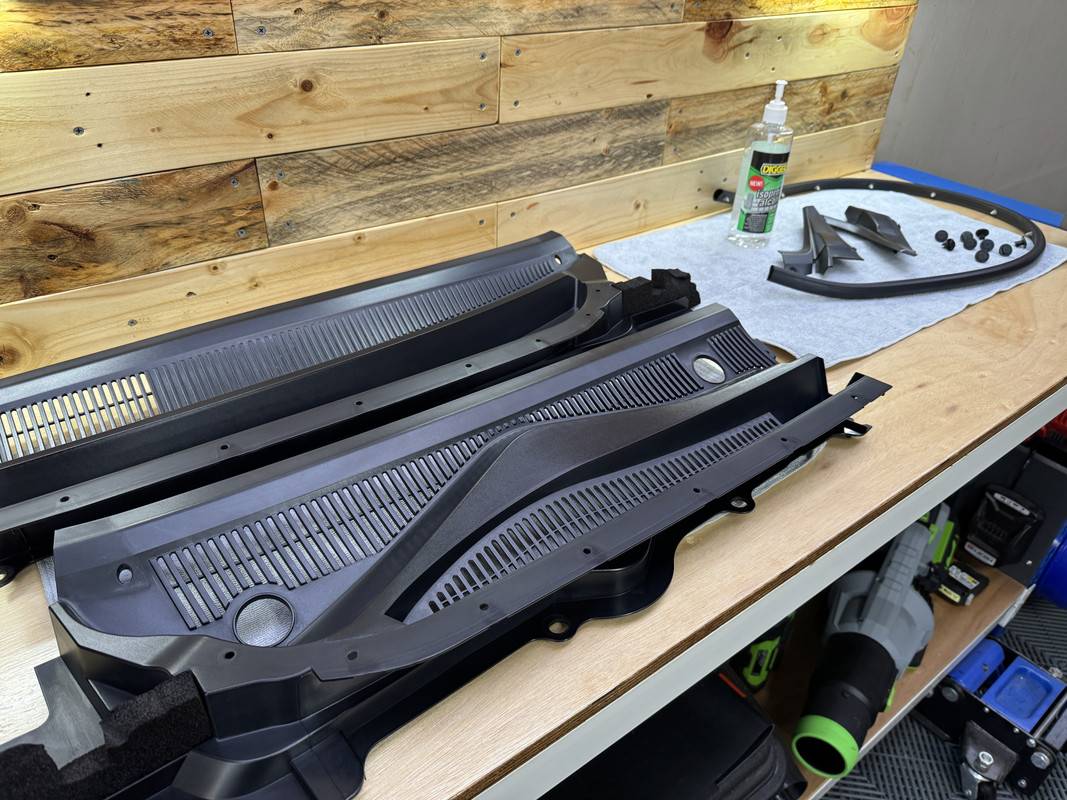
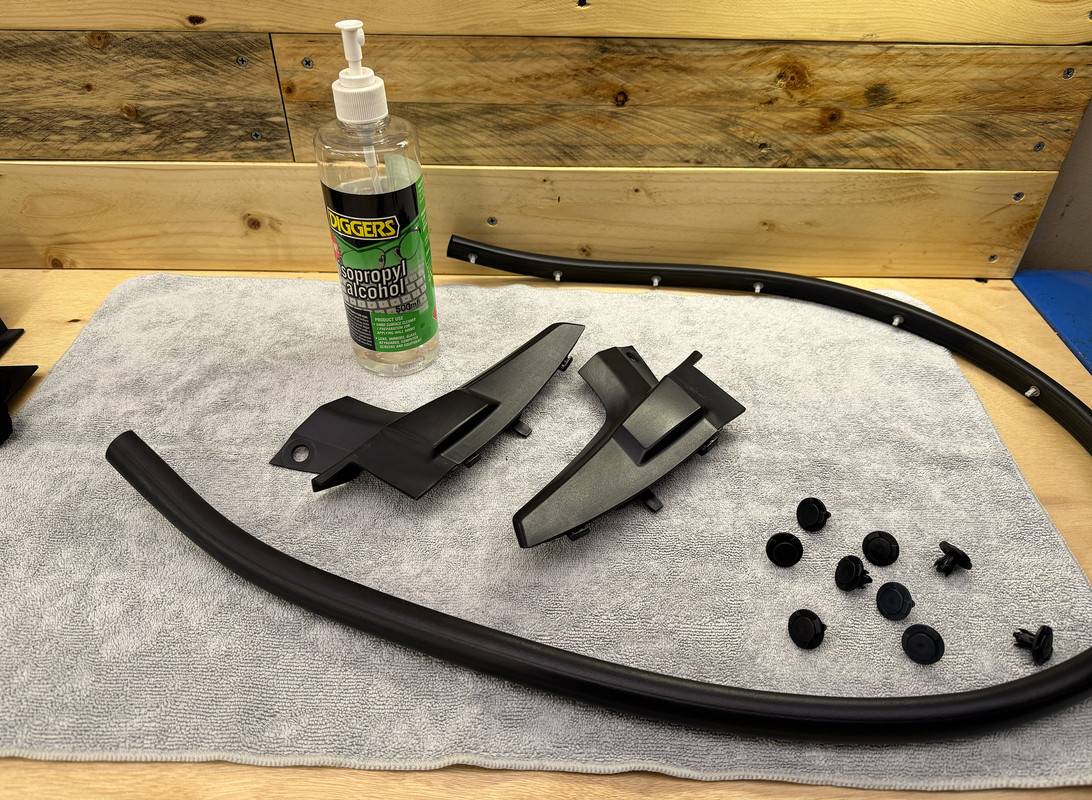
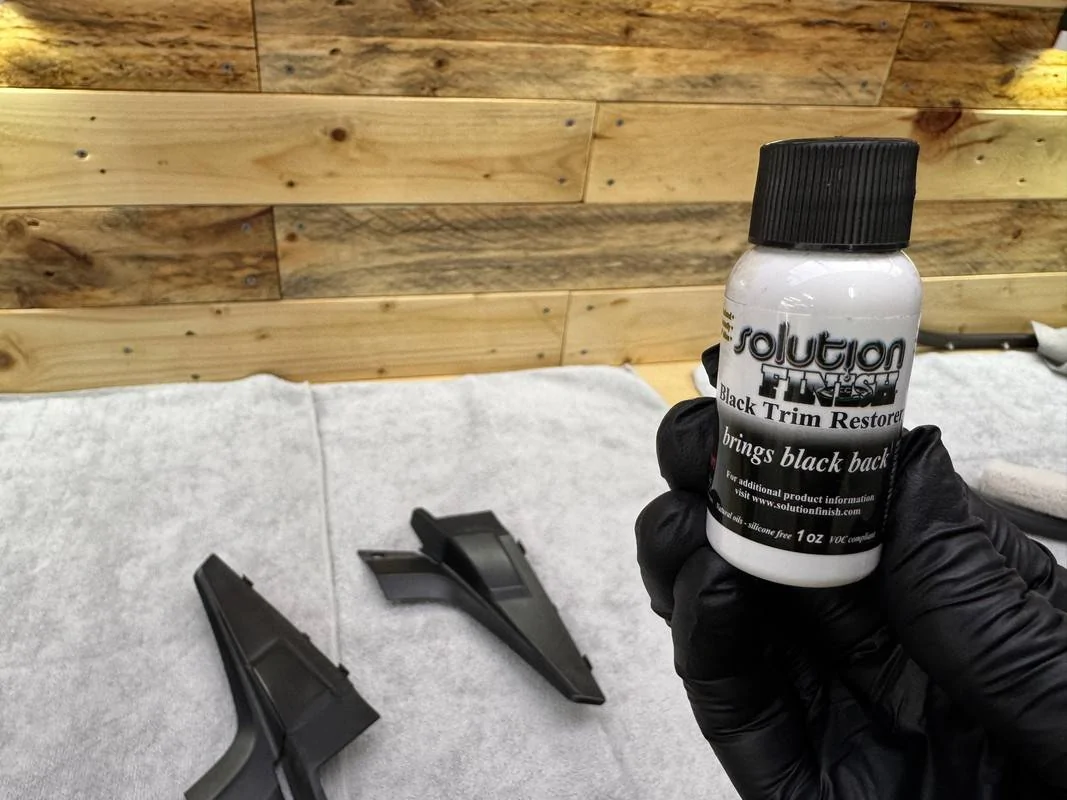
On its routine wash today, I made a start on decontaminating the Wildtrak in preparation for polishing and coating next week. This wasn't planned, but I thought I may as well get a head start, in turn getting me to the polishing step quicker.

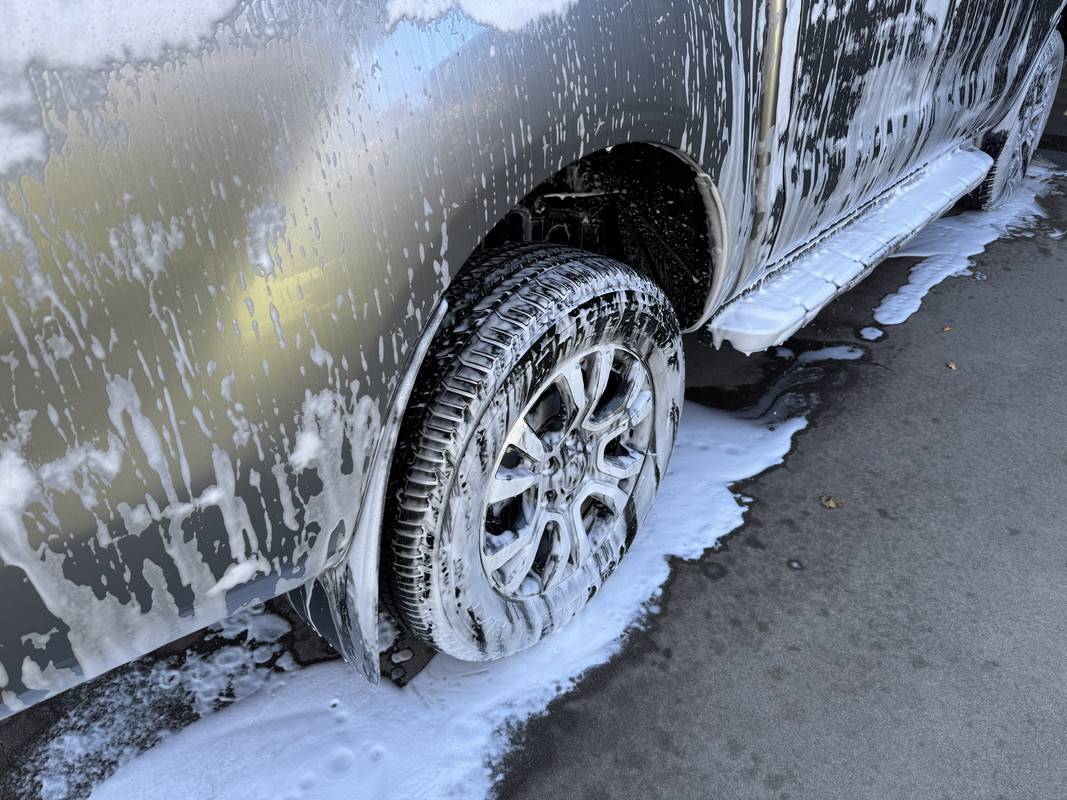
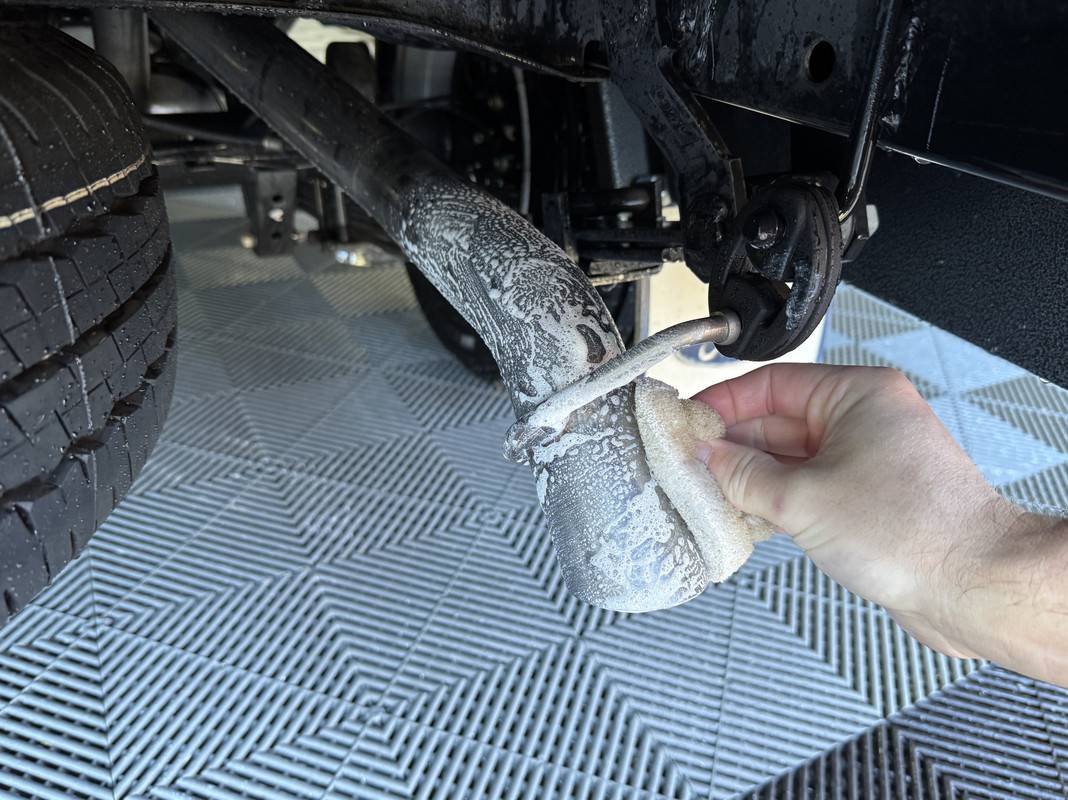
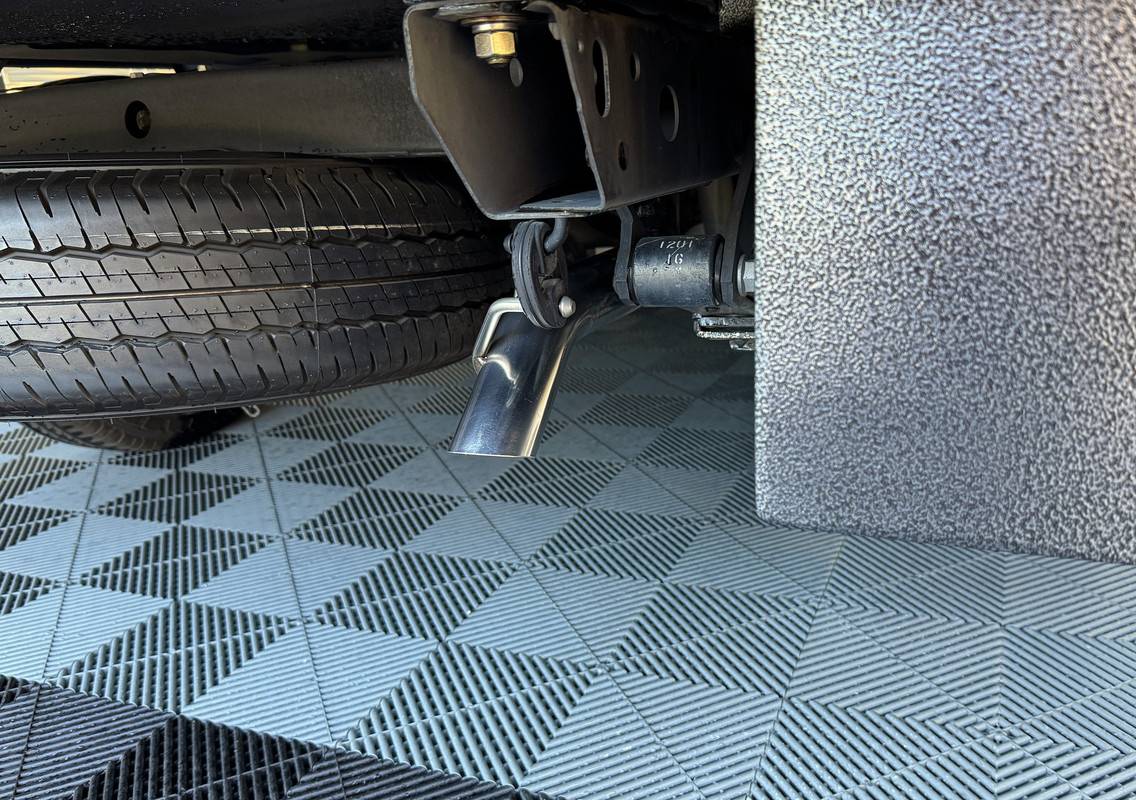
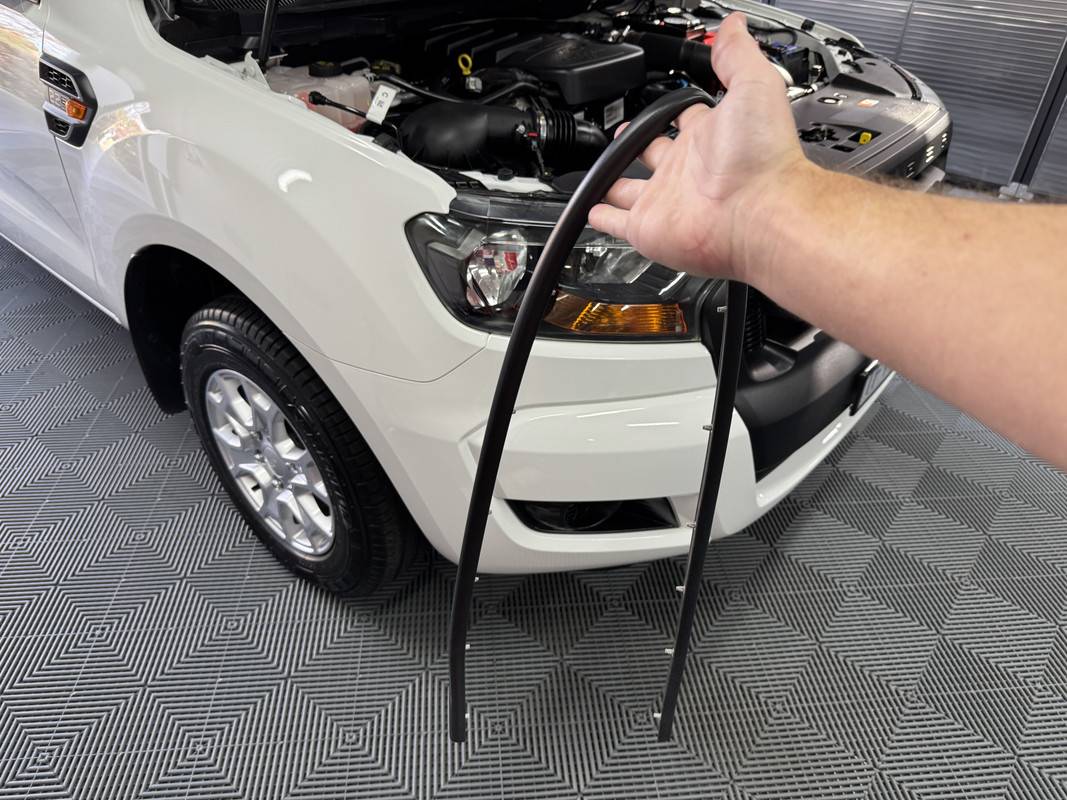
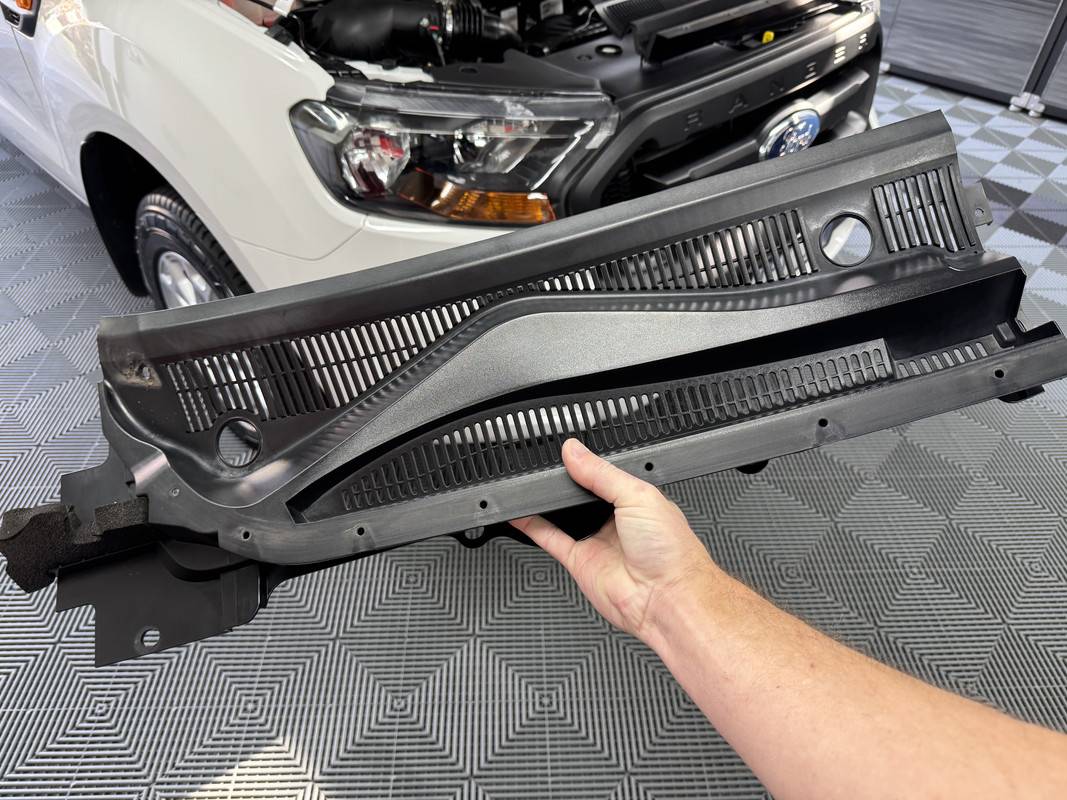
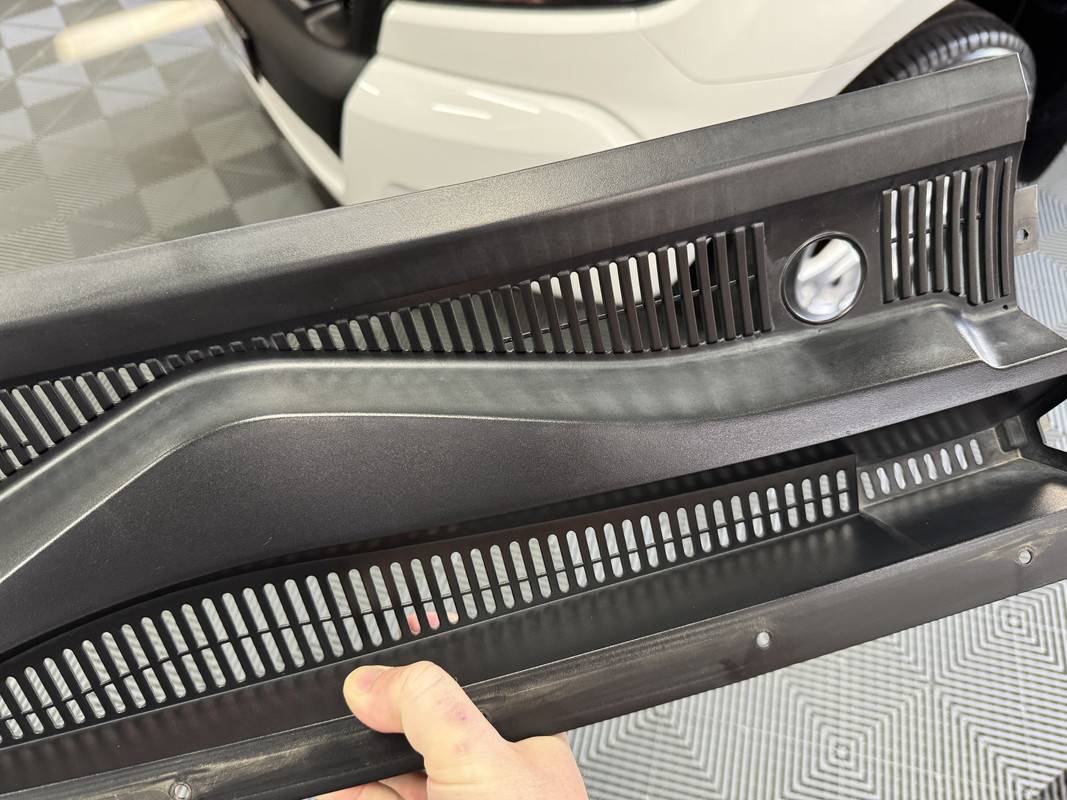
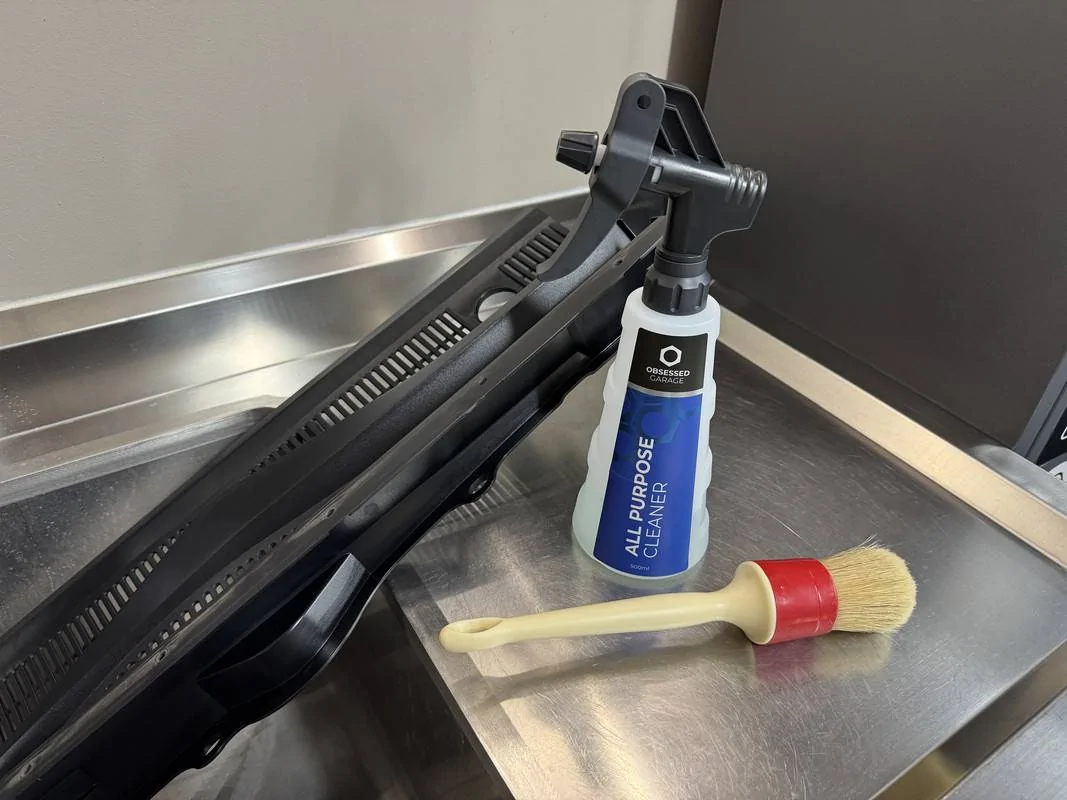
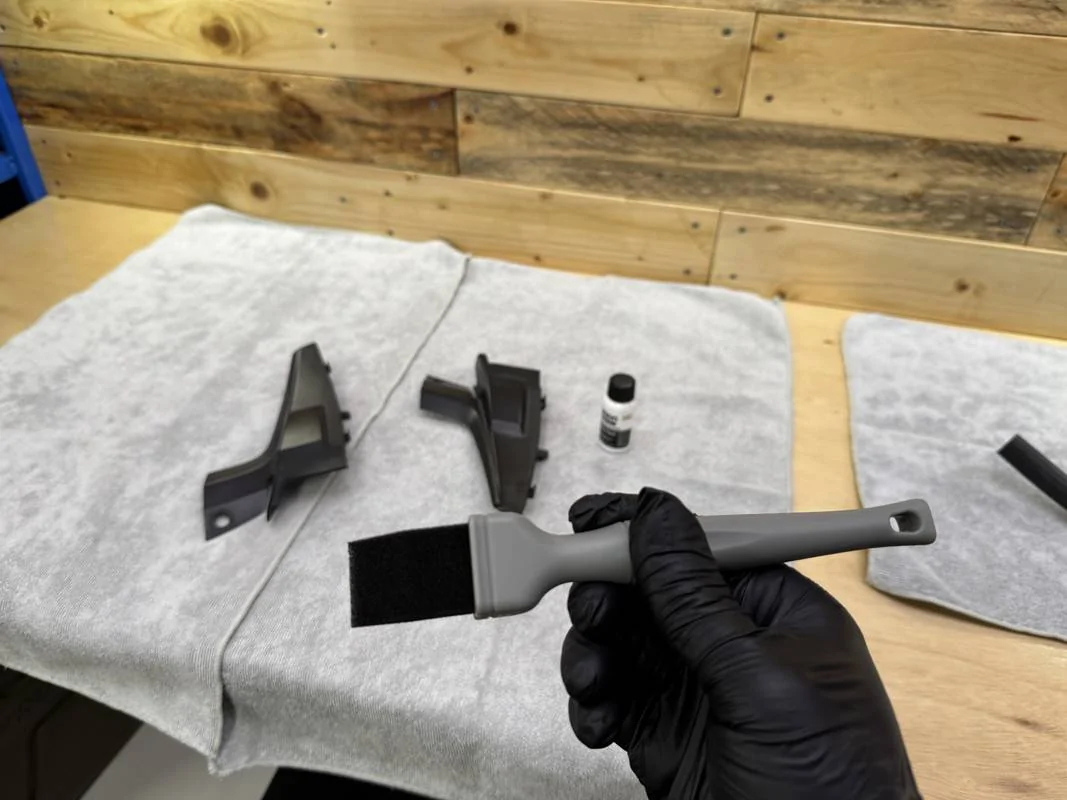
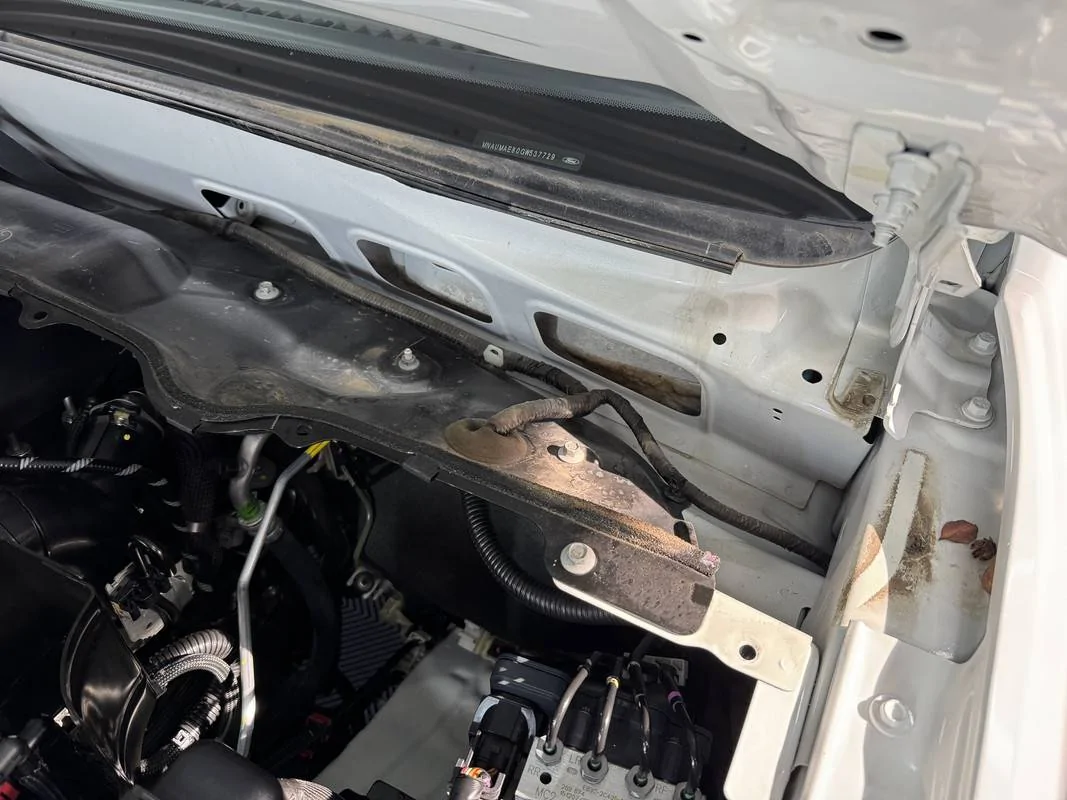
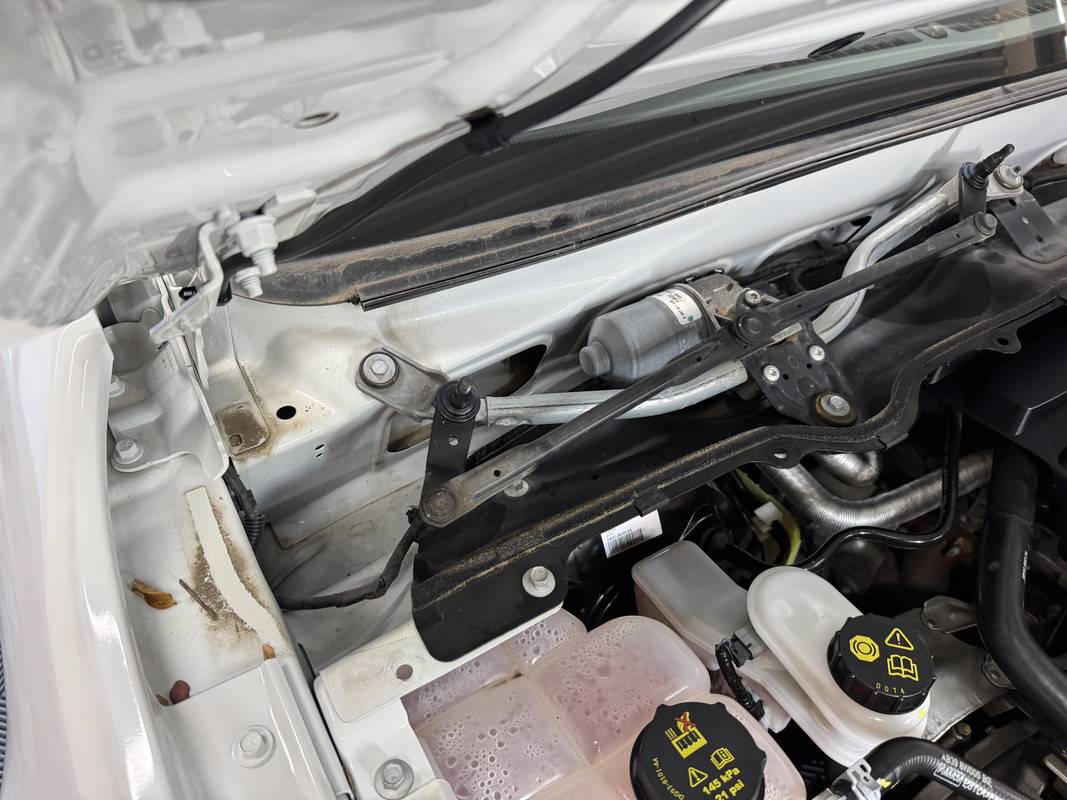
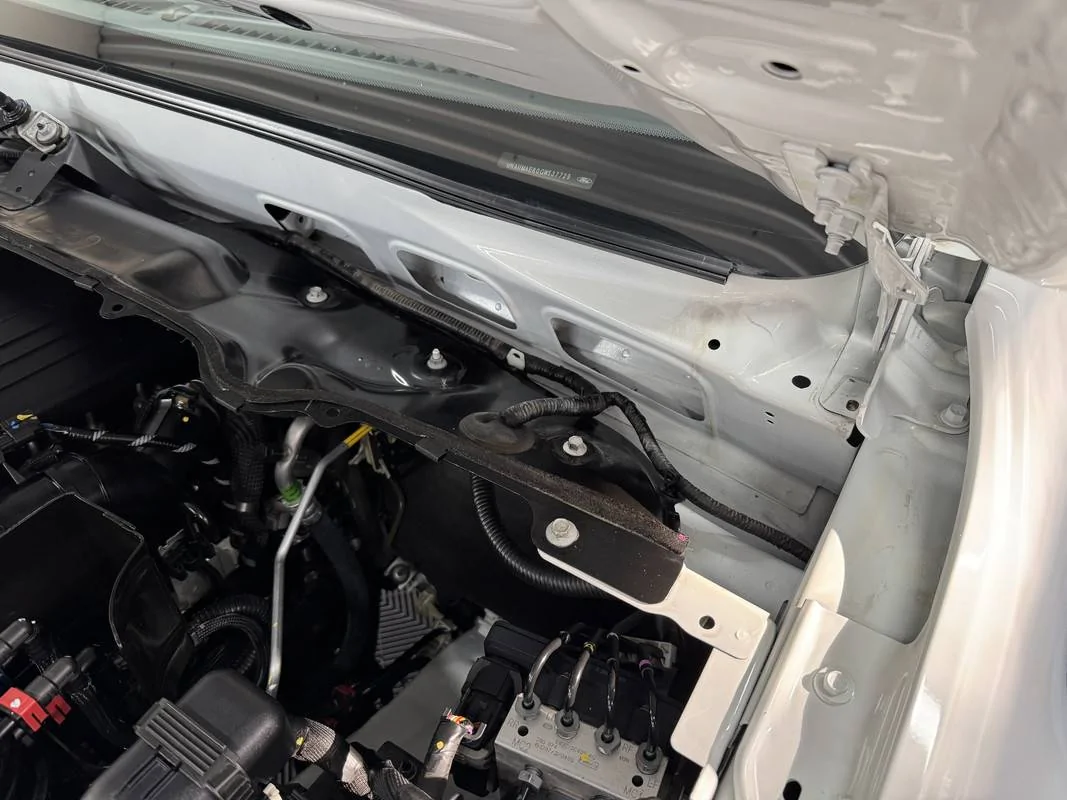
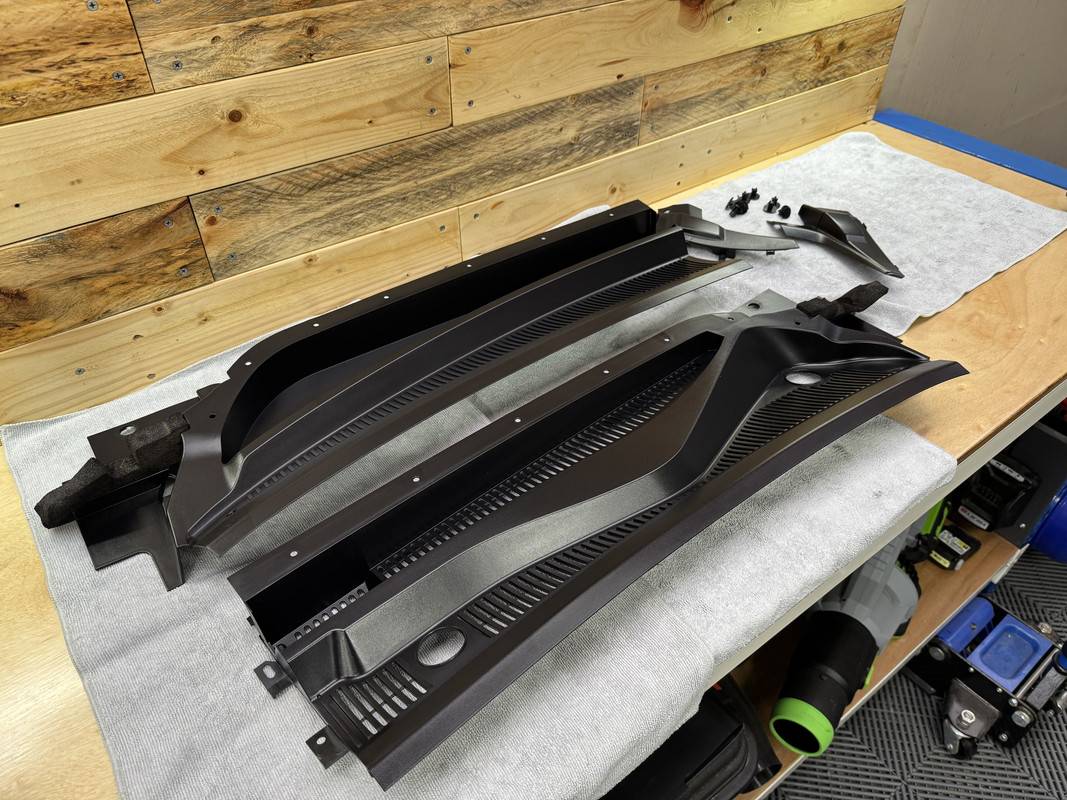
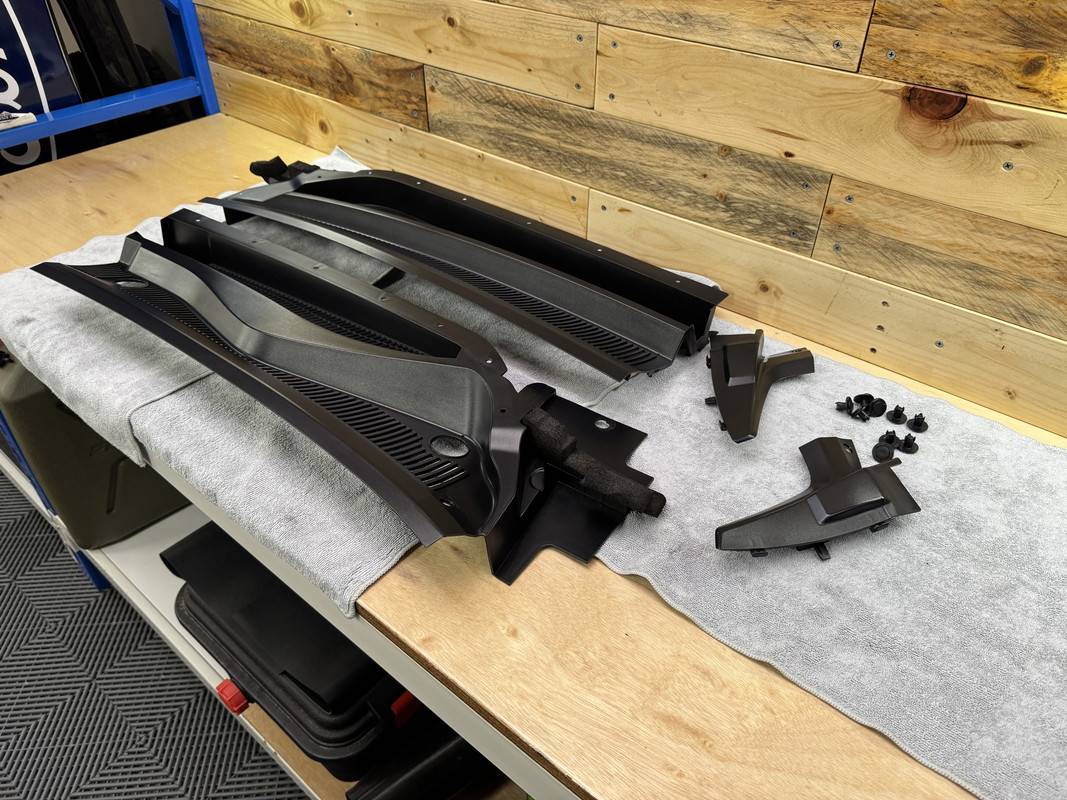
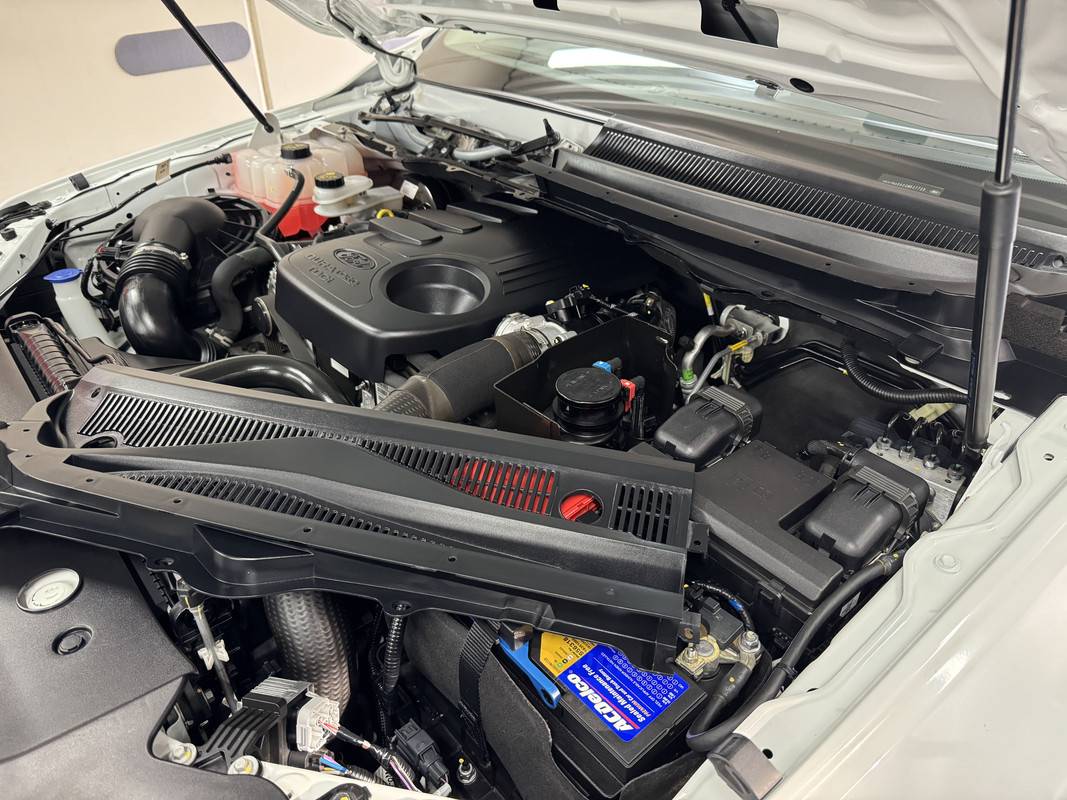
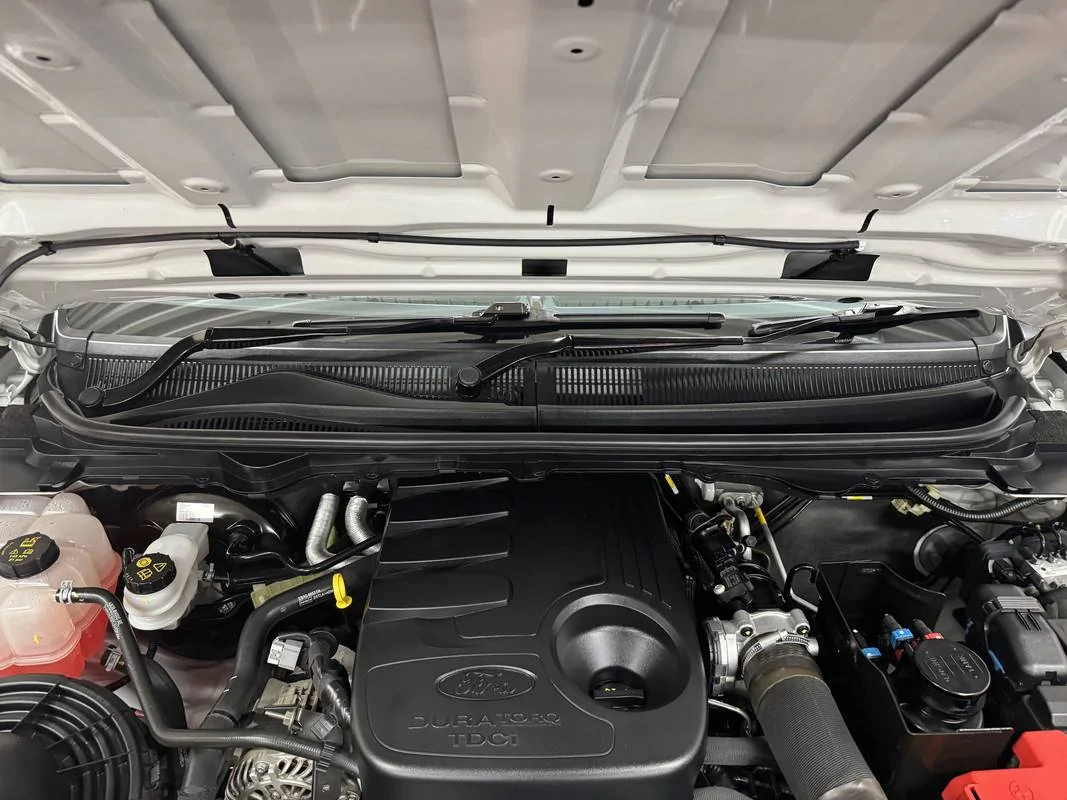
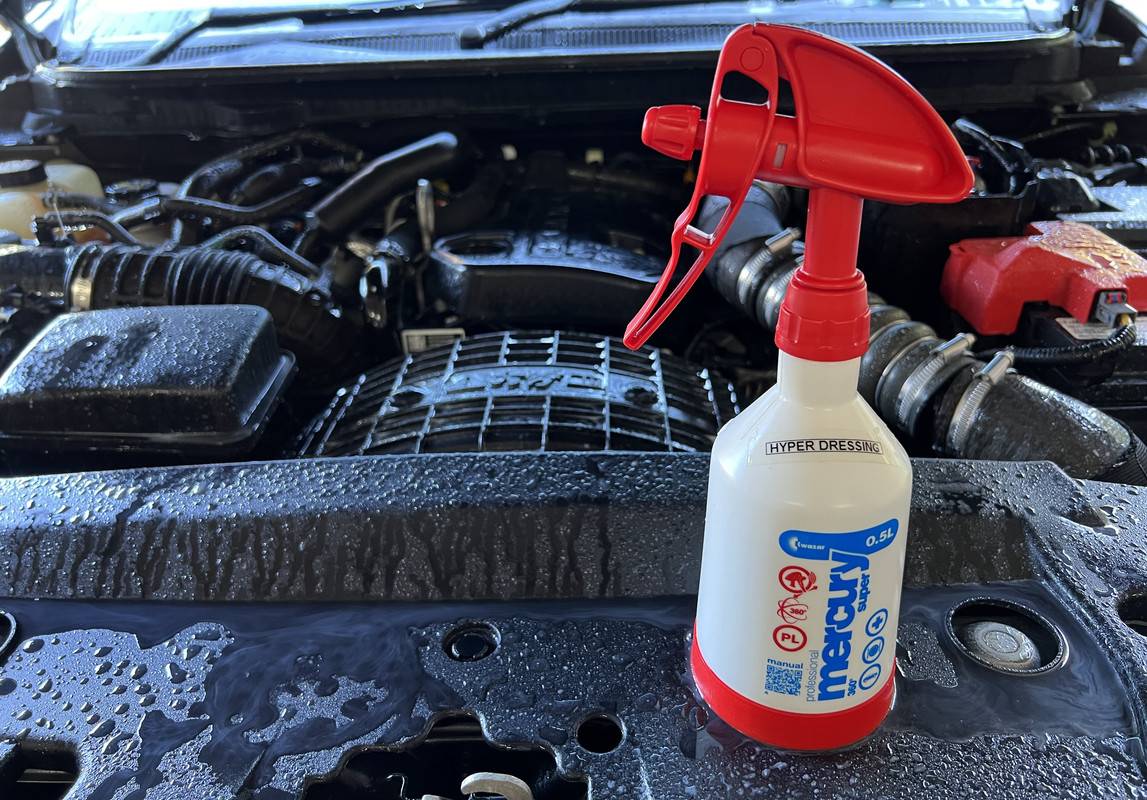
My starting point today was thick layer of dust after some gravel road driving last week. I mixed up a batch of Touch-less at 1.5% PIR, using it as a pre-wash for the wheels and wheel arches prior to cleaning with foamed Brake Buster. Because of the dust, I decided to treat the engine bay as well, foaming with Touch-less, agitation with EZ-Detail brushes, rinsed, then lashings of Hyper Dressing.

S650 Mustang DFB's Detailing Garage IMG-7095


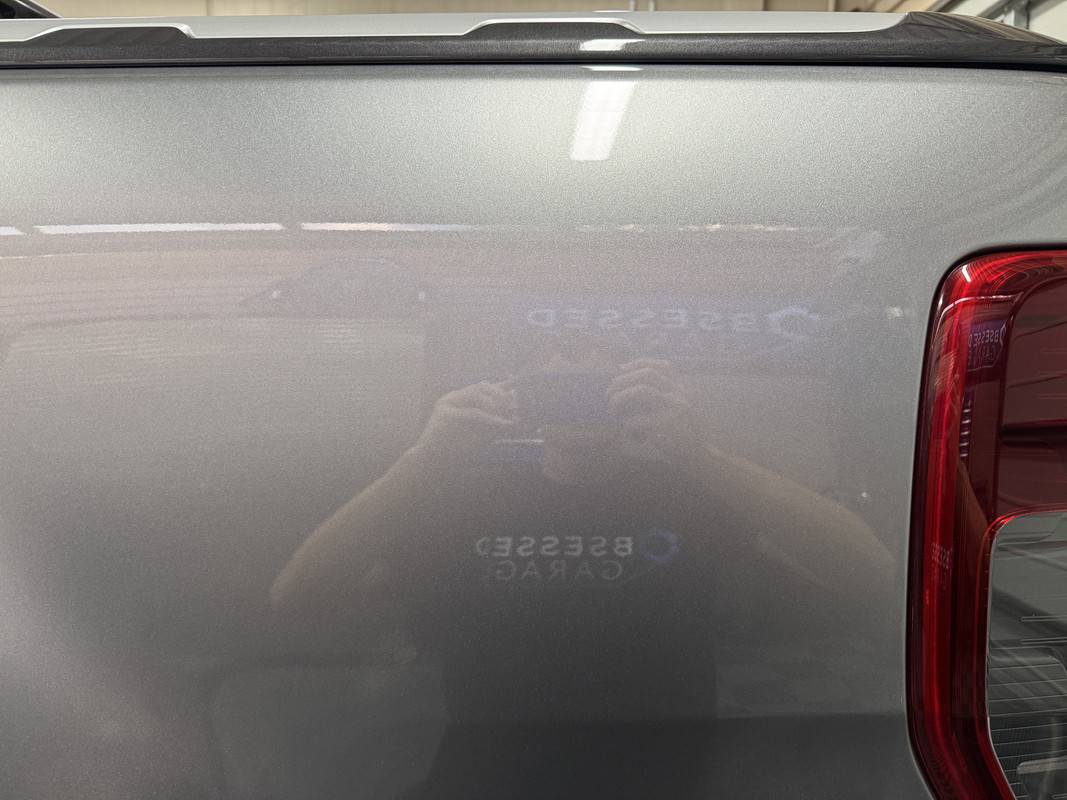
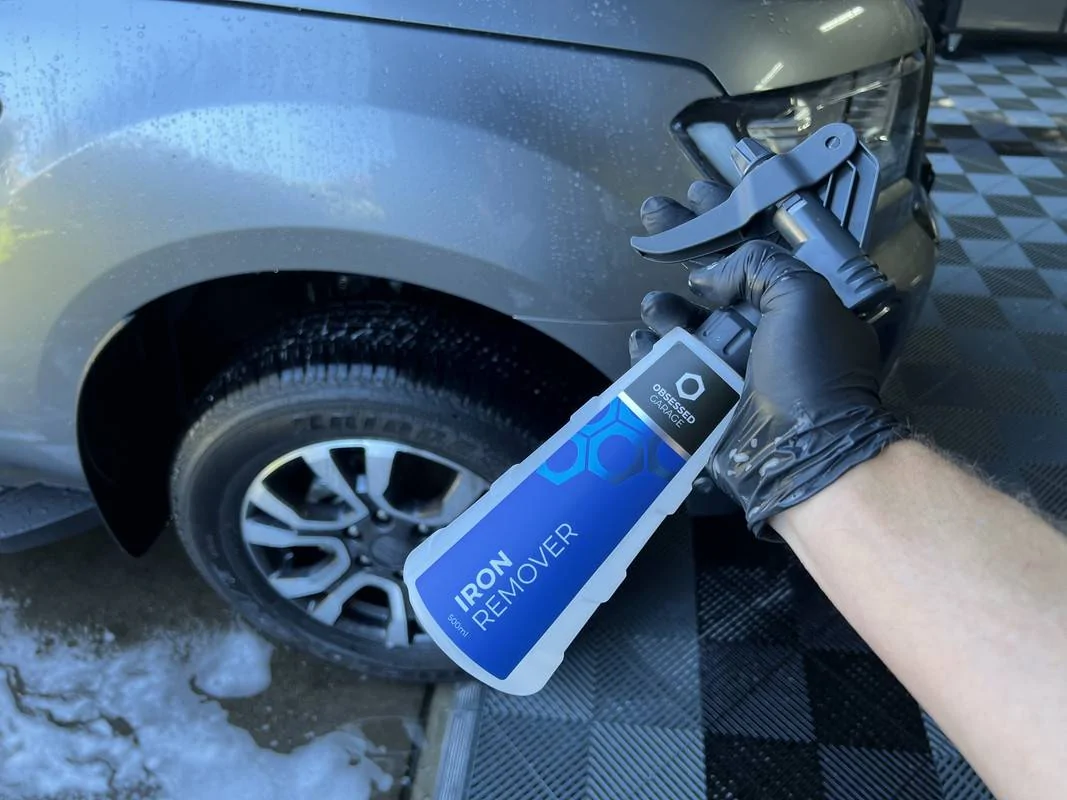
When decontaminating, I normally apply the iron remover to dry paint as the first step, but there was so much dirt on the car that I needed to deal with that first. So, the whole vehicle was foamed with Touch-less, allowed to do its thing, then rinsed. Gyeon Iron then got sprayed onto the whole vehicle and left to dwell while I put away the wheel cleaning tools. Apart from some very faint spots on the tailgate, the vehicle had virtually no iron contamination.

S650 Mustang DFB's Detailing Garage IMG-7084


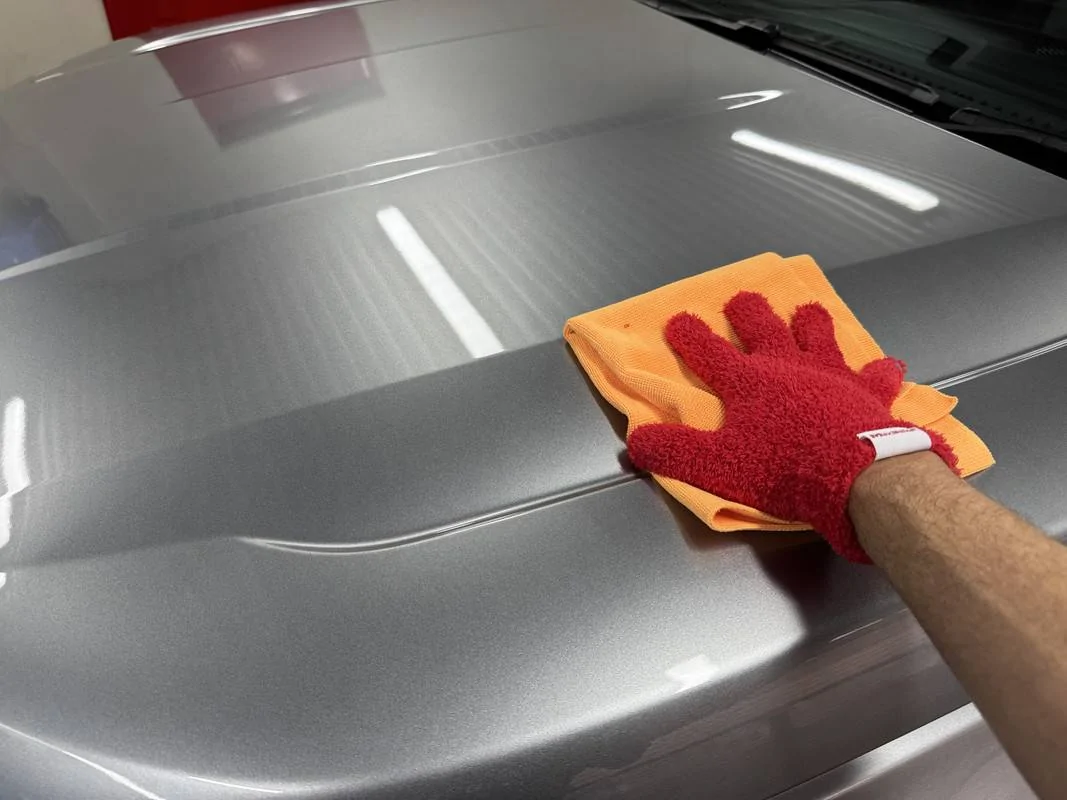
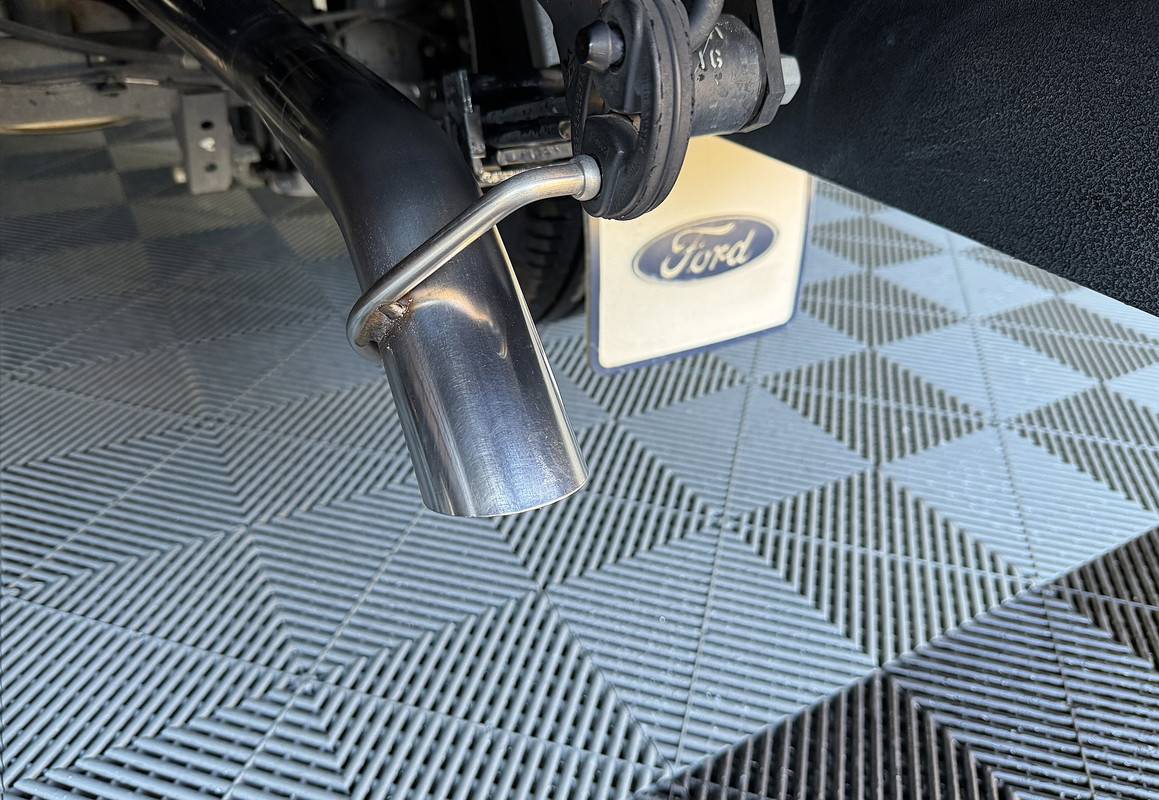
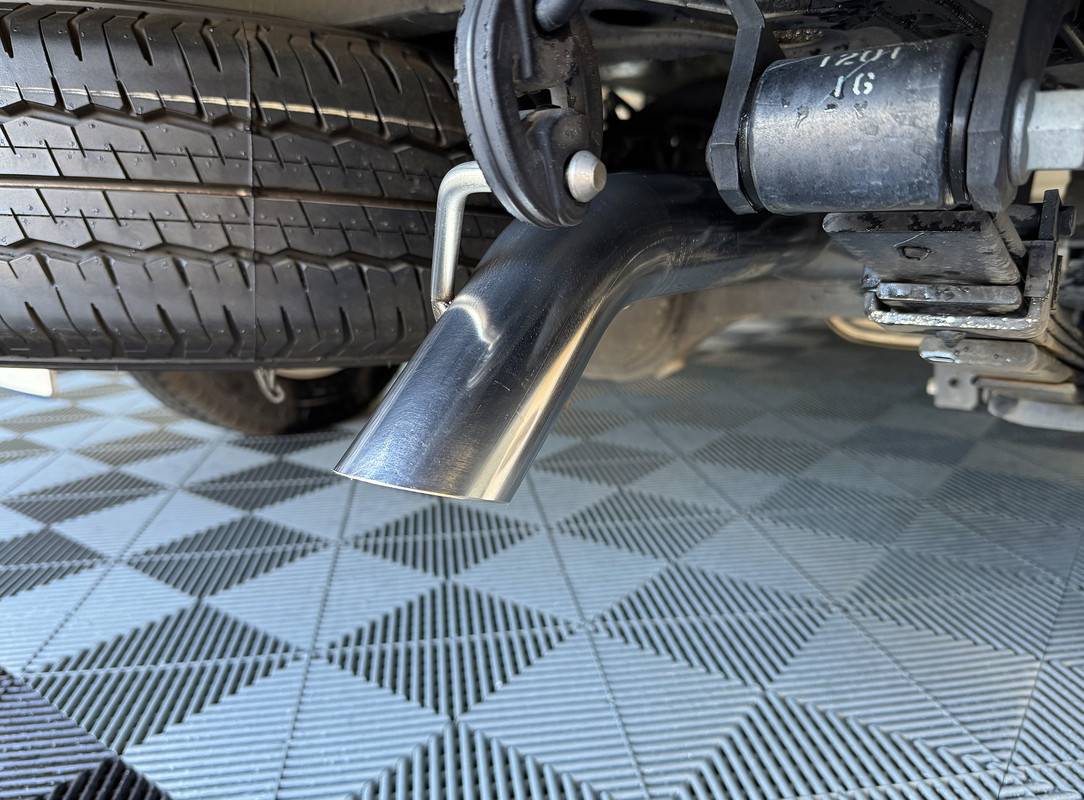
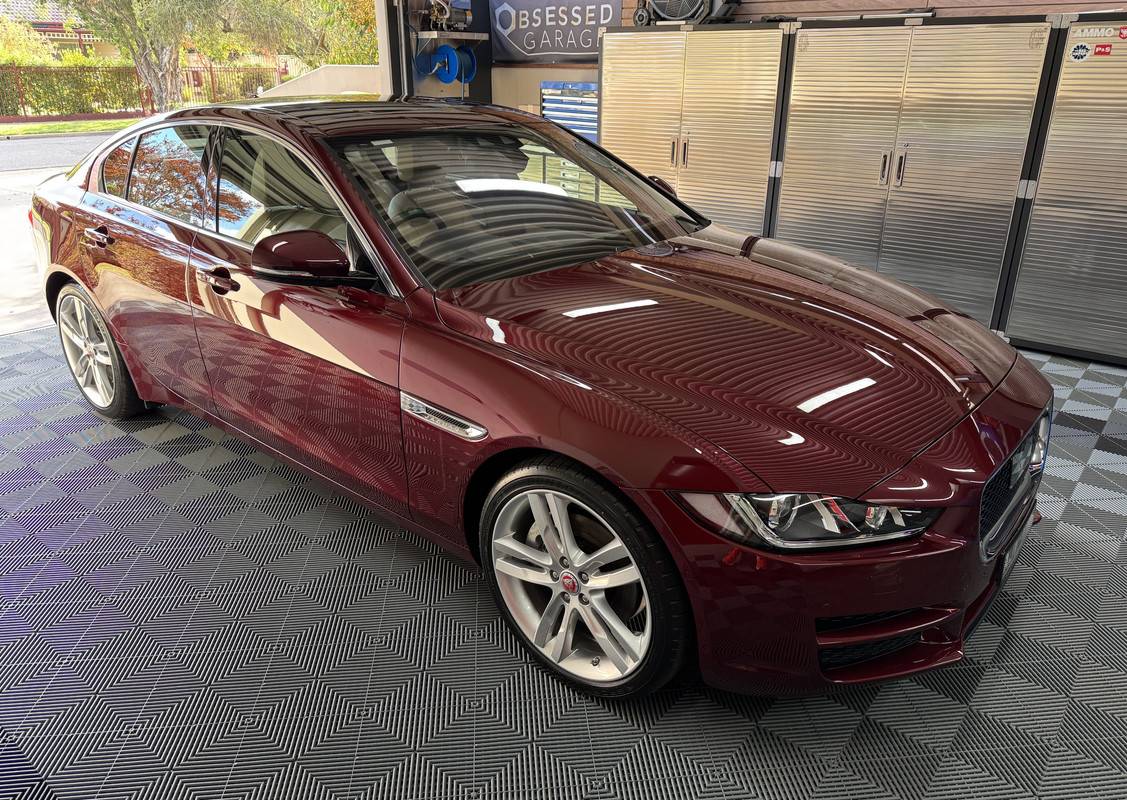
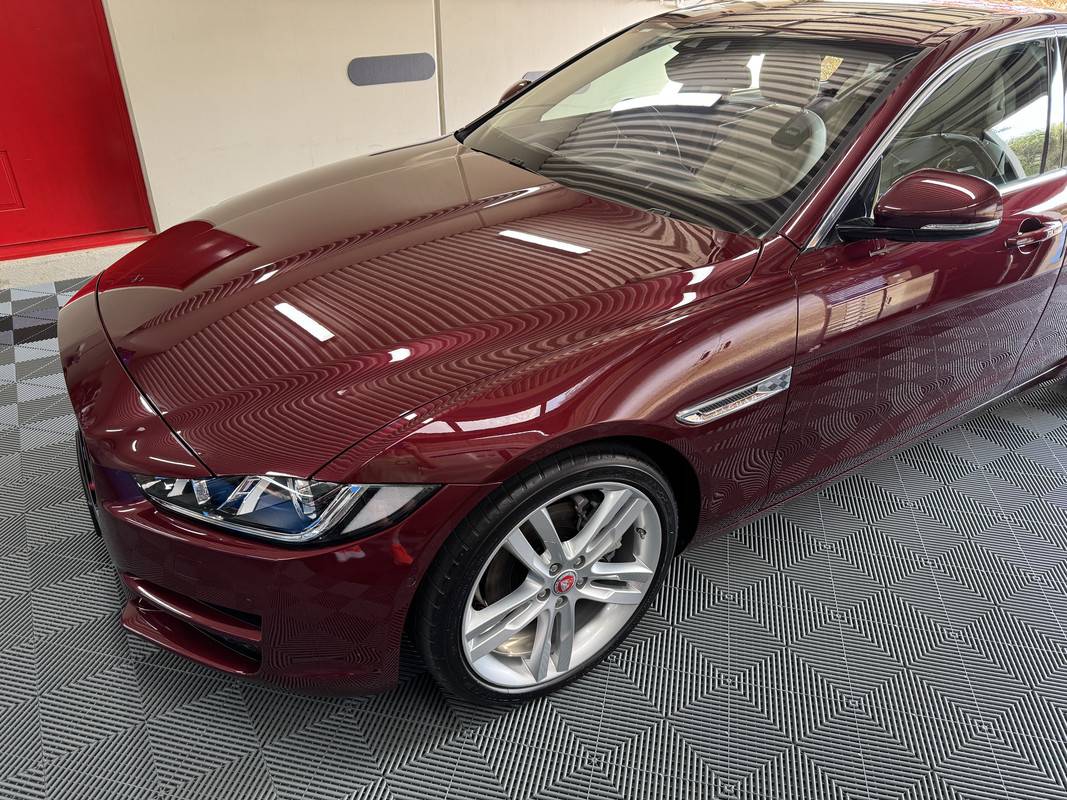
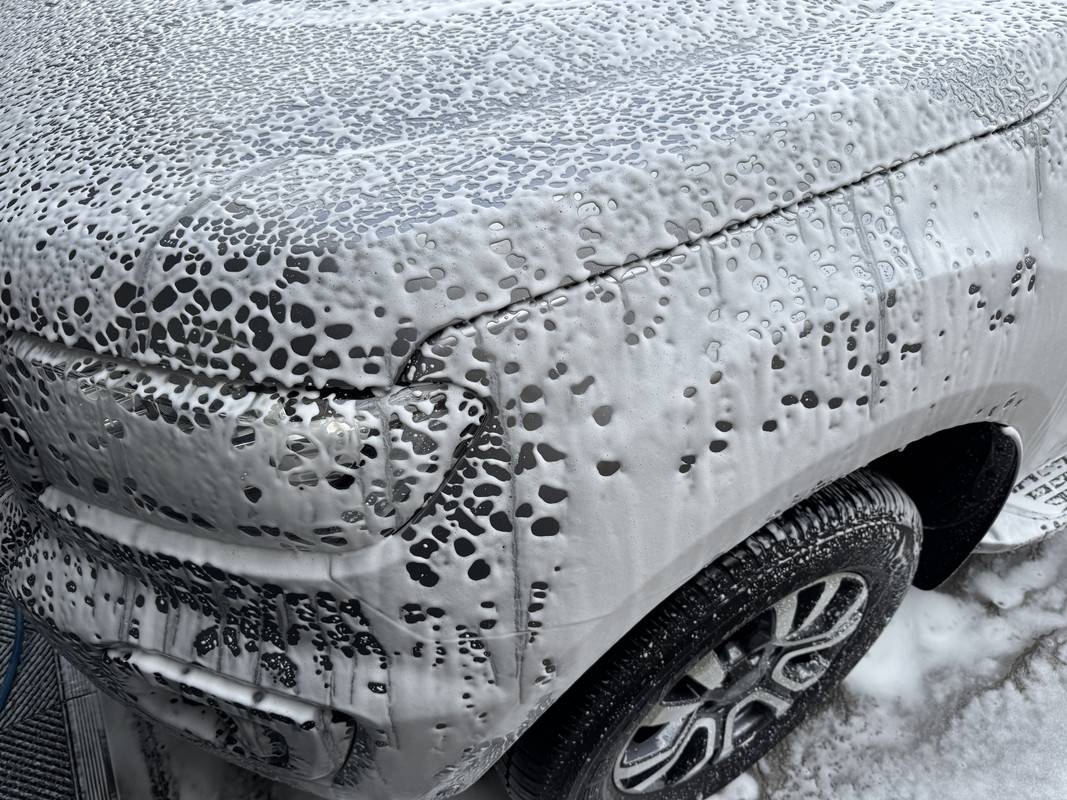
With the iron remover rinsed off, NV Snow was foamed on and the contact wash completed. I then went over the car with a clay mitt and Gyeon Clay Lube. The paint was fairly smooth to begin with, only a few spots here and there benefited.

S650 Mustang DFB's Detailing Garage IMG-7088


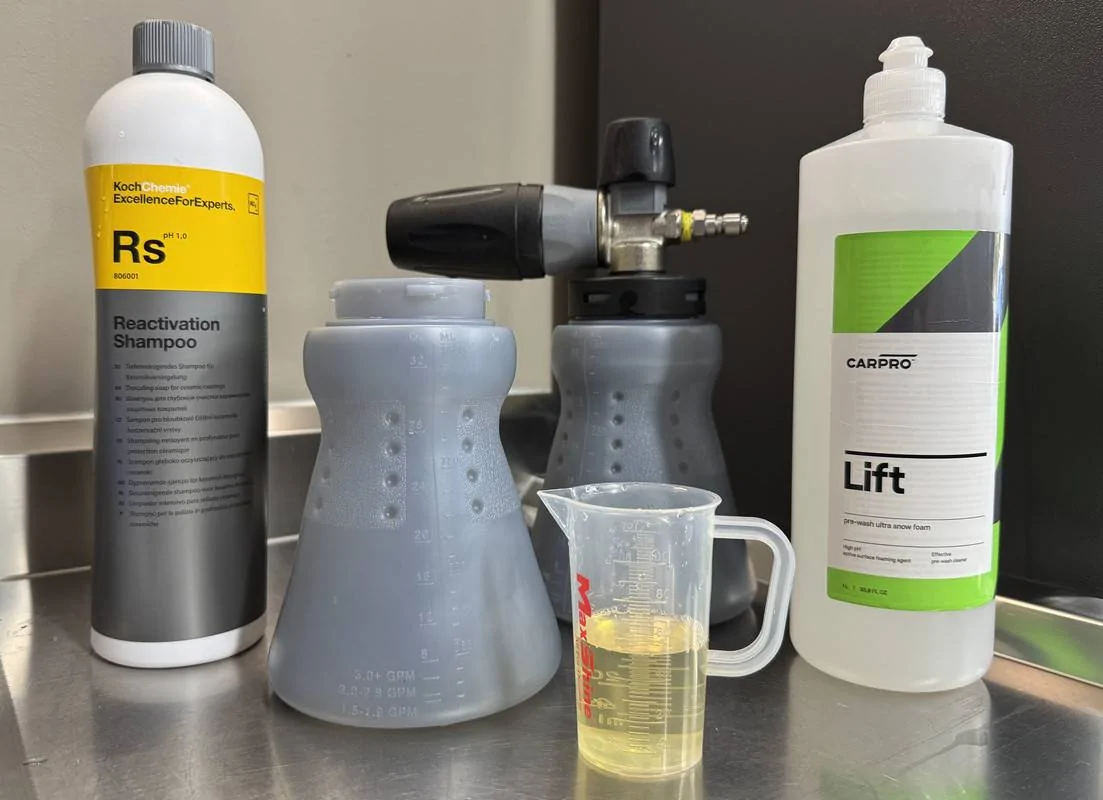
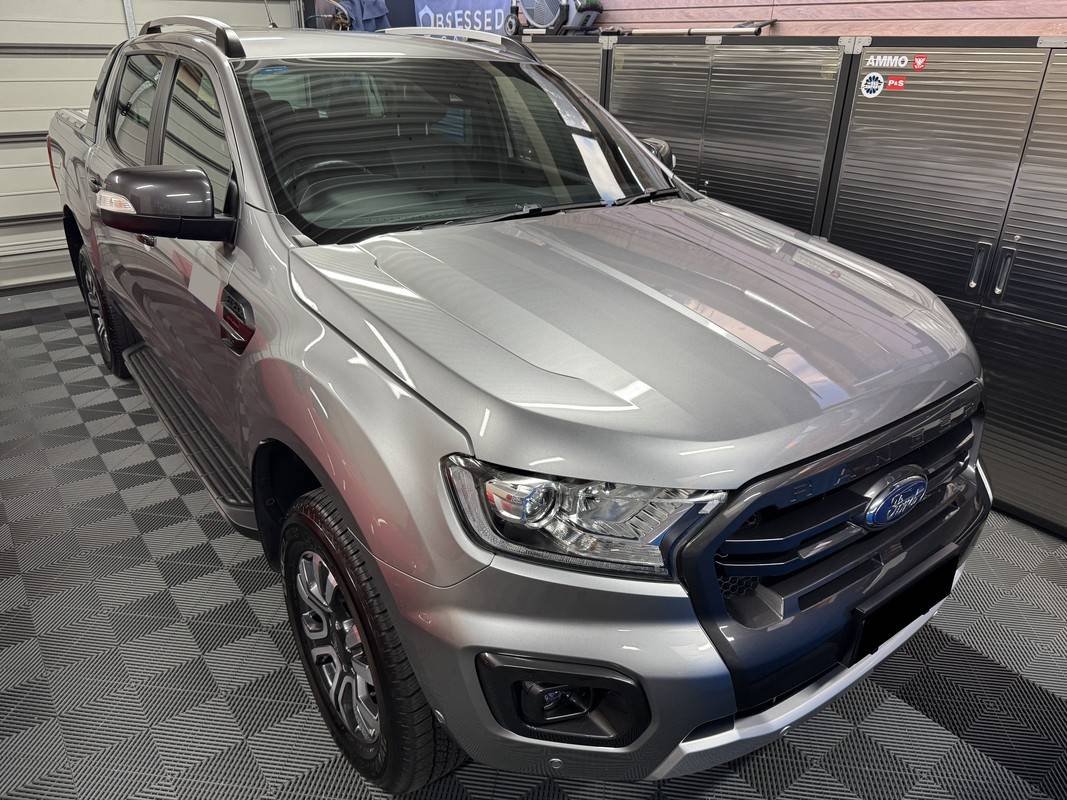
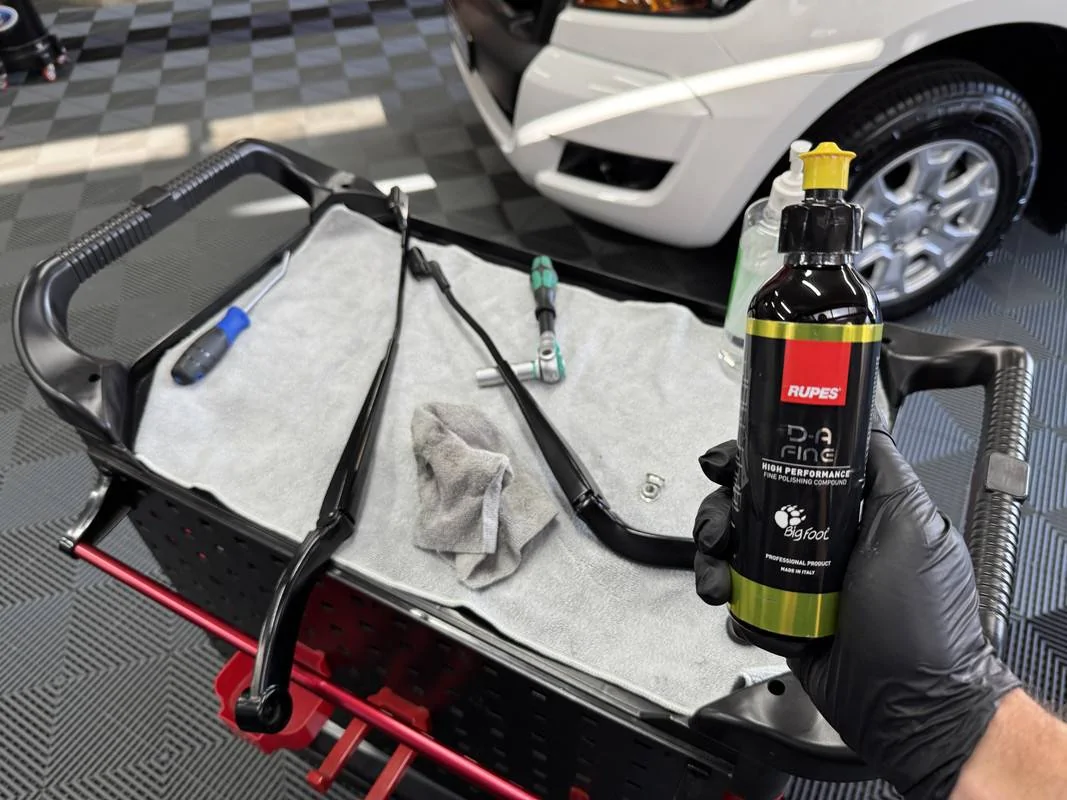
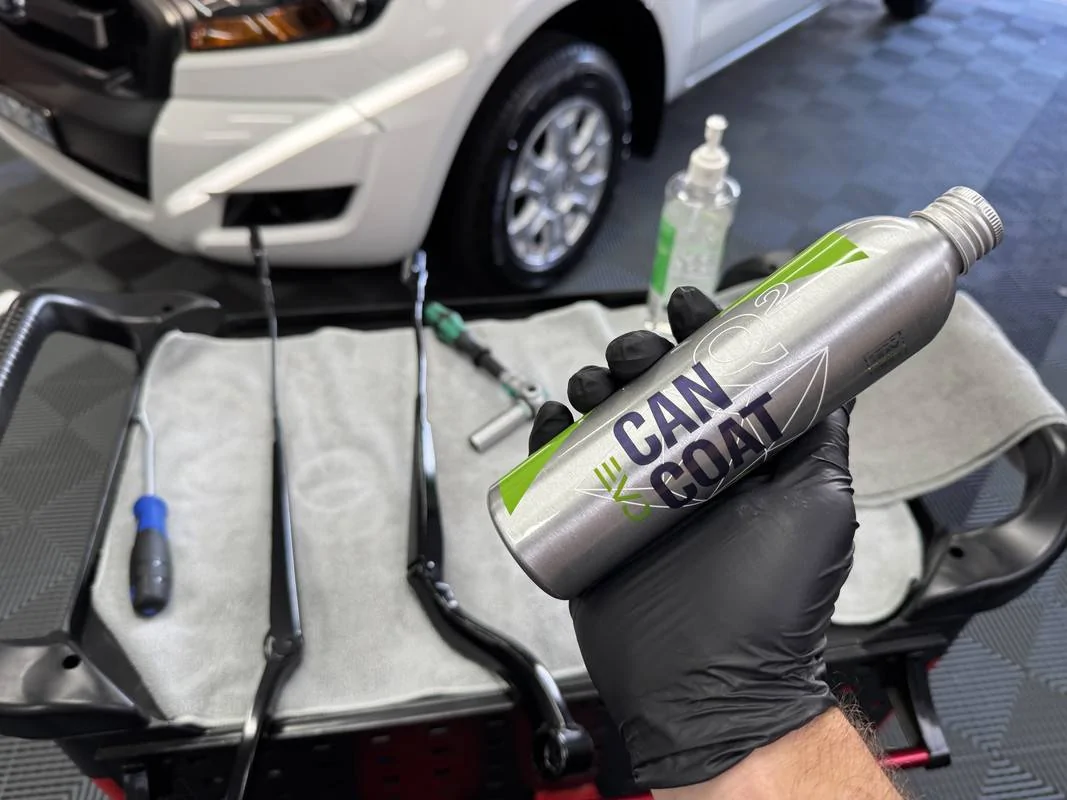
That's where the decon finished for now, but the time-consuming part is done. Prior to polishing next week, I will pre-wash with an alkaline soap, then contact wash with KCx Reactivation Shampoo to strip any remaining protection and mineral content.
Sponsored

 
OP
OP
DFB5.0

DFB5.0

Well-Known Member
Joined
Mar 15, 2017
Threads
26
Messages
1,074
Reaction score
1,390
Location
Australia
Vehicle(s)
Mustang GT Fastback
Ranger Wildtrak Detail 2025

The Wildtrak was last polished and coated in January 2023, the Can Coat EVO performed beyond expectations, easily lasting about 15-months. For a coating “lite” with a 12-month durability claim, and considering the car is parked outdoors 24/7, you really can’t ask for more really. I do wonder if the Capro Essence primer polish played a part in this.

I’ve been meaning to get this project done for months now, actually, more like a year. Last winter and into early spring, I was just too burnt out. I was also holding off on projects until my long service leave started, which flowed into my new cars arrival and following detail series, then a stint in hospital and recovery, then the polishing workshop, then the XR8 detail, then Christmas, then the Wildtrak’s body repairs…………………..all the while continuing to run my own business. Excuses, excuses………………….so, here we are, time to get this vehicle back to shape.

Decontamination & Prep Work -

This project began last week with a partial decontamination via an iron remover and clay treatment. Today, I foamed the car down with Carpro Lift, rinsed, then foamed with KCx Reactivation Shampoo.

S650 Mustang DFB's Detailing Garage IMG-5220


Carpro Lift mid-dwell..................

S650 Mustang DFB's Detailing Garage IMG-5224


This was my first use of Reactivation Shampoo, which an acidic soap designed to revive ceramic coatings, in particular breaking down and neutralizing mineral content. Obviously, there is no ceramic coating to revive here, but considering the vehicle sits outside in all conditions, the removal of potential mineral content is worthy endeavour. RS will also help strip away the spray sealants and drying aid’s I’ve used to limp the car through until now. This soap is pretty strong, so rather than eyeballing it, I made sure to measure this one out, 50ml in the bucket and 60ml to 940ml in the foam cannon.

Now, those quantities might sound a little anemic, and I've noticed GSF won't foam very well at similar suggested dilutions. But pleasingly, RS foams brilliantly at those numbers while also being exceptionally slick. It does have a rather strange aroma though, much like a bathroom shower cleaner.

S650 Mustang DFB's Detailing Garage IMG-5228


With the car rinsed for the final time, I used the blower to remove as much water as possible, then went around with a large drying towel and Rupes Reveal Lite to finish the decon step. The Reveal also helps evaporate the moisture, especially helpful considering how flat the paint after the strip washing. At this point, the paint was squeaky clean!

S650 Mustang DFB's Detailing Garage IMG-5232


The final step was to go around taping up various trims, some of which were treated with Solution Finish earlier this year. You can see I also taped the glass side of the trim while I was at it as I planned to polish the glass too.

S650 Mustang DFB's Detailing Garage IMG-5234


Products Used In this Step -

- Gyeon Iron Remover
- Economax Clay Mitt
- Gyeon Clay Lube (Diluted 5:1)
- Carpro Lift (Alkaline)
- Koch Chemie Reactivation Shampoo (Acidic, Diluted 15:1)
- Rupes Reveal Lite (IPA Prep Spray)
- Carpro Masking Tape

Polishing –

The goal for polishing wasn't for an all-out correction, just a refresh. My father couldn't care less about flawless paint, so I was not about to spend days using multiple steps or even trying various compound and pad combinations. I went straight to the ShineMate blue foam with Carpro Essence. Why? Because Essence does a few things at once, such as being relatively mild, in fact it uses the same abrasives as another favourite of mine, Carpro Reflect. However, Essence also leaves behind a layer of Si02, in effective priming the surface for a coating. That Si02 also has the ability to fill certain defects, which is kinda cheating but considering the goal, I really don't care. And finally, it's stupid easy to work with, doesn't dust and is a dream to wipe off.

S650 Mustang DFB's Detailing Garage IMG-5238


A couple of tips when using Essence -

- Like any "all-in-one" type polish, you need to be mindful of what that CAN do to your pads and towels.................

- As you finish with each pad, put it straight into a bucket with water and APC, microfiber detergent or an alkaline soap such as Lift. Don't put them straight into water as you will make things worse.

- With your towels, you can be a little less anal, but be sure to wash them straight after your polishing session. If you can't wash them ASAP, put them into separate bucket of water with APC/detergent/soap and allow them to soak till you can.

- In both cases, you are avoiding the sealant from setting up in the fibres of the towel or foam material, in turn rendering them useless.

- For more cutting performance, run more passes to fully cycle the abrasives.

- For more filling ability, short cycle by spreading rapidly over the section and then completing a single set of passes.

- Essence is said to be best with a light foam finishing pad, and especially good on a microfiber finishing pad. In my case, I know it works well with the intermediate level ShineMate blue foam pad.

S650 Mustang DFB's Detailing Garage IMG-5240


You will also see P&S Clarity Creme on the cart, that was teamed with a Rupes Coarse Wool pad on the LHR75 Pneumatic. There weren't really any scratches to deal with, I just wanted to deep clean the glass. Clarity Creme is brilliant at doing this, especially on an aggressive pad like that.

There were a few isolated scratches here and there that needed more than what Essence is capable of doing. For that I used Griot's Fast Correcting Creme on the iBrid Nano. Wow, that stuff is brilliant! Once again, I'm left wondering why that brand has been left on the bench for the Australian market. And yes, the headlights needed polishing AGAIN, so much for the special Opti-Coat headlight coating, which barely lasted 4-months of the supposed 12-month claim.

I also had some company today, no doubt wondering when it was time for walkies. At one point I had the front passenger door open, which obviously meant it was time for walkies and had him attempting to climb in.............sorry for the false hope buddy, maybe tomorrow.

S650 Mustang DFB's Detailing Garage IMG-5241


Products Used In This Step -

- Carpro Essence
- Griot's Fast Correcting Creme
- P&S Clarity Creme
- ShineMate Blue Foam Pads (4-inch and 6-inch sizes)
- Rupes DA Coarse Wool (3-inch size)
- Rupes DA Fine Foam (2.5-inch size)
- TRC Creature Edgeless Towels
- Rupes Claw Pad Tool
- Rupes iBrid Nano Long Neck (2-inch backing plate)
- Rupes LHR75 (3-inch backing plate)
- Rupes HLR15 (5-inch backing plate)


After removing all of the tape and a quick wipe over with a damp towel to remove the dust created by Clarity Creme, I covered the car with two microfiber blankets and called it a day. Tomorrow, a more thorough wipe down with Eraser, followed by the coating.
 
OP
OP
DFB5.0

DFB5.0

Well-Known Member
Joined
Mar 15, 2017
Threads
26
Messages
1,074
Reaction score
1,390
Location
Australia
Vehicle(s)
Mustang GT Fastback
Ranger Wildtrak Detail 2025 – Part 2

With the “hard” work done yesterday, today was about getting the coating applied.

Pre-Coating Prep -

According to Carpro, you can coat straight over Essence without using a panel prep. This was done to help prevent marring on really soft paint. Having said that, they also say using Eraser prior to coating won’t impact the layer Si02 left by Essence. They do however recommend waiting at least 1 hour before using Eraser to allow the Si02 resins to cure. Likewise, you need to wait at least an hour before applying the coating.

In my case, the car sat overnight, which meant I was good to go with Eraser. This was mainly done to remove any dust that had settled overnight.

Products Used In This Step –

- Carpro Eraser
- TRC Eagle Edgeless 500

S650 Mustang DFB's Detailing Garage IMG-5249


Ceramic Coating –

There was no choice to be made which coating I was going to use, it was always going to be Gyeon Can Coat EVO. This was mainly because I already had an open bottle, but also because I know it well by now. I struggle with coatings, all bar Can Coat EVO and ADS Wheel I have found finicky.

Now, “real” detailers tend to snub their nose at Can Coat, suggesting it isn’t a “real” coating. And from an application point of view, they are correct. However, you cannot argue with the coating-like hydrophobic qualities and the gloss Can Coat provides, it even hardens the applicator like a “real” coating. Considering how easy this product is to apply, wipe on and wipe off with no flash timing, perhaps the “real” detailers see Can Coat as a risk to their skillset and business viability? While there are still some things to watch, for the most part Can Coat provides ceramic coating performance to a wider audience.

The whole point of Can Coat was to make it as simple to apply as possible. That is why it doesn’t come in a small glass bottle with a dropper or pipet. Nor do you apply it with an applicator in a criss-cross pattern, you don’t even need to wait for the coating to flash/sweat/rainbow before leveling. Instead, Gyeon’s application method involves spraying the coating into a folded towel, wiping over a section, then level immediately with a second towel. It’s as simple as that.

Now, having said that, I modify the Gyeon method by swapping the folded towel for a microfiber applicator. Yes, I know I said that you don’t use an applicator, but I’ve found using a larger microfiber applicator such as the TRC Pearl’s to be quicker and easier to manage than having a to continually re-fold a towel. Work smarter, not harder. The application is otherwise identical.

1. Start by priming the towel or applicator with 5 or 6 sprays, from then on you only need 2 – 3 sprays per section.

2. Working section to section, wipe the applicator over the panel, making sure to achieve total coverage. This can be hard to read as Can Coat is very thin, you often won’t see the product on the panel.

3. Immediately after application, wipe off the residue with a low pile towel. I actually then follow with separate towel to be sure I leave no high spots.

From here, continue working section to section using the same method.

NOTE - Always spray Can Coat away from the vehicle to prevent accidental overspray and possible high spots. I’d also remove uncovered vehicles from your working space, have the garage door down to eliminate wind, and absolutely avoid having a fan running. NEVER spray directly onto the panel.

S650 Mustang DFB's Detailing Garage IMG-5254


For the Wildtrak, I applied Can Coat to all painted surfaces, taillights, trim and glass. I normally use Gyeon Quick View on glass, but I decided to see how Can Coat would perform instead. From here, I applied Opti-Coat Lens Coating to the headlights, then some Carpro Perl on the tyres.

S650 Mustang DFB's Detailing Garage IMG-5256-FR


S650 Mustang DFB's Detailing Garage IMG-5260


Four hours later, I then applied a layer of Gyeon Cure. This helps protect the coating as it fully hardens and adds some slickness missing from Can Coat. Again, this went on the paint, trim, lights, and glass.

S650 Mustang DFB's Detailing Garage IMG-5265


Products Used In This Step –

- Gyeon Can Coat EVO
- Gyeon Cure
- Opti-Coat Lens Coating
- TRC Pearl Applicator (QTY:1)
- TRC Edgeless Pearl (QTY:2)
- TRC Eagle Edgeless 500 (QTY:2)
- Scangrip Sunmatch

Finished Result –

Better late than never, the Wildrak is back to spec. At some point, I would also like to get the wheels off this thing and coat them as well.

S650 Mustang DFB's Detailing Garage IMG-5268-FR
 
OP
OP
DFB5.0

DFB5.0

Well-Known Member
Joined
Mar 15, 2017
Threads
26
Messages
1,074
Reaction score
1,390
Location
Australia
Vehicle(s)
Mustang GT Fastback
My sisters XC60 was in the box seat, and for today, I decided to put together a video during the wash phase.

The video kicks with a rinse after cleaning the wheels and foaming the car down with KCx Active Foam. I then foam with KCx GSF for the contact wash, then the final rinse.


After washing, I blew dry and added another layer of Reload to the paint, door jambs via ADS Adapt, exterior glass by Opti-Coat Clean & Protect, interior glass by Stoner's, interior wiped down with ADS Pilot. Finishing off, the wheels got wiped over with Adapt and the tyres topped off with ADS Tire+.
 
OP
OP
DFB5.0

DFB5.0

Well-Known Member
Joined
Mar 15, 2017
Threads
26
Messages
1,074
Reaction score
1,390
Location
Australia
Vehicle(s)
Mustang GT Fastback
How many diesel Ford Ranger's get their exhaust tip polished?

After cleaning with soapy water from my wheel bucket, which was Megs Hyper Wash today, it was time for an old favorite, P21S Polishing Soap.....................................

Get P21S Metal Polishing Soap Online | Waxit – Waxit Car Care
P21S Polishing Soap for Exhaust Cleaning and Metal Polish – Obsessed Garage
P21S Metal Polishing Soap 10.6 oz Jar - Skys The Limit Car Care

S650 Mustang DFB's Detailing Garage IMG-0273


S650 Mustang DFB's Detailing Garage IMG-5305


Following that, Dr. Beasley's Metal Coat, which is a ceramic nano sealant designed to protect chrome, stainless steel and aluminum. Metal Coat seemingly tolerates exhaust heat, making it supremely durable, to the point where it never really falls away. Application couldn't be easier, simply wipe the surface down with prep spray, apply a small amount to a towel and wipe it on, then wipe it off. Metal Coat bonds instantly and is said to last 3-years.

Dr Beasley's DB-s32d08 Metal Coat 237ml : Amazon.com.au: Automotive
Dr. Beasleys Metal Coat 8 oz.
Metal Coat | Dr. Beasley's

S650 Mustang DFB's Detailing Garage IMG-5307


S650 Mustang DFB's Detailing Garage IMG-5311


S650 Mustang DFB's Detailing Garage IMG-5317


S650 Mustang DFB's Detailing Garage IMG-5320


I love the look of this exhaust outlet. In particular, I like how they cut the end of the pipe to be parallel with the road, almost like someone put some thought into this generally unseen part of the car. Actually, the exhaust is only visible on cab-chassis models.

The latest model Ranger looks awful in comparison, basically a pipe that points to the ground just after the diff. There was certainly no thought put into it other than its basic function.

S650 Mustang DFB's Detailing Garage ngret

S650 Mustang DFB's Detailing Garage Screenshot-384
Sponsored


Top